Polygel isn’t builder gel although it can be shaped. It doesn’t self-level, but it’s stronger than hard gel and more flexible than acrylic. It also feels very lightweight on the nails.
So, is polygel good for your nails? Let’s find out. We’re going to talk about the pros and cons of polygel and how you can do a manicure with it.
What Are Polygel Nails?
Polygel is like a blend of acrylic and gel. It’s a hybrid that combines the best of both worlds. It’s durable like acrylic and elastic like gel.
It comes in a tube kind of like toothpaste because it’s quite thick like putty. Therefore, it’s very easy for beginners to use. It’s excellent for sculpting nails.
Polygel nails won’t harden until they are cured under UV or LED light. That gives you plenty of time to shape them.
Are Polygel Manicures Safe for Your Nails?
Can polygel be bad for your nails? A polygel manicure is no more damaging to your nails than any other nail enhancement. If it’s applied properly, it’s safe. You might even like it more than acrylics as it doesn’t have a strong odor.
The risky part of polygel manicures comes when it’s time to remove them. It’s not easy to soak off with acetone like a dip powder manicure. You’ll need a nail drill, and if you don’t know what you’re doing, you could harm your natural nails. Most pros recommend having a polygel manicure removed at a salon.
How Long Do Polygel Manicures Last?
This type of manicure lasts for 3 to 4 weeks before it needs to be filled in or removed. Just like acrylics, you don’t have to remove the polygel every time – you can simply fill in near the cuticle where the nail has grown out.
How to Apply Polygel?
To do a manicure, you’ll need polygel and a slip solution like that made by Gelish.
Here are the other supplies:
- Tools for nail prep including file, cuticle pusher, and cuticle remover.
- Supplies for a gel manicure including dehydrator, primer, base coat, and top coat.
- Nail lamp.
- Brush for sculpting.
If you regularly do manicures, it’s handy to have a nail drill. Not only does it help with no prep, but it also aids in removing polygel.
Kiara Sky Portable Nail Drill

This portable, compact, and cordless nail drill is a tool loved by the pros. It’s quiet and powerful, with adjustable speed and 10 hours of battery life.
Blue Cross Cuticle Remover

Did you know that soaking your nails to soften the cuticle can end up making your manicure lift? All that moisture gets trapped in the skin and underneath the gel. Instead, see how easy it is to push back cuticles after you use this product. It’s nearly odorless and enriched with moisturizers to prevent dryness.
Cuticle Pusher
This metal tool has two tips for removing and pushing back cuticles. The spatula-shaped end is also handy for depositing poly gel on the nails.
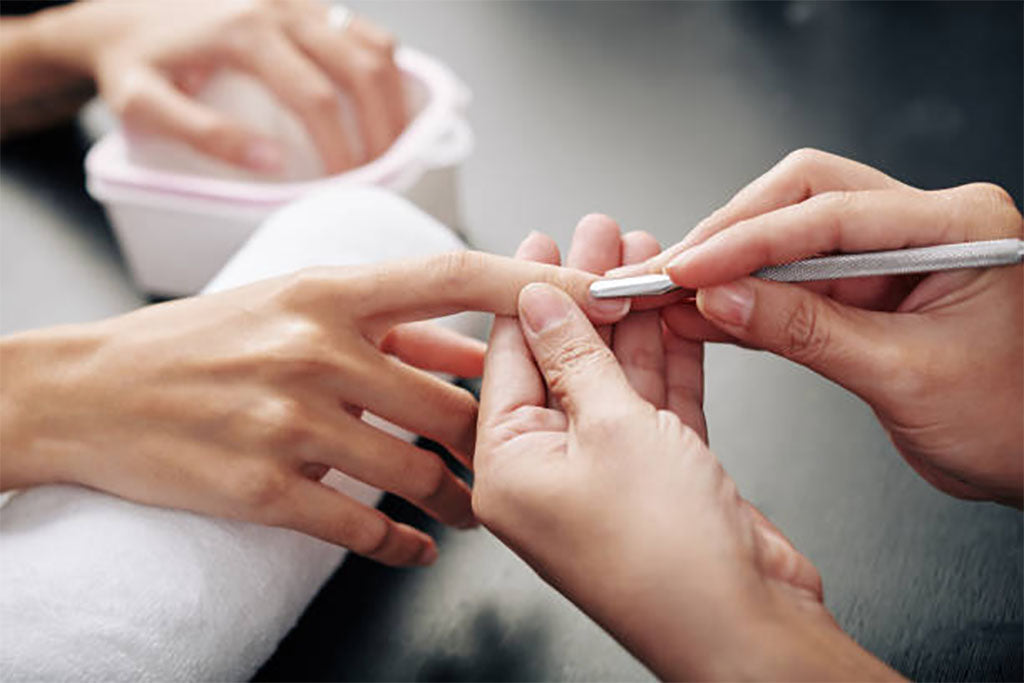
The Steps to Doing a Polygel Manicure
The first step is to prepare your nails like you would for any other manicure including pushing back cuticles, shaping, and buffing.
Next, apply the dehydrator and primer, then the base coat. Follow the instructions for how long you need to cure each layer under the lamp.
Squeeze out a small amount of the polygel and deposit it on the nail. The Gelish polygel kit comes with a dual-ended tool, but you can also use a metal cuticle pusher or spatula.
Use a brush dipped in slip solution to sculpt the gel. Then once you’re happy with the results, cure it.
Now, shape and buff the nails. Remove the debris and apply the top coat of gel.
Done!
Lavis Gel Base, Diamond Top, Protein Bond & Primer, Soft Gel Tip Adhesive
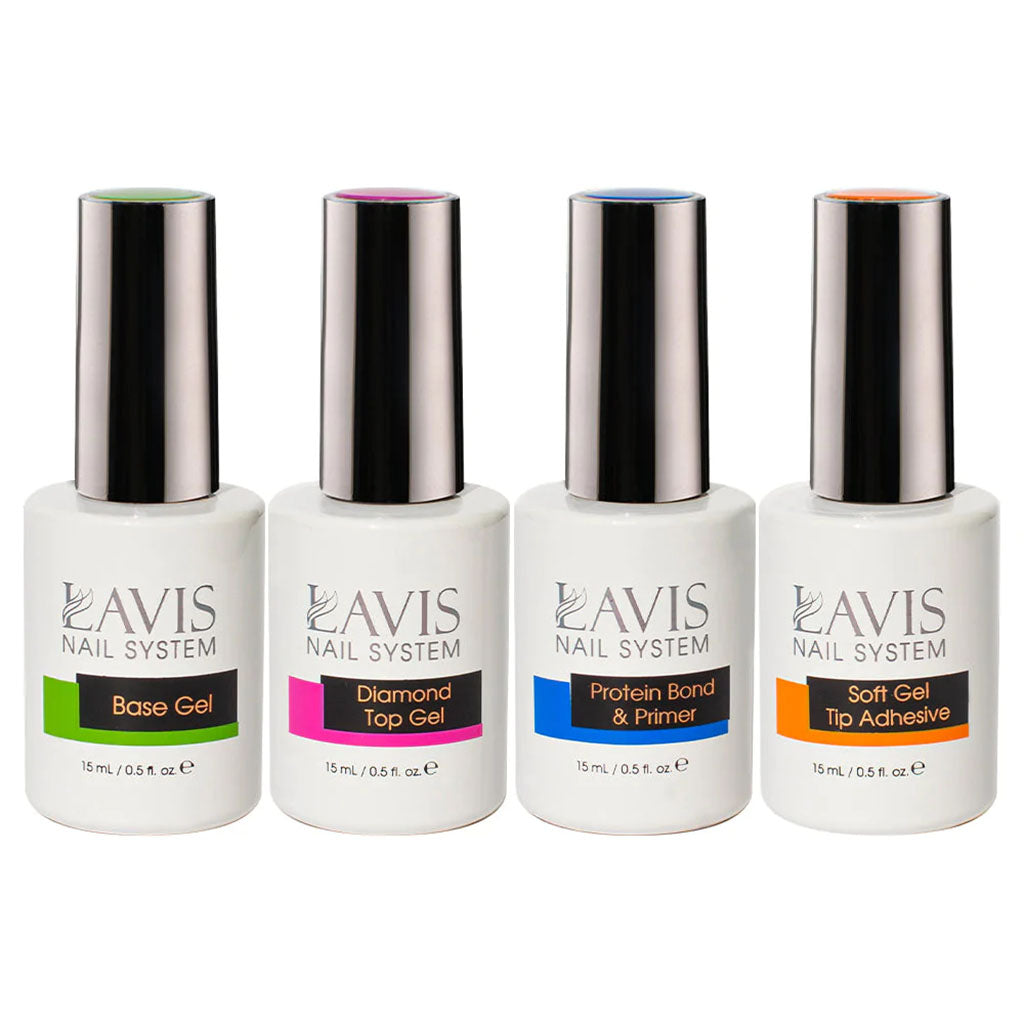
Get all the coatings you needed one place. This kit comes with a protein bond and primer to remove nail oil and improve adhesion. Then, there's a gel base coat and a top coat. The top coat has a glassy, brilliant finish that's compatible with gel, acrylic, and polygel manicures. Last, the fourth bottle is a tip adhesive for when you do extensions. Everything cures within seconds under an LED nail lamp.
Lavis UV/LED Nail Lamp
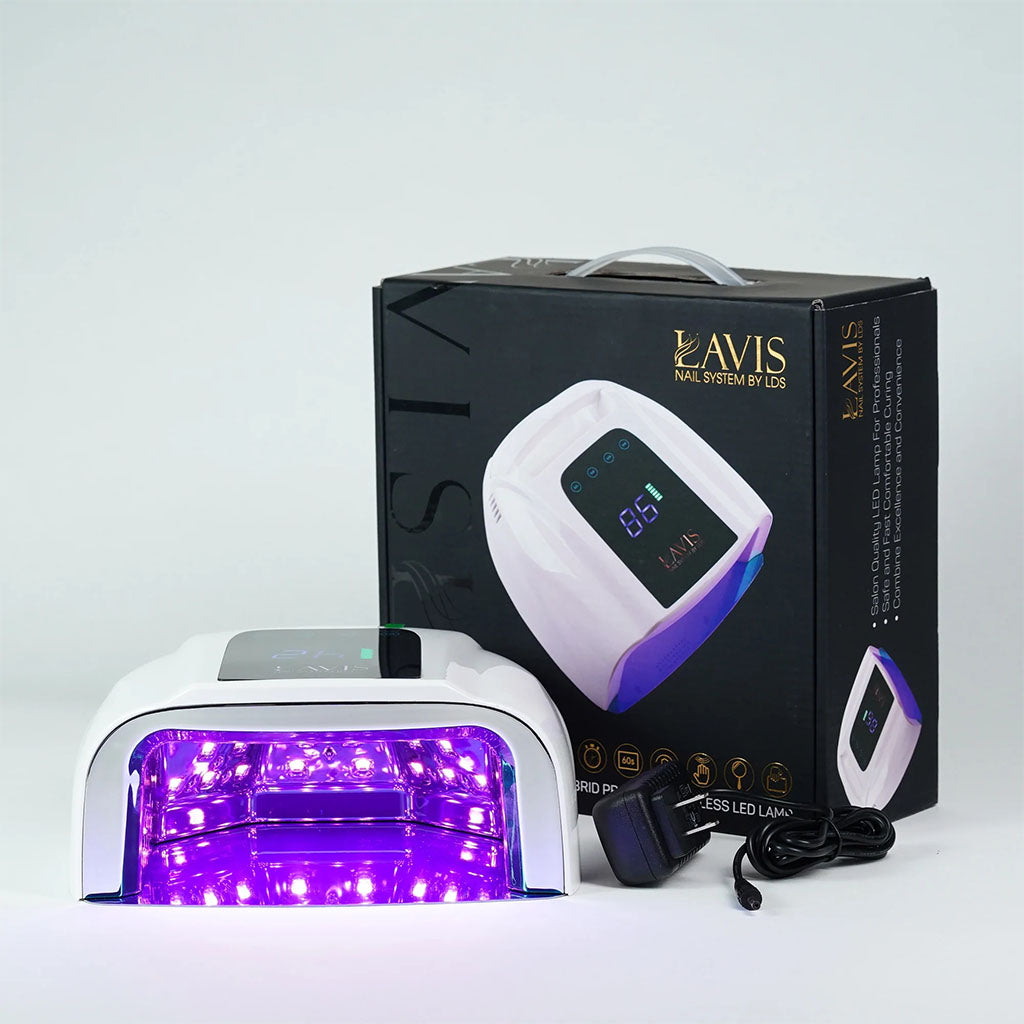
Don’t waste your money on two lamps when you only need one. This versatile product meets both UV and LED curing requirements. It has four timer settings between 10 and 90 seconds. Plus, the motion sensor lets you activate it without having to touch the screen.
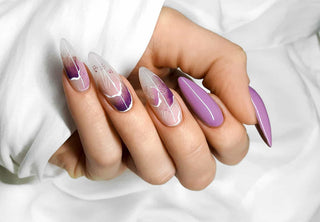
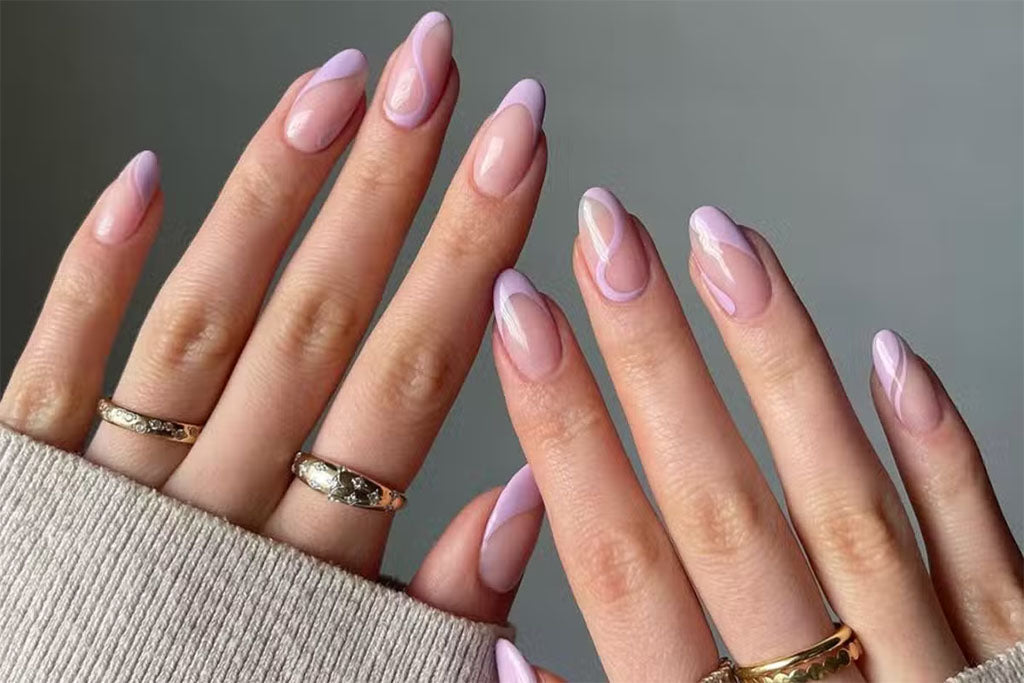
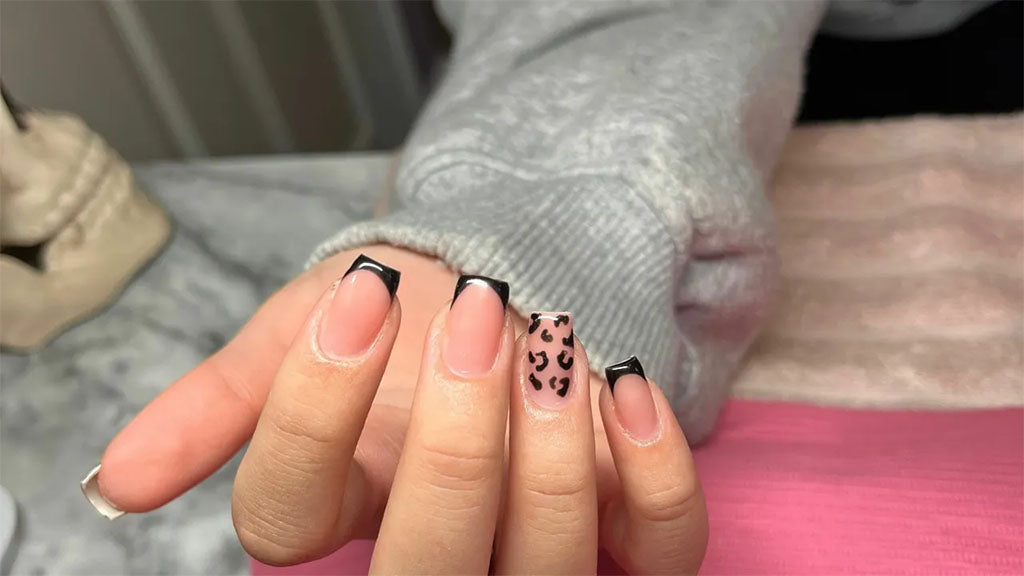
Different Types of Polygel Manicures
Besides applying poly gel to your natural nails, you can also sculpt extensions. Another popular option is to do pink and white nails or a French manicure with different colors of poly gel.
Benefits of Polygel
Who should use polygel nails? If you’d like a manicure that lasts 3 to 4 weeks without breaking, poly gel is a good choice. Although it’s a good idea to remove the manicure and let your natural nails rest every so often, you only have to fill in a polygel manicure, not remove it.
Moreover, poly gel doesn’t have a strong odor like acrylics and it’s easier for home users to apply.
The Cons of Polygel
If you have sensitive skin, check the ingredients and do a patch test before getting a polygel manicure.
Also, poly gel is difficult to remove if you don’t have an electric nail file or drill and experience using it. It’s important to be careful when filing down the manicure to avoid damaging the nail plate.
Conclusion
Polygel can be a good manicure for your nails if you’d like the strength of acrylic without the strong odor plus the flexibility of gels. It’s straightforward to sculpt and won’t harden until it’s cured under a lamp. It lasts for up to 4 weeks and only needs to be filled in, not completely removed, at that point. Also, poly gel can be used on top of extensions or sculpted as an extension.