If you love the look of Gel-X nails, you want to make them last as long as possible. From prepping the nail surface to applying the correct base coat and top coat, there are a few tips and tricks that can help your Gel-X nails stay on longer. In this article, we will discuss how to properly prepare your nails for Gel-X application and how to keep them looking fresh throughout their lifespan.
How Long Can Gel X Extensions Last?
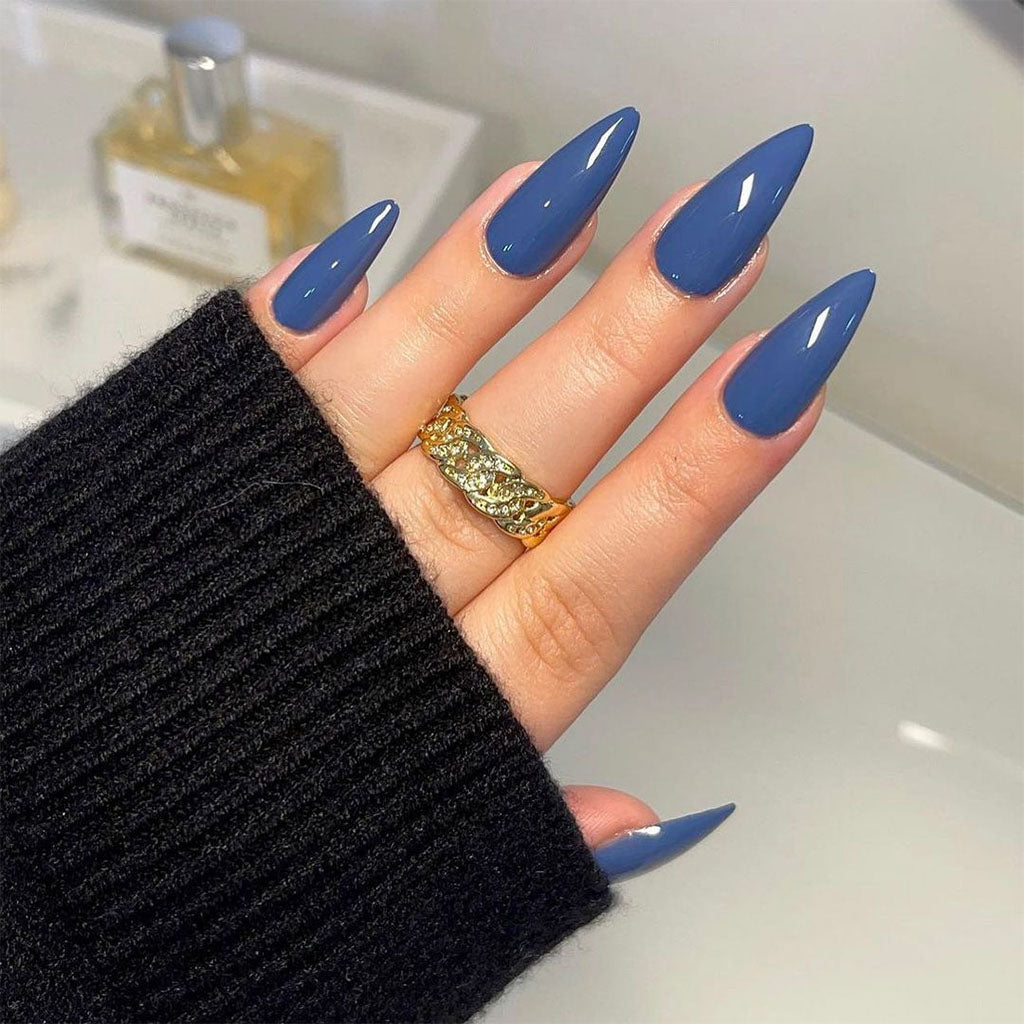
Gel-X extensions can last for four weeks without chipping or falling off. However, after three weeks, you’ll likely see natural nail growth at the base.
(Other types of gel tip extensions might endure only two weeks. Part of it depends on what you expose your hands to).
In any case, all gel nail extensions last longer if you’ve prepared the nails properly. It also helps to use a thin layer of glue when attaching them and avoid air bubbles.
How to Prep Nails Before Adding Extensions
First and foremost, make sure you take care of your natural nails. This means no biting or picking at them! File them down so they are even and there are no jagged edges. There needs to be enough natural nail left at the tip to glue on the extension.
Next, push back the cuticles. Use cuticle remover like the one below to soften them and this step will be easier.
Buff the surface of the nails and smooth ridges.
Then use alcohol to remove oil and debris from the surface of the nails – this will give a clean, dry base for the products to stick.
Blue Cross Cuticle Remover
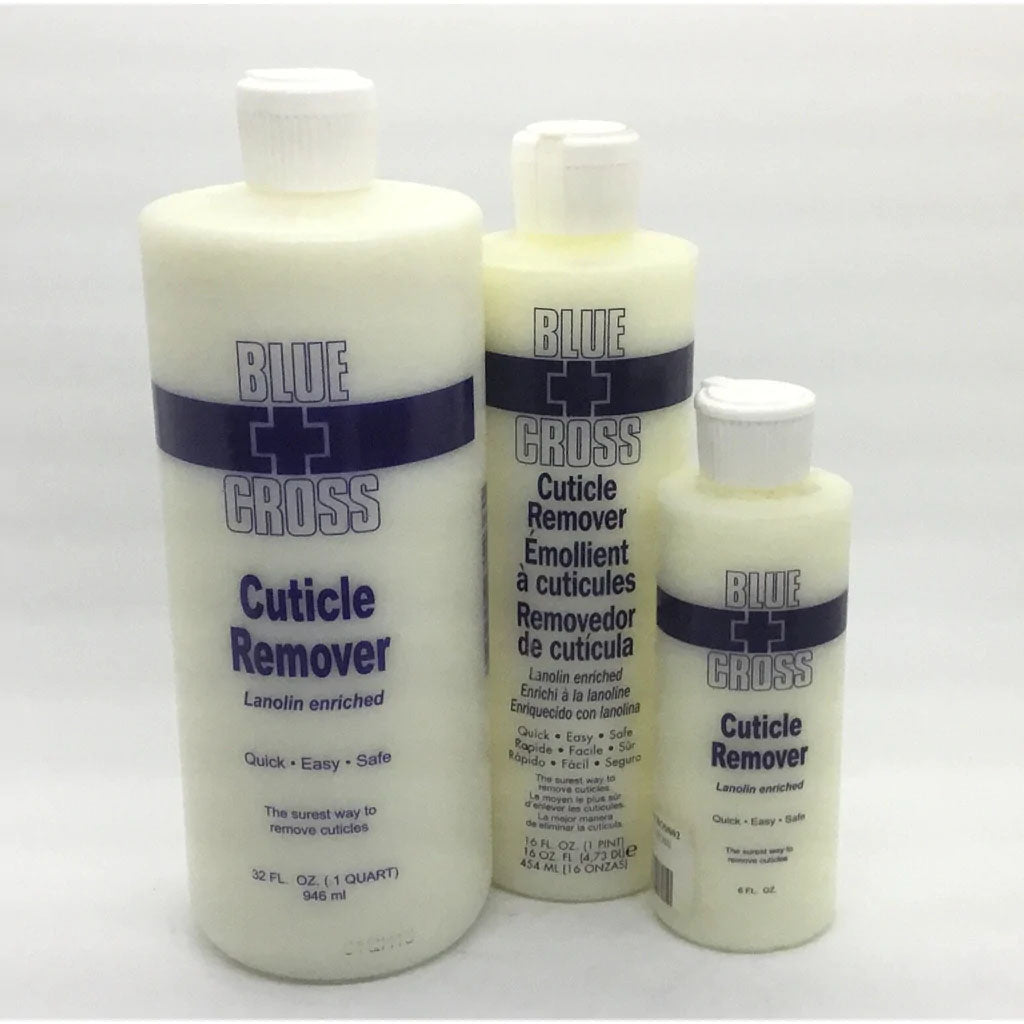
Unlike other products on the market that may damage skin and nails, Blue Cross Cuticle Remover is specifically formulated with lanolin and oil for gentle removal without causing dryness or irritation.
But this is only one step in the manicure process. Read on to see what else you need to make Gel X nails last as long as possible.
Supplies Needed for Gel X Extensions
To do Gel-X nails, we highly recommend using the Apres brand products as they are designed to maximize the performance of the Gel-X extensions.
Here are the products that you need:
Apres - PH Bonder
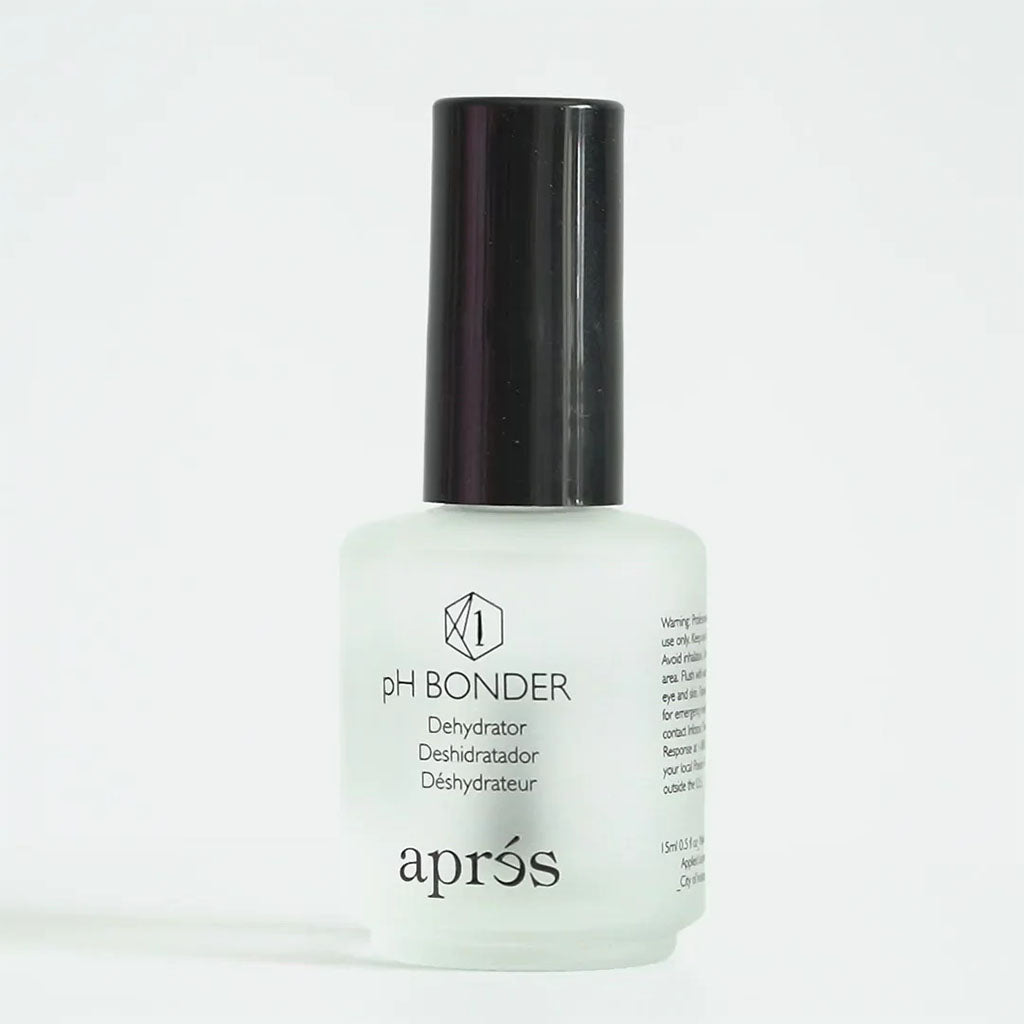
The bonder is the first step. You only need a thin coat of it.
Apres - Non-acidic Gel Primer
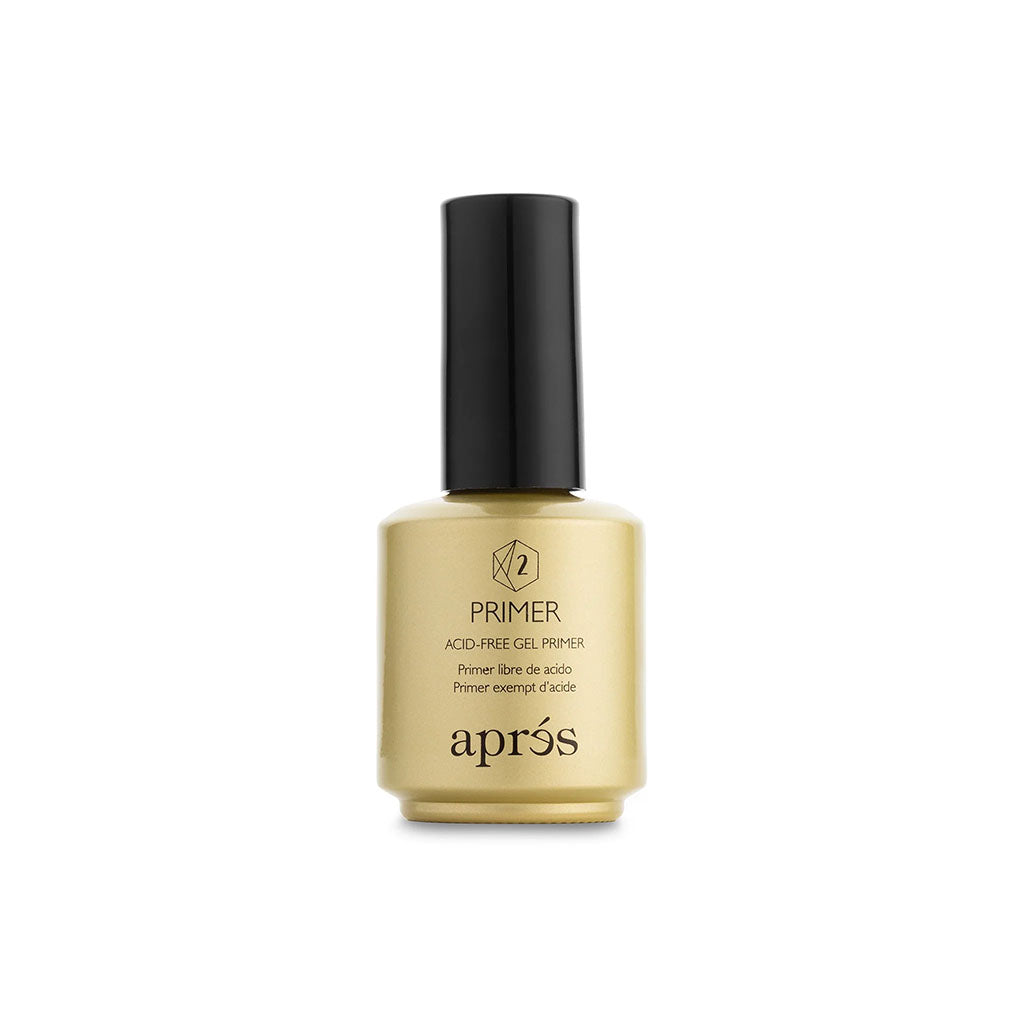
The primer is the second coat. Unlike the bonder, it doesn’t dry quickly. Instead, it stays tacky so the extension will adhere well.
The formula is acid-free to avoid causing irritation. Yet, it is still etches the nail effectively.
With that said, it’s still a good idea to gently rough up the tip of the nail and the inner portion of extension tip to improve adhesion.
Apres - Extend Gel
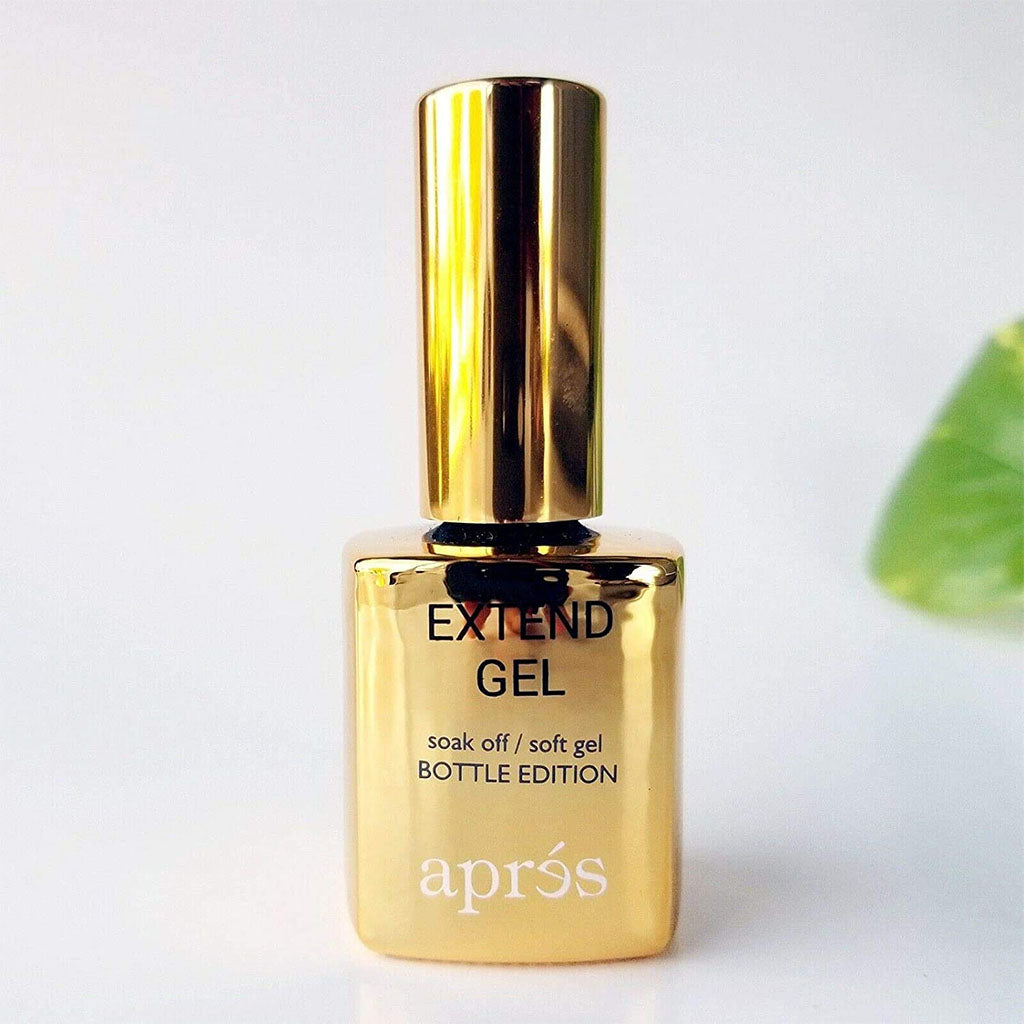
Lastly, the Extend soft gel is the glue that bonds the tip to the nail. It makes for a strong, flexible connection that lasts for weeks. Nevertheless, it isn’t hard to soak off when it’s time for a new manicure.
After you apply a thin layer of Extend Gel and press the tip into place, cure the nail under a nail lamp. It takes one minute for regular UV and 30 seconds for LED light to dry it.
Apres - Gel-x Nail Extension Kit
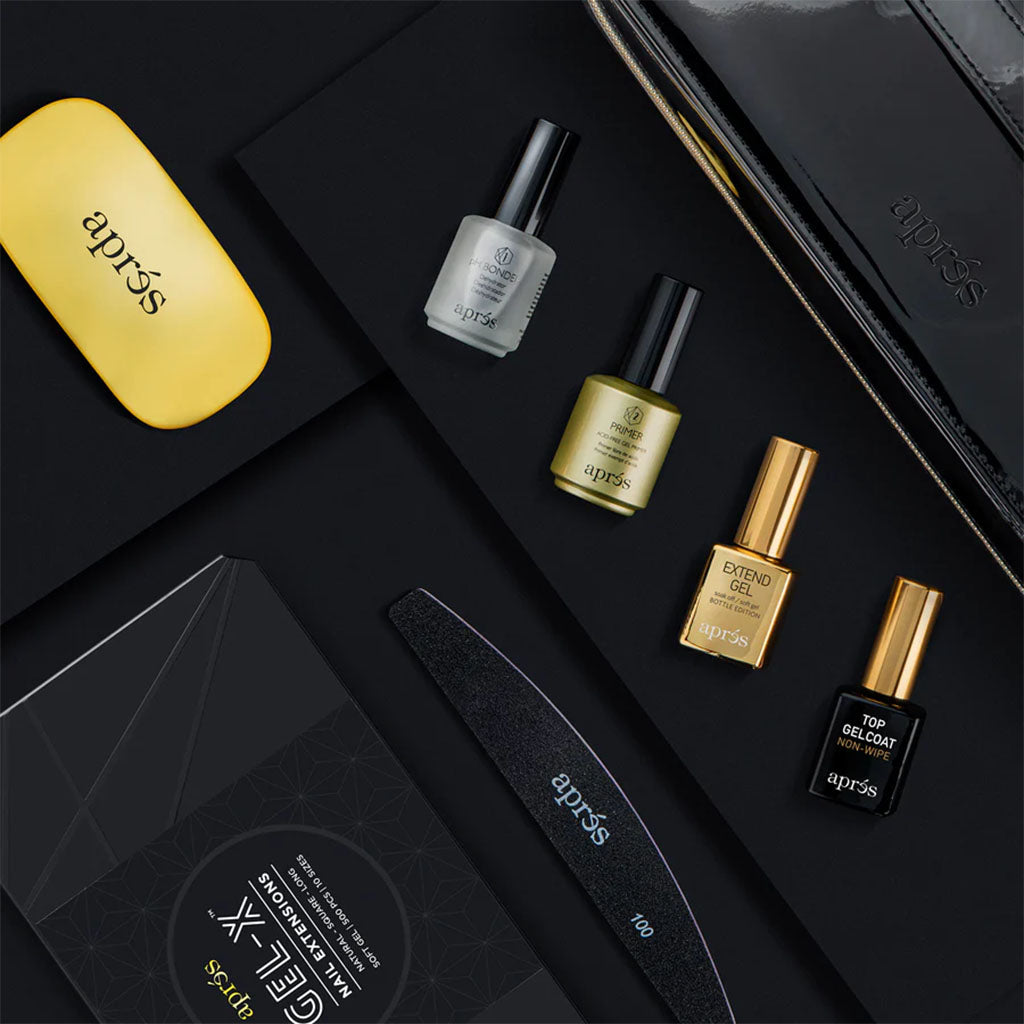
Get (almost) everything you need in one kit. This one comes with pH Bonder, Non-Acidic Gel Primer, Extend Gel, top coat, an LED nail lamp, an emery board, and a vegan leather storage case. All that’s missing are the tips.
Apres - Gel-x™ Natural Coffin Medium Box of Tips
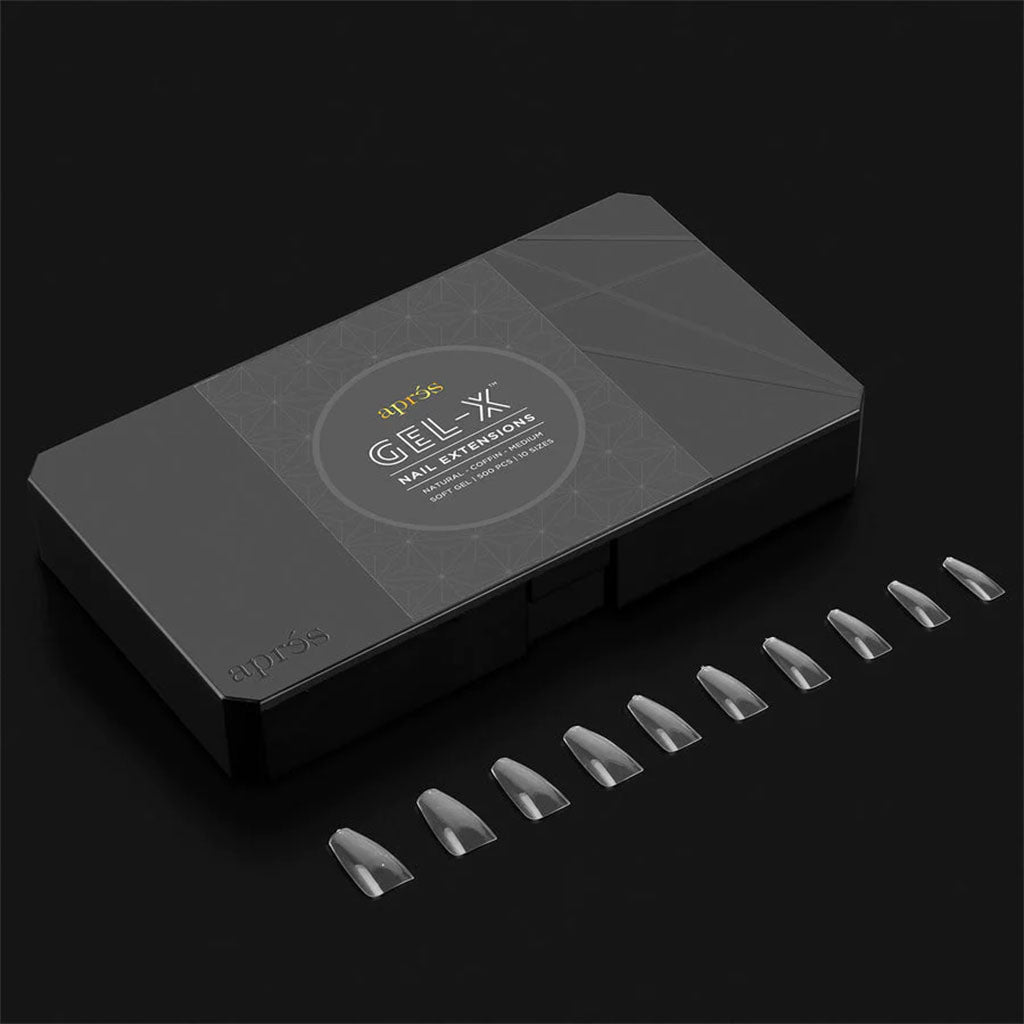
Choose from various sizes and shapes of Gel-X tips from short and round to coffin and stiletto. A single box includes 500 pieces or 50 pieces in 10 sizes.
Final Step: The Gel Manicure
Once the nail tips are in place, you can do a regular gel manicure. This will further strengthen the extensions.
Apply a base coat and cure it.
Then brush on your favorite color. Use two coats in thin layers, curing between applications.
Finally, apply a top coat and cure that under the nail lamp. Multiple coats may increase the shine and durability.
How do you know if you’ve done a good Gel-X manicure? Tap them and see if the extensions make a clicking sound.
LDS Gel Base, Diamond Top, Strengthener
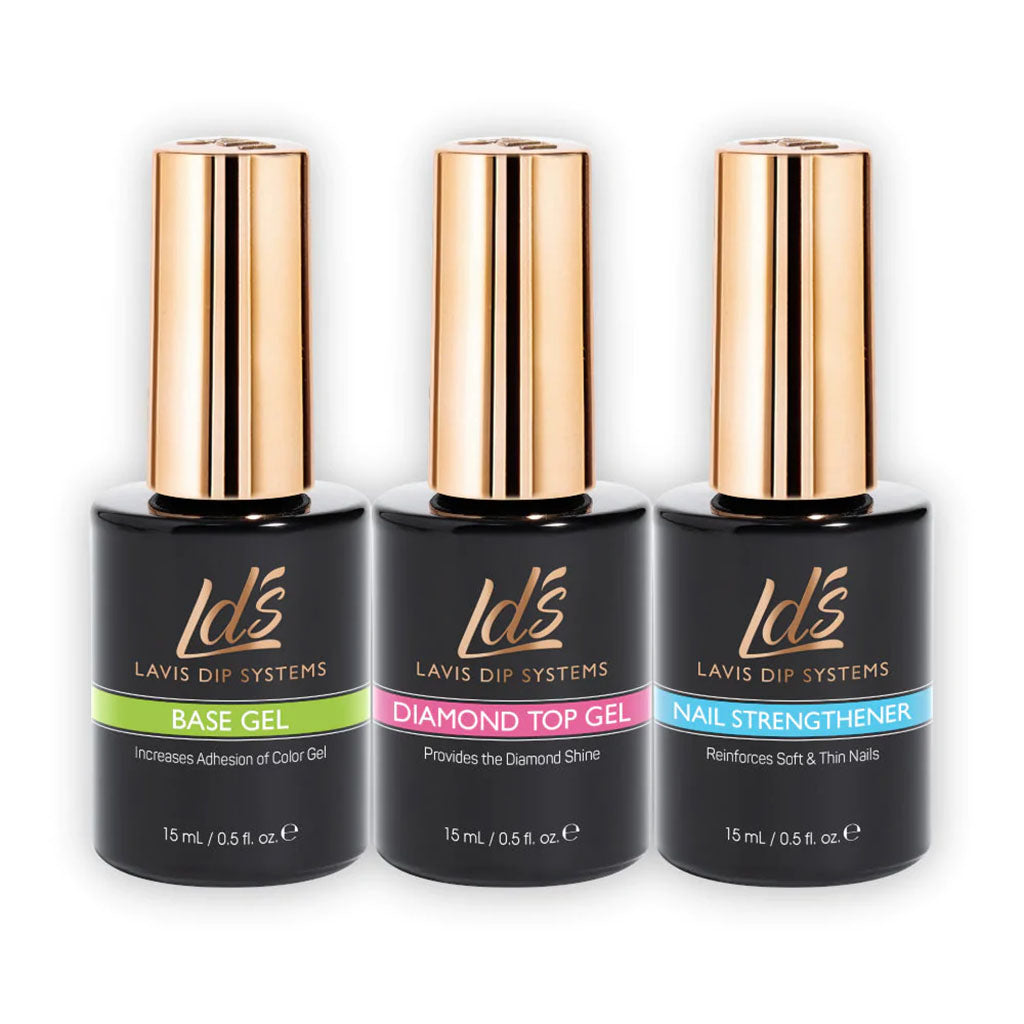
Give your nails a luxurious, diamond shine. Start with the gel base that makes for a picture-perfect application. Then apply the gel strengthener before the color gel. Finally, brush on the flexible top coat that provides a glossy finish. Together, these products ensure the manicure avoids chipping, fading, cracking, and lifting.
Mistakes to Avoid When Doing Gel-x Nails
Sometimes, it’s the littlest things that cause the biggest problems. Here are the most common mistakes that cause tips to lift before their time.
Inadequate preparation: There are consequences if you forgot to wipe off the nails with alcohol or acetone before applying the bonder. If all the oil and debris from filing aren’t removed, nothing else will stick properly.
Using too much product: If the instructions say to use a thin layer, do it. Otherwise, it takes too long to dry and may trap air bubbles which weaken the bond.
Not having enough natural nail length: The tips need somewhere to stick.
Not curing the products long enough: Follow the directions for how long and how often to dry the nails under the lamp. Be aware if you’re using UV versus LED light as the former takes longer than the latter.
If you follow all the steps, don’t worry. You’ll end up with a beautiful manicure!
Conclusion
Gel-X nails offer a long-lasting solution for those who want perfect nails. To ensure the best results, properly prepare your nails before application and take care of them afterward. Regular maintenance is key: make sure to apply cuticle oil and use a nail buffer to keep your nails healthy. Additionally, resist the urge to pick at your nails or expose them to harsh chemicals. With proper care, Gel-X manicures can last for weeks or even months!

