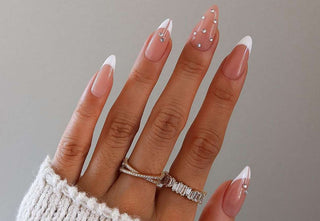
There’s a secret diva inside you who craves the glamorous life. A dazzling manicure will let her take center stage and express herself. Go ahead, turn your fingertips into sparkling masterpieces, and make your nails shine! Here are the best rhinestone nail art designs for inspiration.
Best Rhinestone Nail Art Designs
Sleek, Sheer, and Sparkly

It’s stunning to see what a glossy, sheer shade and a few rhinestones can do. The gems make the manicure luxurious without losing the clean girl aesthetic.
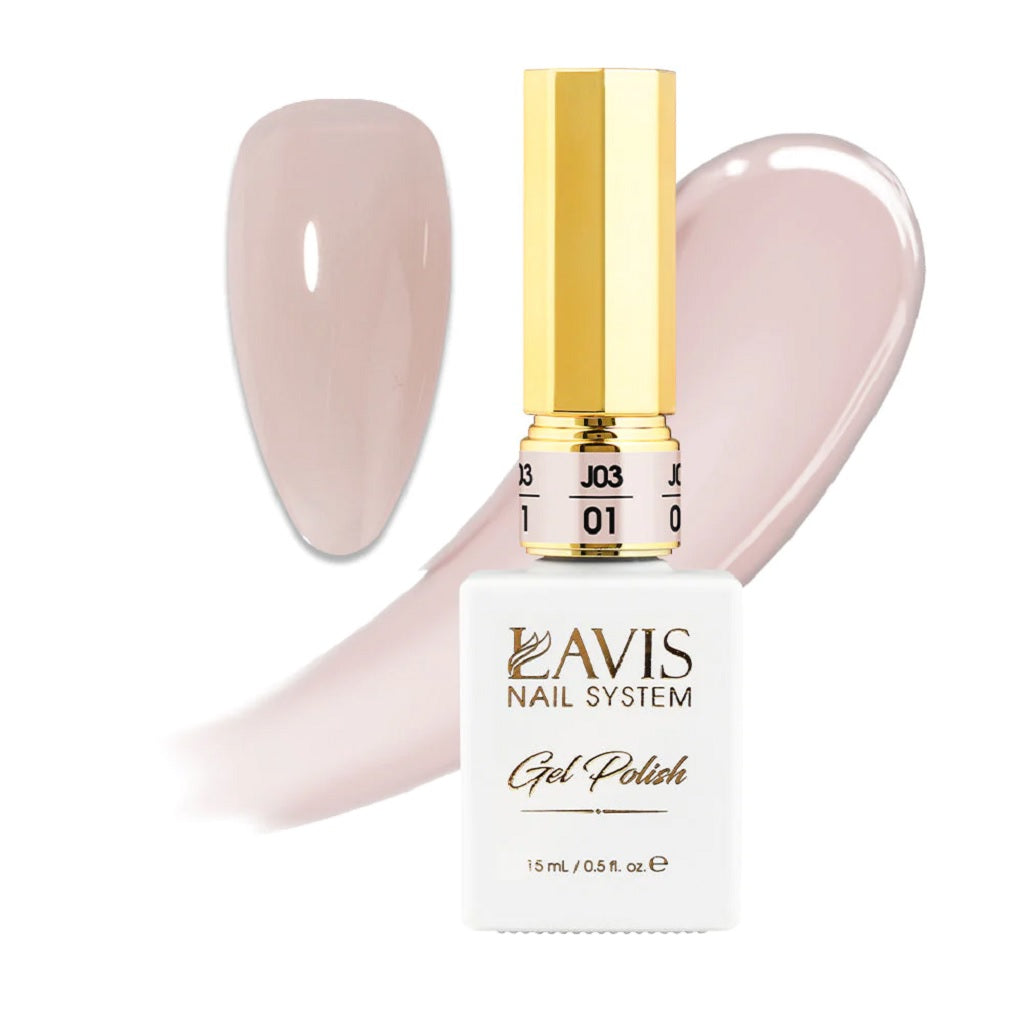
Jelly Gel Polish Colors - Lavis J03-01 - Bare With Me Collection
Pink and Black Accents
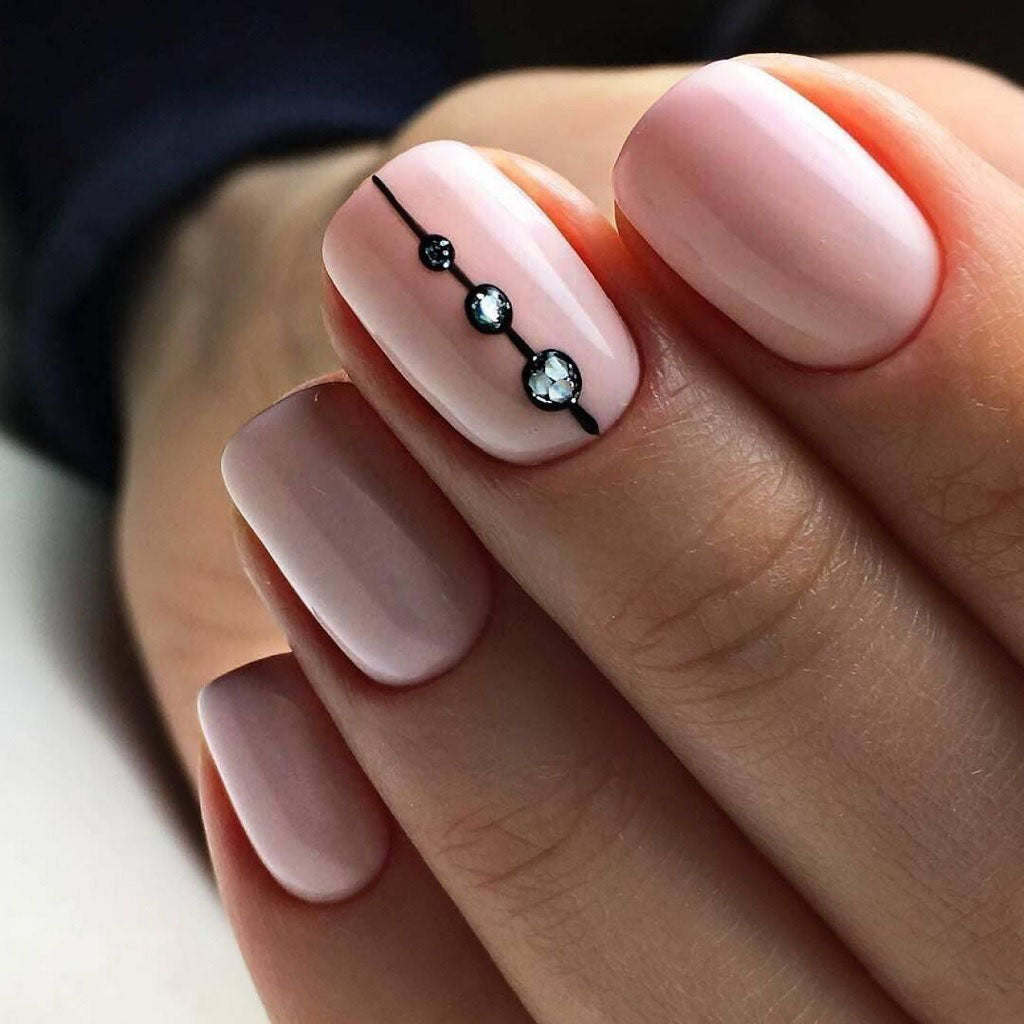
Elegant and low-key, this manicure is ideal for sprucing up short nails. But it wouldn't be the same if the black polish didn't have a raised texture encircling the stones. Embossing gel makes the look effortless.
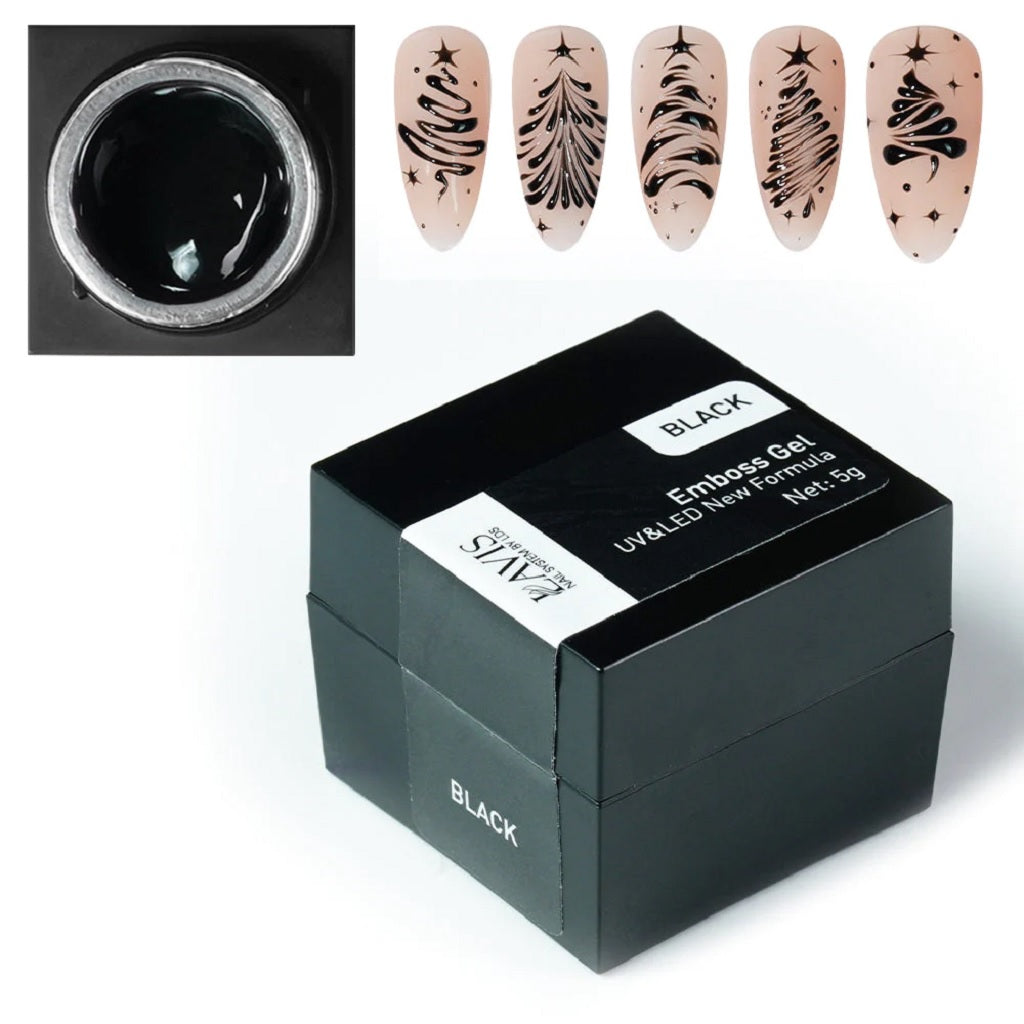
Emboss Gel - Black
French Tips with Rhinestone Moons

The way the gems are grouped makes it appear as if she's wearing rings on her fingertips. The leaf-shaped moons are a gorgeous accent to a perfectly executed French manicure.
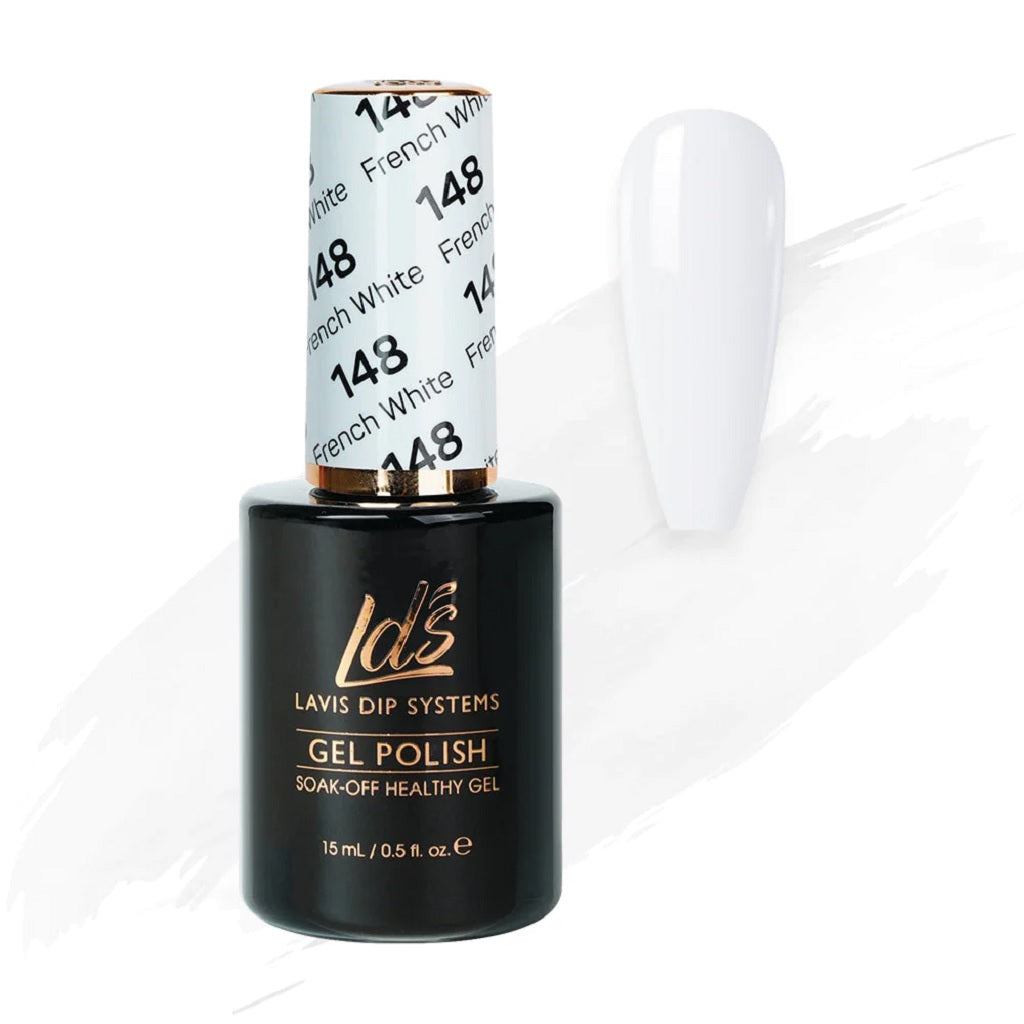
LDS 148 French White - LDS Gel Polish
Pink and Blue Ombre Nails with Iridescent Rhinestones
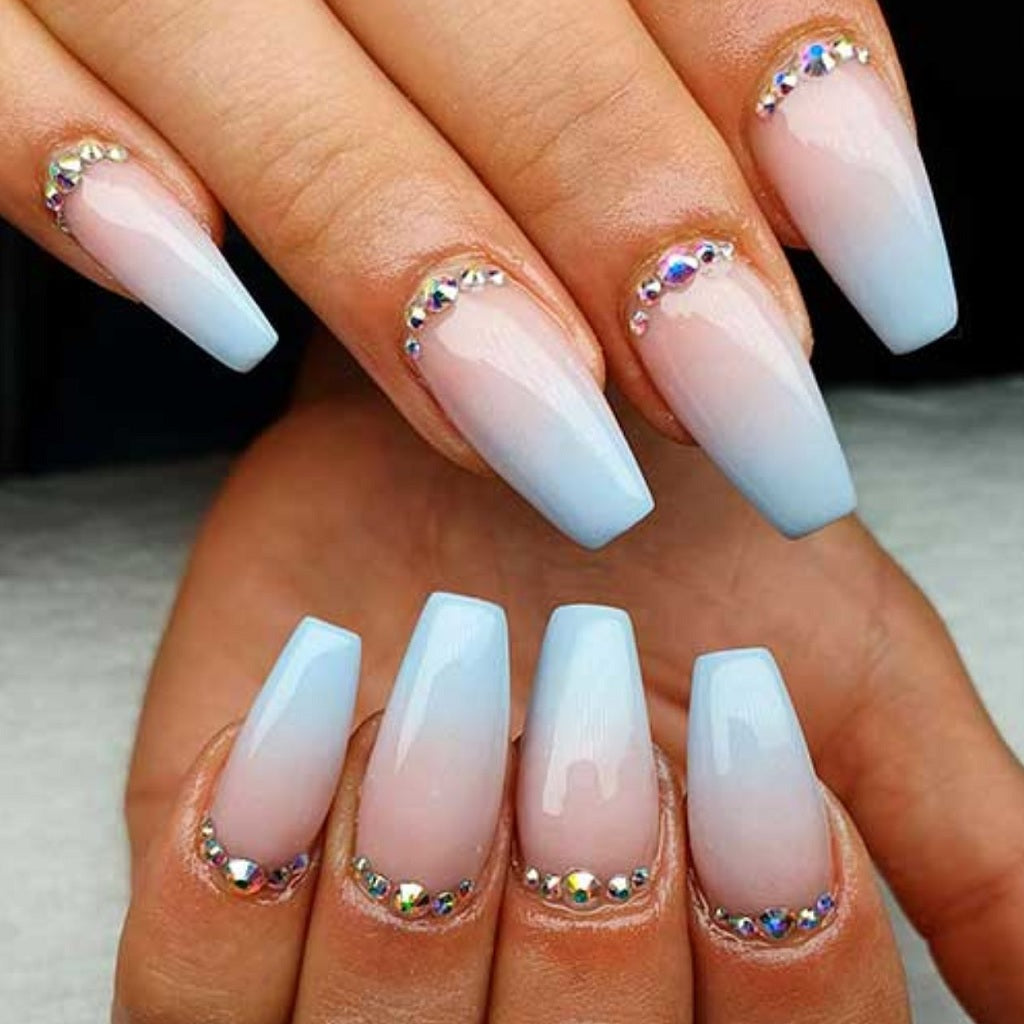
Look closely, and you'll see that these are studs, not gems. Therefore, they have an iridescent finish that shifts colors. It's a perfect counterbalance to the gradient look.
Burgundy, Mauve, and Platinum
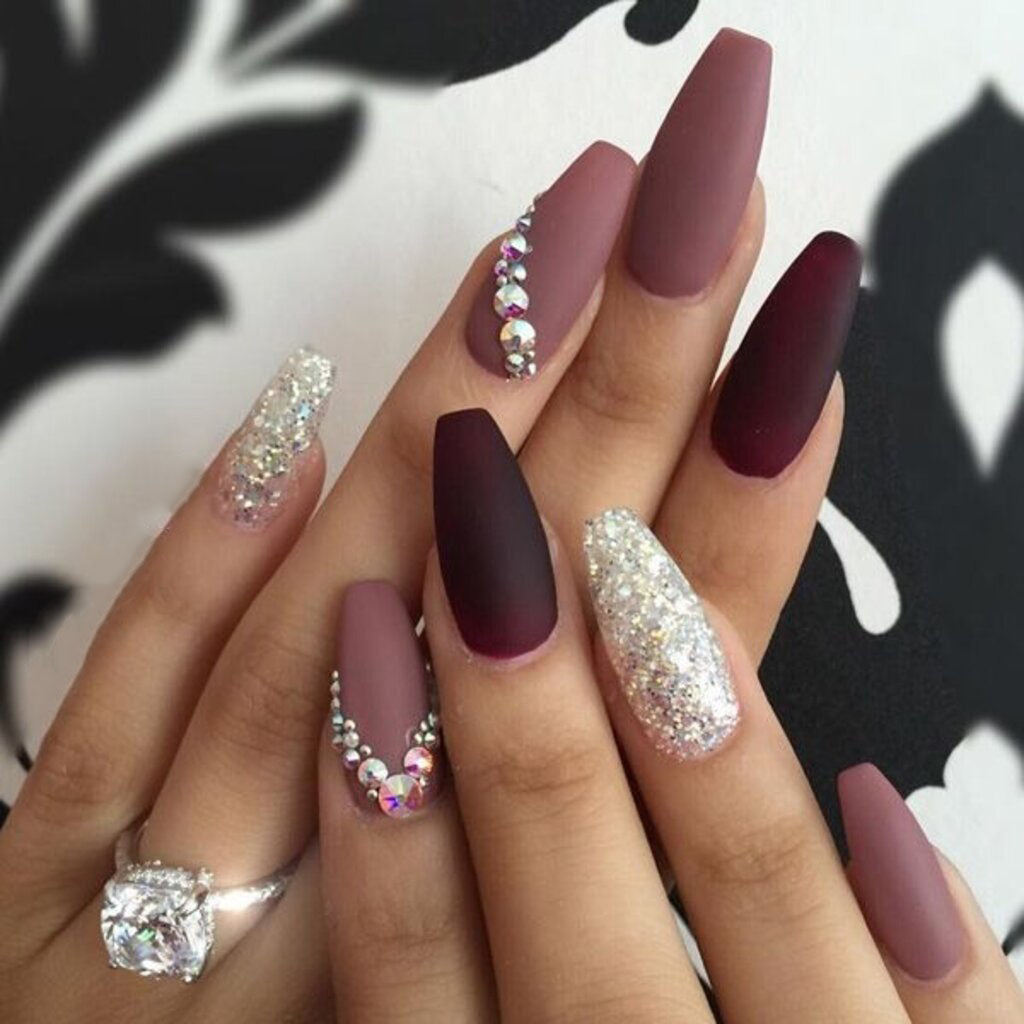
These stylish nails are suitable for a wedding or other special event. We love the contrast between the glitter and the matte polish.
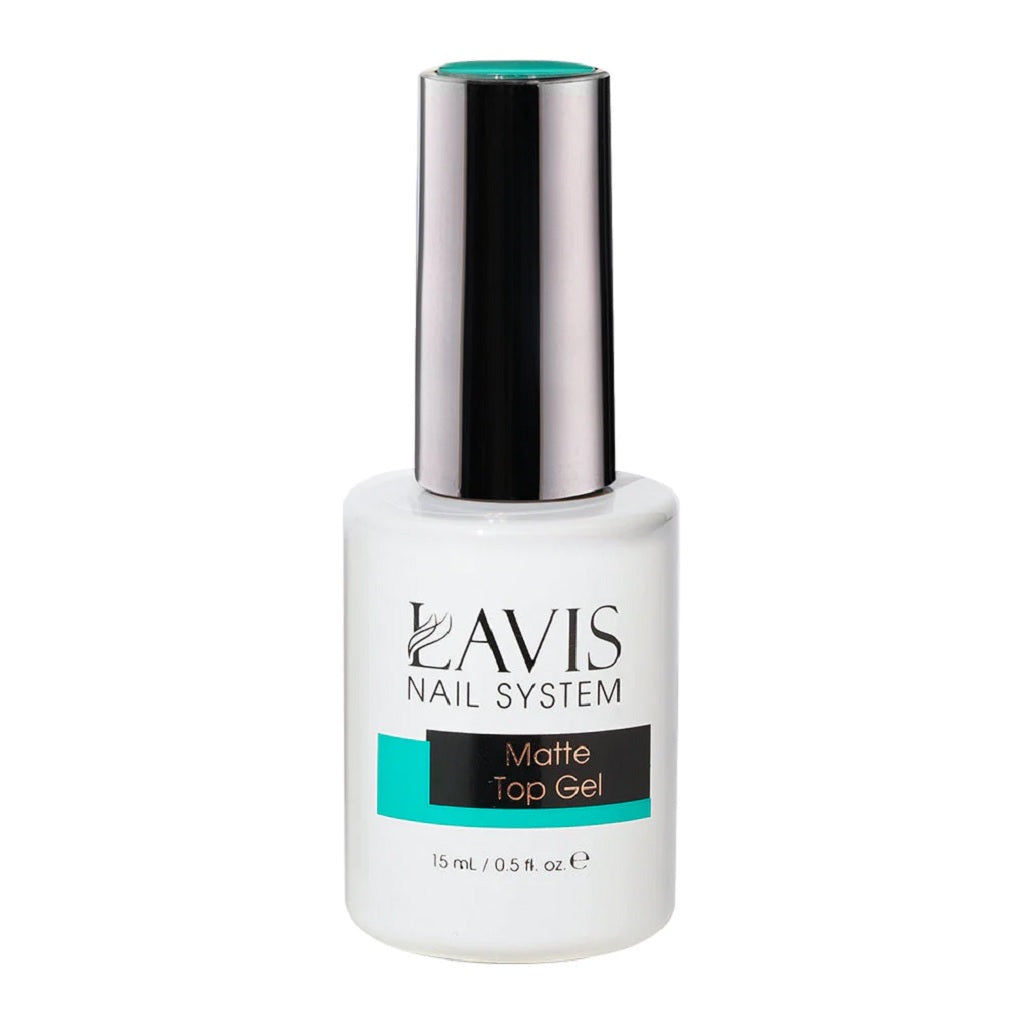
Lavis Matte Top Coat
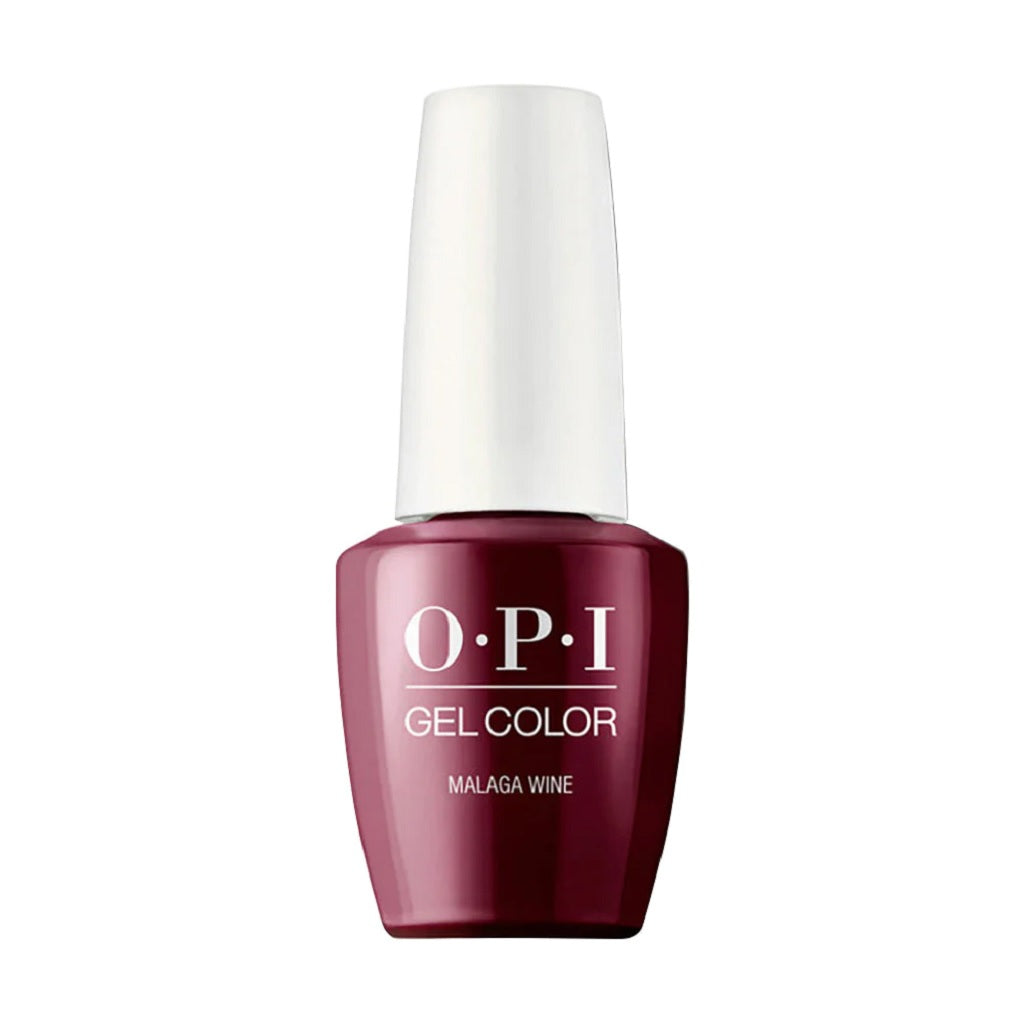
OPI L87 Malaga Wine - Gel Polish
Midnight Blue Oval Nails with Split Sheens
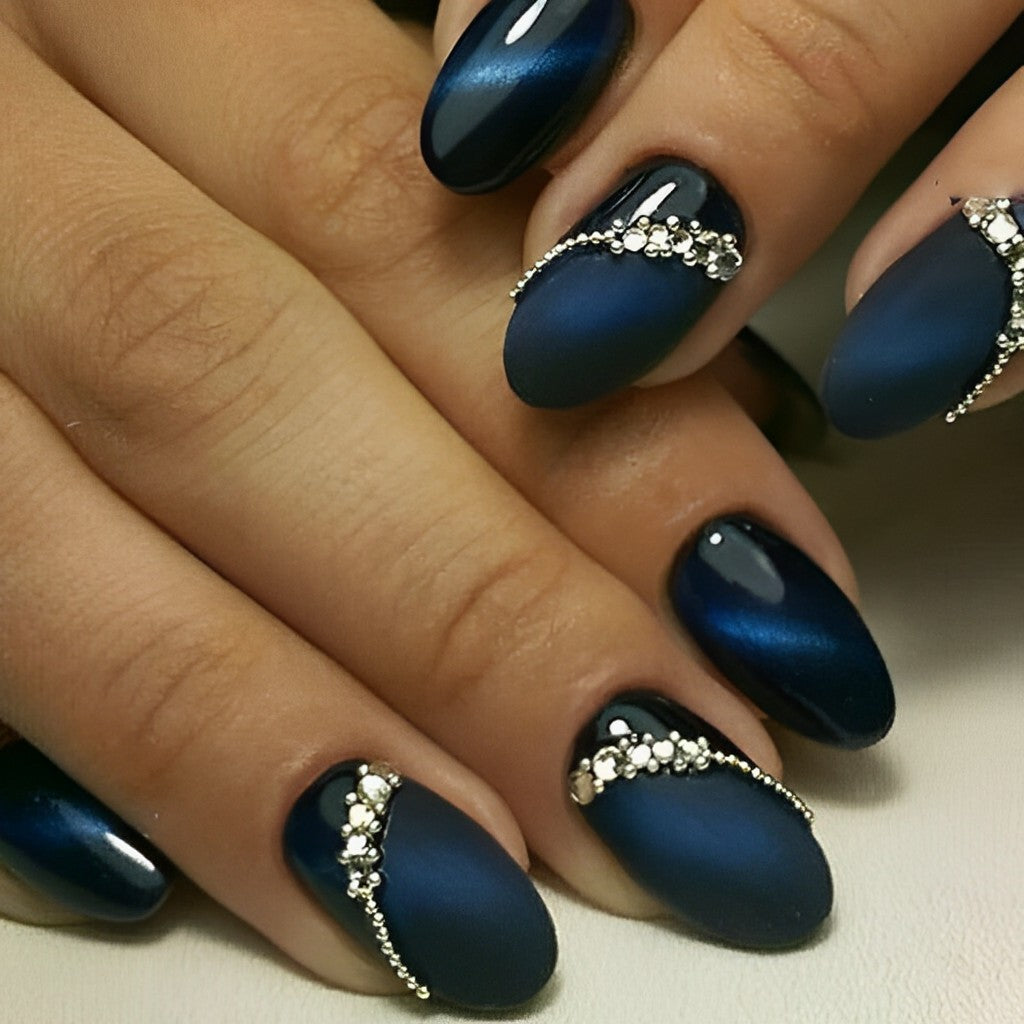
Here’s a work of art for a truly elegant occasion. The delicate rhinestone curves separate matte and glossy sections. Meanwhile, the cat eye polish features diagonal lines on the other fingertips.
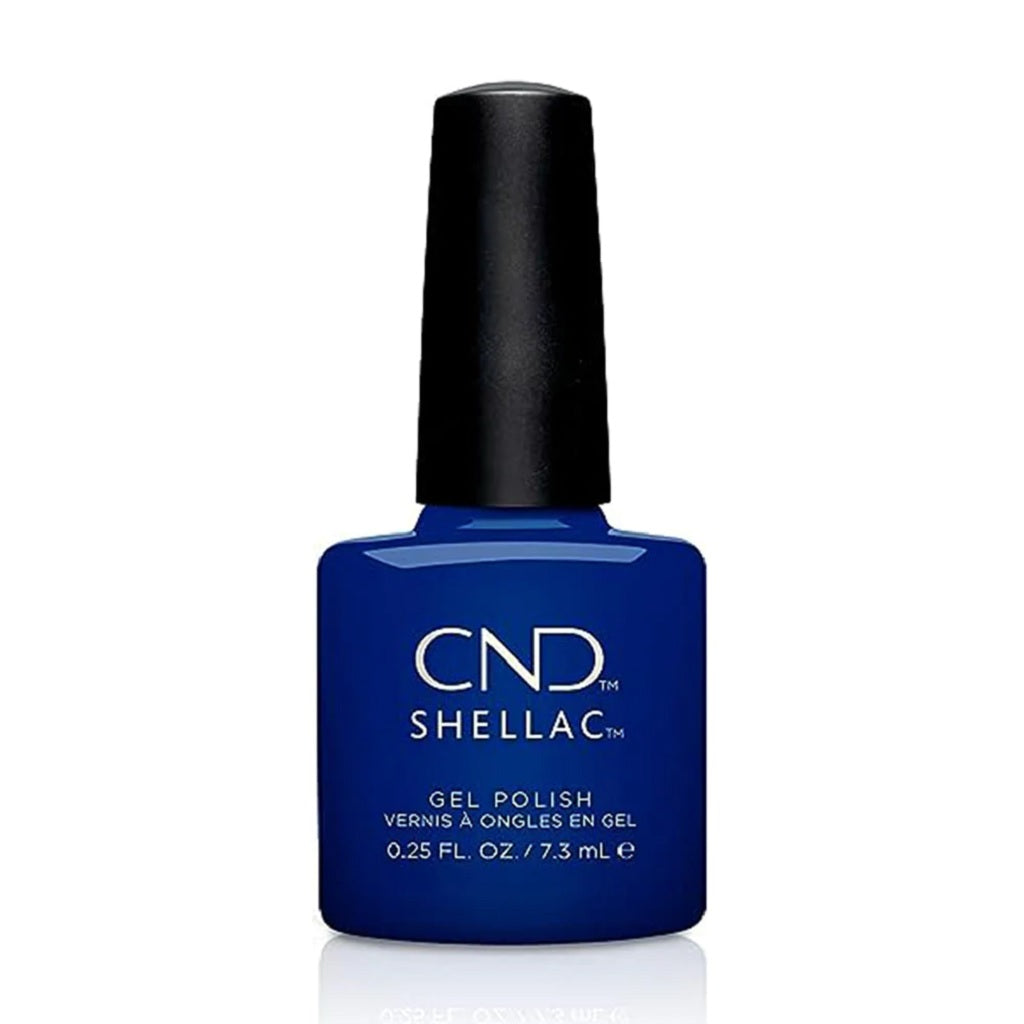
CND Shellac Gel Polish - 016 Blue Moon - Blue Colors
LAVIS Cat Eyes CE13 - Set 12 Colors - Luminous Sky Collection

Matte Black Almond Nails with a Rhinestone Stripe
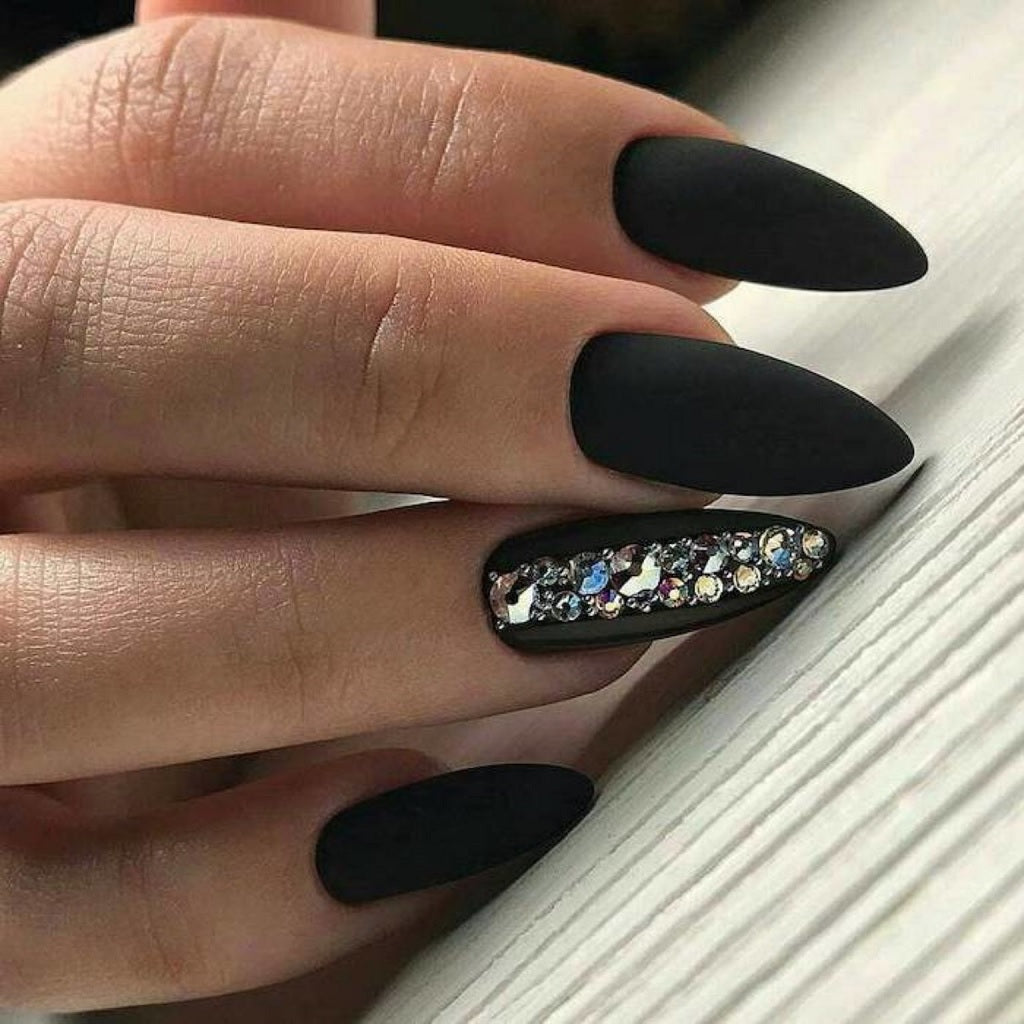
The thick band of rhinestones looks especially lush against the flat, black background. What a chic idea for the next time you wear that little black dress.
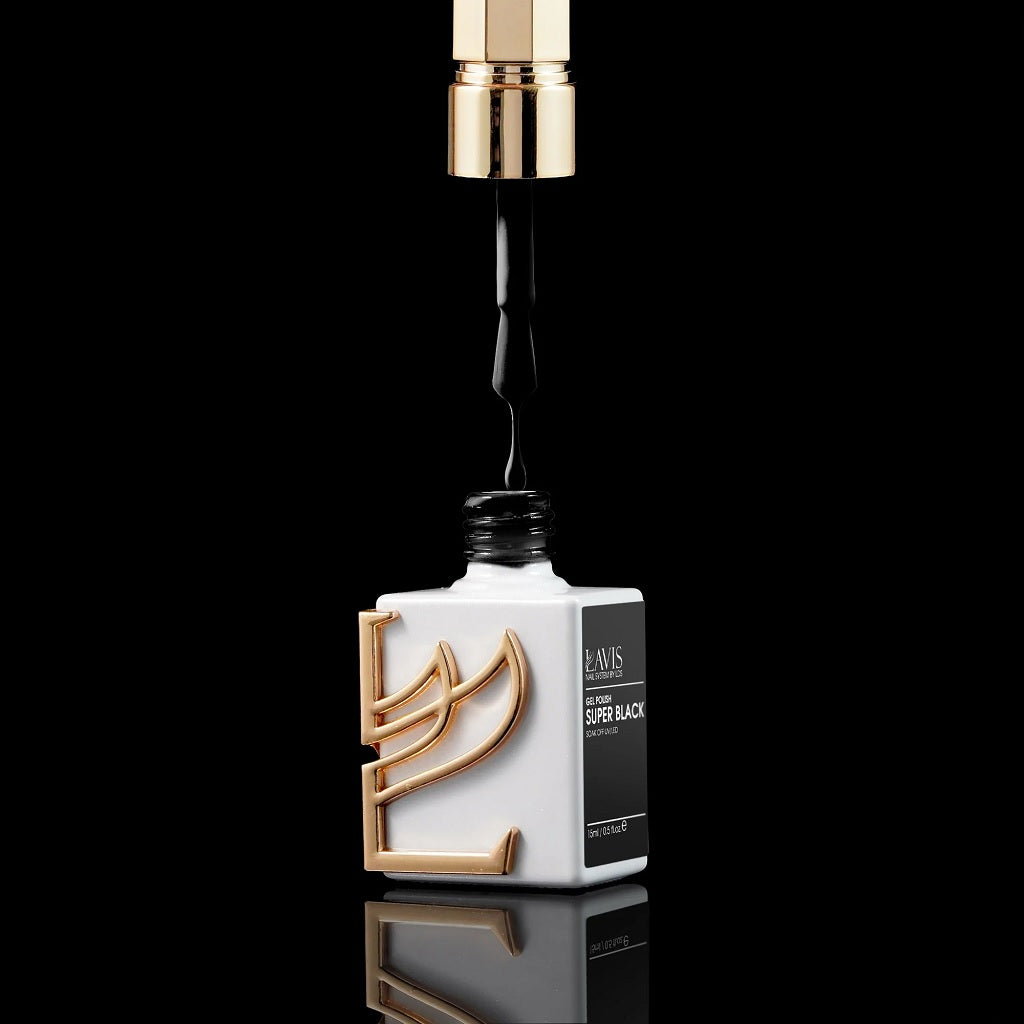
LAVIS Super Black
Gradient Gray Ballerina Nails with Chrome and Stones
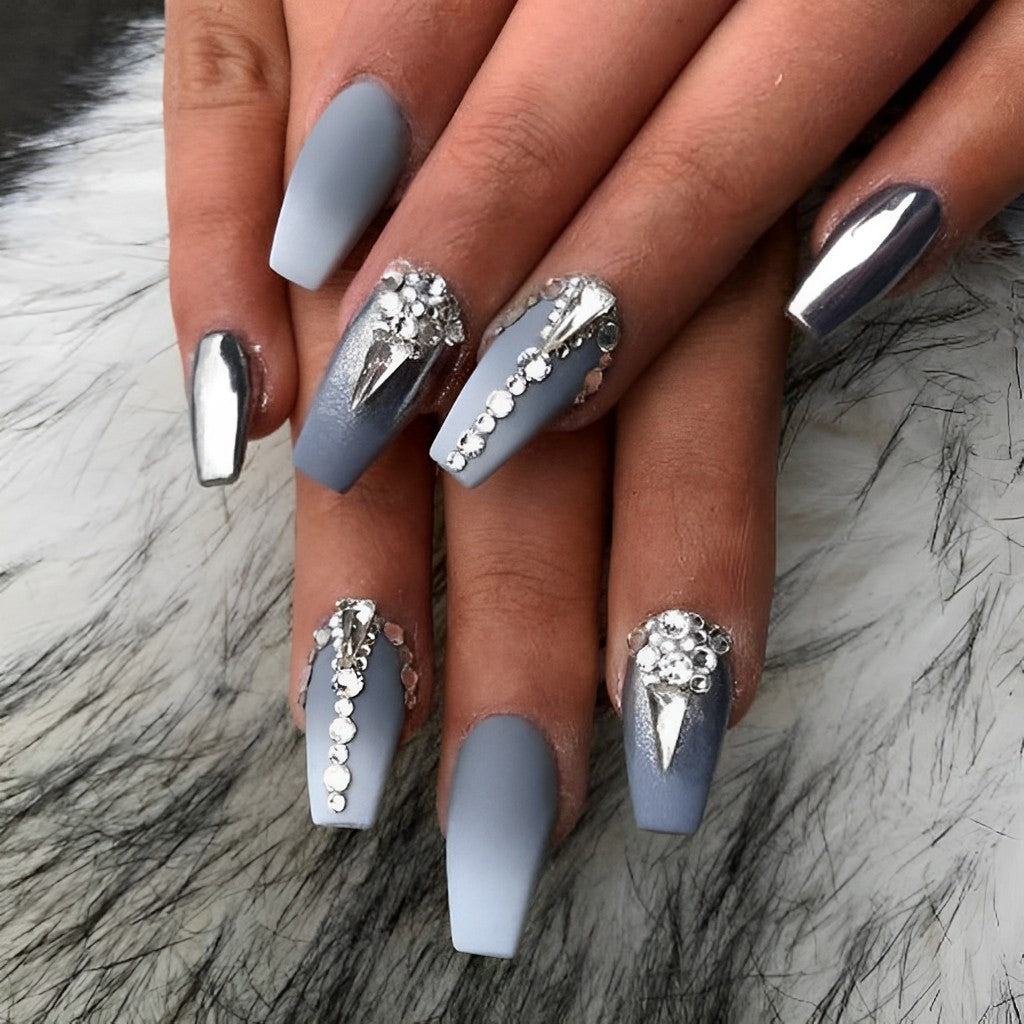
Oooh, these are fancy nails! The ombre background and the chrome accents match the plentiful rhinestones perfectly.
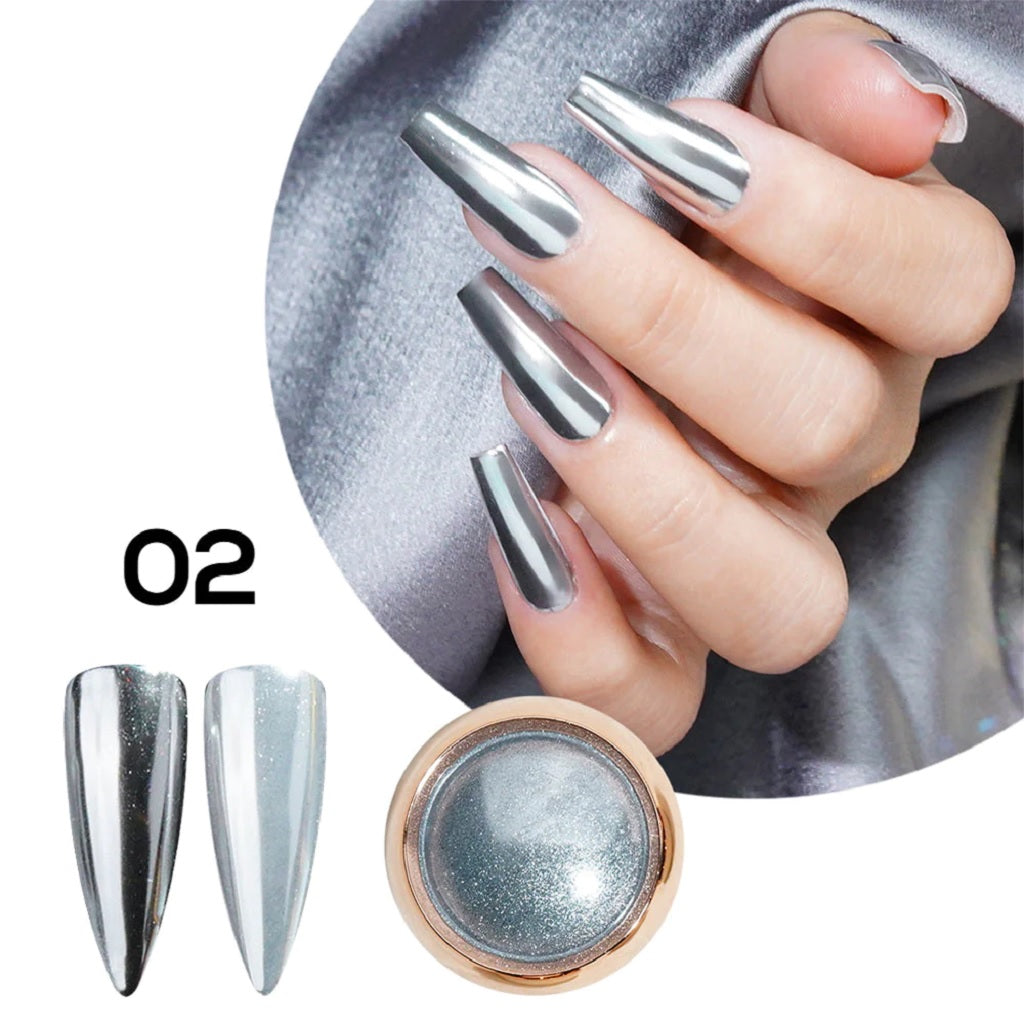
Chrome Classic Powder - 02B
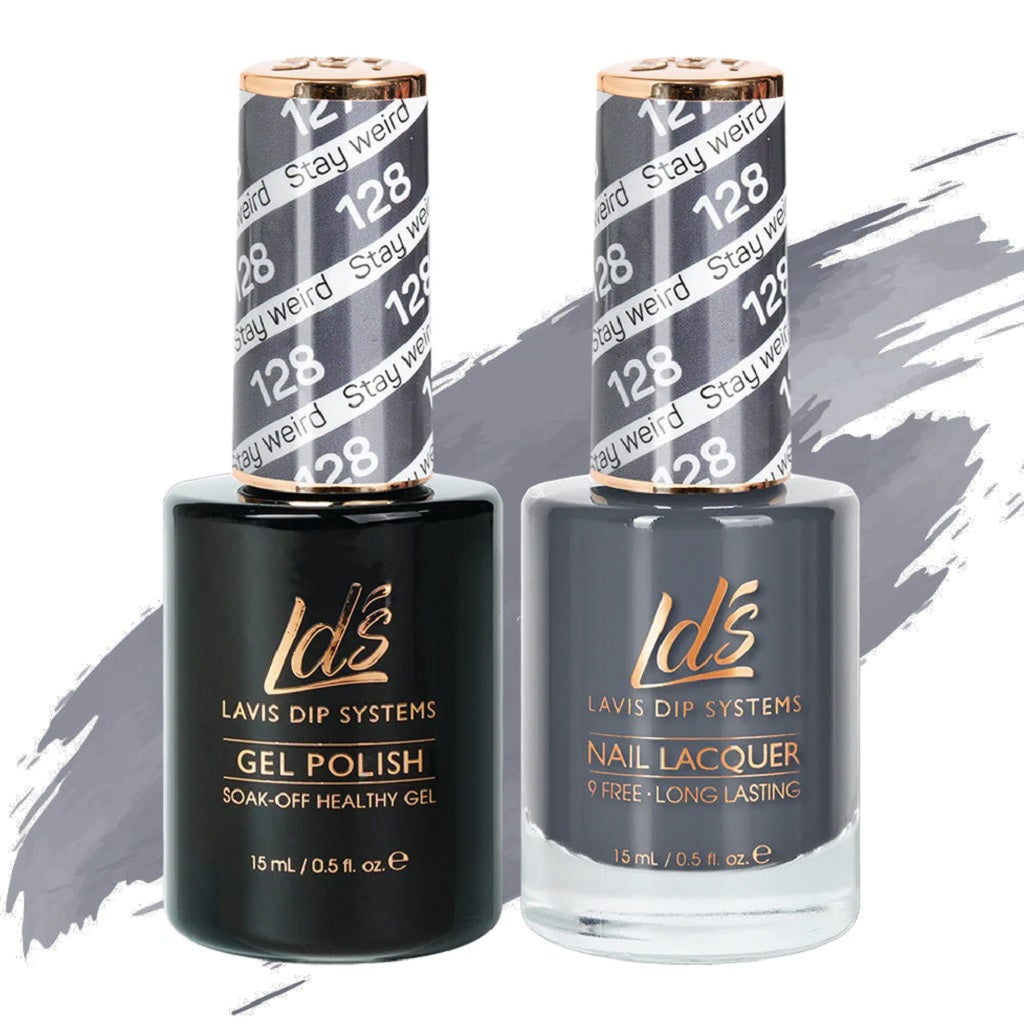
LDS 128 Stay Weird
LDS 009 Smoke Blue
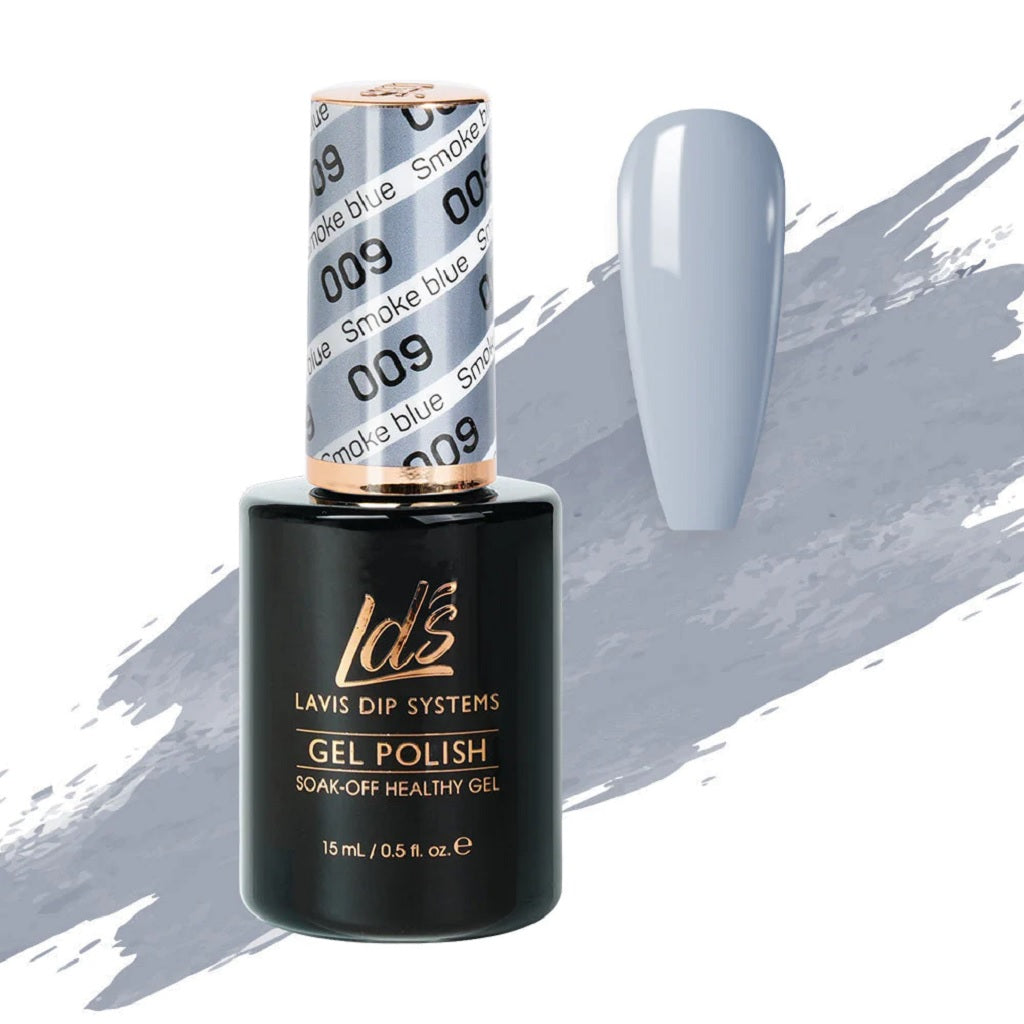
Scarlet Ballerina Nails with Peek-a-Boo Hearts
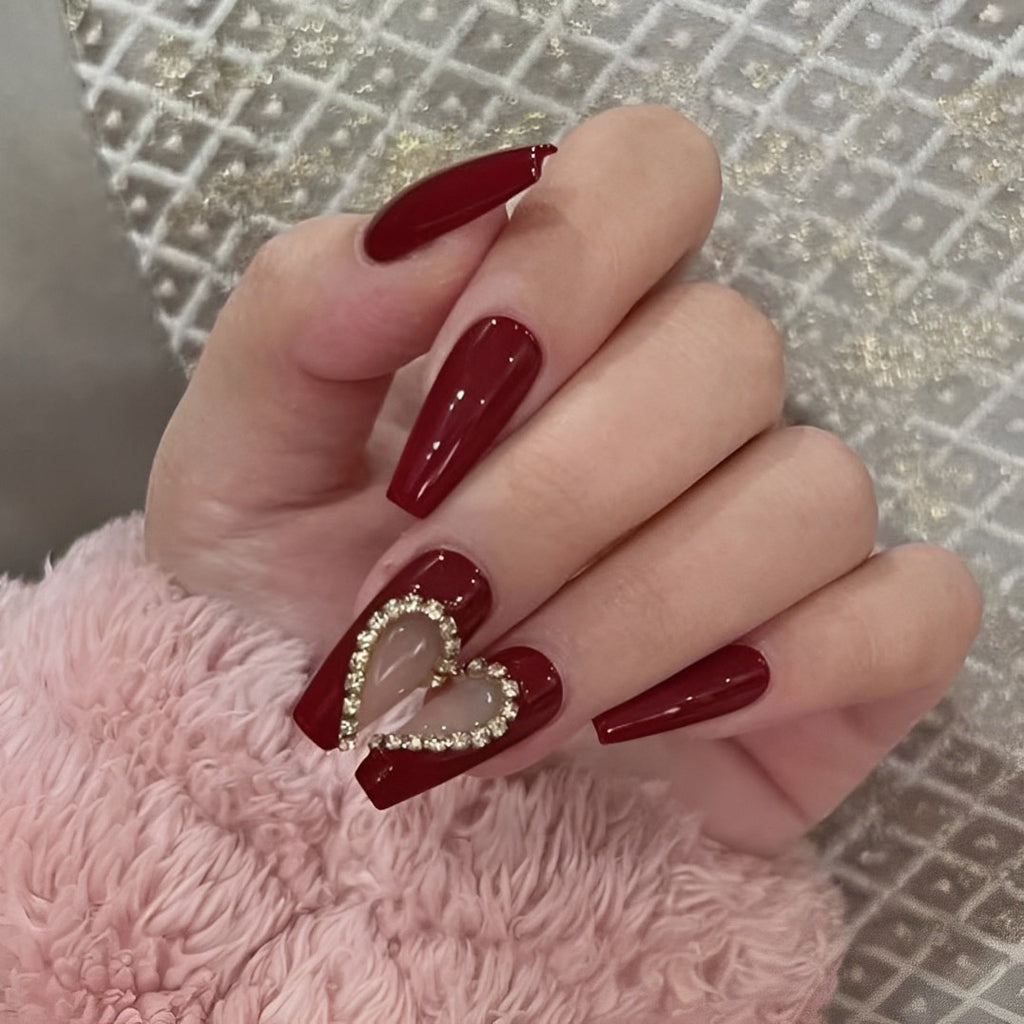
Here’s an adorable manicure that’s perfect for Valentine’s Day or an engagement announcement.
Red and Gold Delight
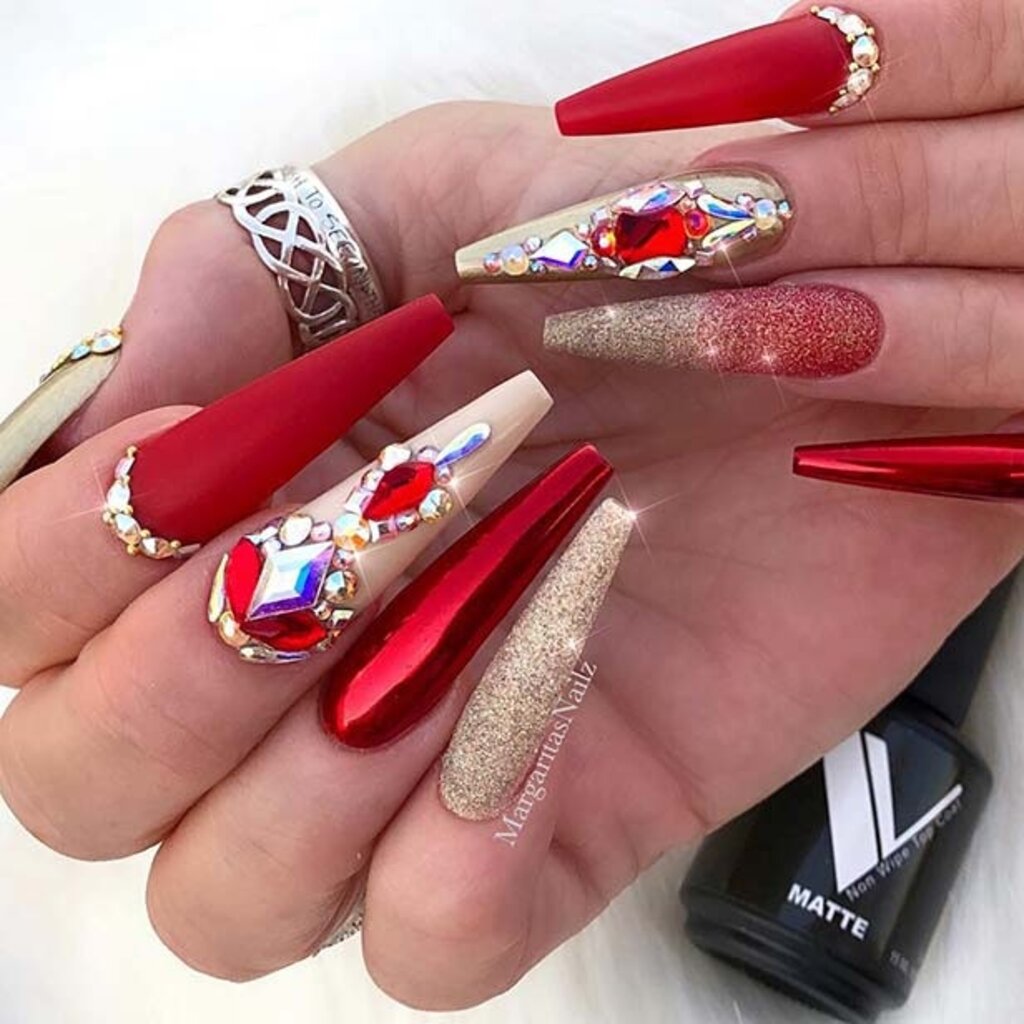
It’s time to go all out in party mode! These festive ballerina nails are packed with the most stylish textures, colors, and enhancements.
Chrome Classic Powder - Red

How to Apply Rhinestones to Nails
Are you ready to try your hand at making your manicure more glamorous? Then, learn how to apply rhinestones right now. First, you’ll need a handful of supplies:
- Rhinestones to match your intended design (check to see if the largest gems have a curved back)
- Nail glue or gem sealer gel (the latter option requires a nail lamp to cure)
- Wax-tipped pen or gem picker like tweezers to pick up the stones and place them on the nails
Besides those essentials, you may want to have your manicure tools handy. Remember the base coat, colored polish, and a top coat, too.
Let’s begin with the simplest method for adhering rhinestones to your nails.
Securing gems with nail polish
The easiest way to glue on rhinestones is to stick them into a layer of wet polish. However, this method is tricky because the gems may slide if the layer is too thick. Also, it provides only temporary results. Don’t expect the stones to stay on more than a few hours to a day. You can help them stick a little better if you use a tiny brush to apply top coat around the bases once the bottom polish is dry.
Never brush top coat over the top of rhinestones because it will dull the shine.
A more secure option is to use nail glue (but never superglue that will harm your nails).
Adhering rhinestones with glue
Nail glue air dries quickly and doesn’t require a nail lamp. It will hold the rhinestones in place much better than polish by itself. Nevertheless, it may damage the stones’ backing and make them difficult or impossible to reuse.
Once the polish is thoroughly dry, place a small dab of glue on the nail. (Try a dot picker pen because it’s accurate and straightforward to clean). Then press the rhinestone into place. If needed, use a toothpick to add more glue at the base.
Gluing on rhinestones with gem sealer gel
This method requires a UV or LED nail lamp to cure the adhesive. Out of these three ways to glue on rhinestones, this one will last the longest while holding even the largest stones. Moreover, gem sealer doesn’t corrode the rhinestones. It can be soaked off with acetone just like regular gels.
Place a bit of glue on the nail and press the rhinestone there. Place the hand in the lamp and tilt it gently from side to side so the light can completely cure the gel. Secure large stones by adding extra sealer around the base.
Where to Place Rhinestones?
As you viewed the rhinestone nail art designs above, did you notice that the largest stones tend to be close to the cuticle? That's a good placement because it's a stable position where the nail doesn't flex. But, as any manicurist will warn you, don't get too close to the skin. Sealing gaps there is hard, and the stones may pop off or snag.
How to Pick Up Rhinestones
It’s easiest to use a wax–tipped pen to pick up gems. The wax tips can be sharpened and replaced.
Also, crayons, a wet cuticle stick, needle-nose tweezers, or even damp uncooked spaghetti works. Fingers are just too big. Treat yourself to the right tools, and you'll enjoy nail art even more!
Conclusion
We hope you have so much fun trying out the best rhinestone nail art designs and making your nails shine!
If you love getting a good deal on gorgeous polish colors and essential nail supplies, visit our clearance section. Don’t forget, we’ll give you free shipping for orders over $100!

