
This manicure is bold and edgy. It has dark vibes and intense hues with dynamic energy. Of course, you want it for yourself–so do we. The good news is that you can replicate this striking design at home!
Let’s talk about how to copy Sydney Sweeney’s black aura nails.
(The secret ingredient will surprise you).
First, What Are Aura Nails?
Aura nails reflect your personal energy field. For example, a person who adores nature may have a green aura. Someone artistic and authentic might have purple and blue.
Moreover, Sydney Sweeney’s black and red aura nails could represent passion and energy in touch with reality.
You can recreate her look or choose different colors to represent what’s true for you.
What You Need to Do Aura Nails
Sydney's nails were done by celebrity nail artist Zola Ganzorigt who used an unusual component to achieve the look. But before we reveal the secret, let's list the supplies you need for black aura nails.
The Basic Tools
- Manicure tools to trim, shape, cleanse, and buff the nails
- Acetone for polish removal and cleanup
- Medium-length almond nails (including nail tips and adhesive if you’re doing extensions)
- Base coat to prevent staining
- Top coat to resist chipping and enjoy a longer-lasting manicure
- Nail lamp if using gel polish
- Metal decals or line art gel for accents on the pinky fingers
- Nail art brush or makeup sponge for blending
The Colors
- Super Black nail polish, the perfect base for dark aura nails.
LAVIS Gel Polish Super Black
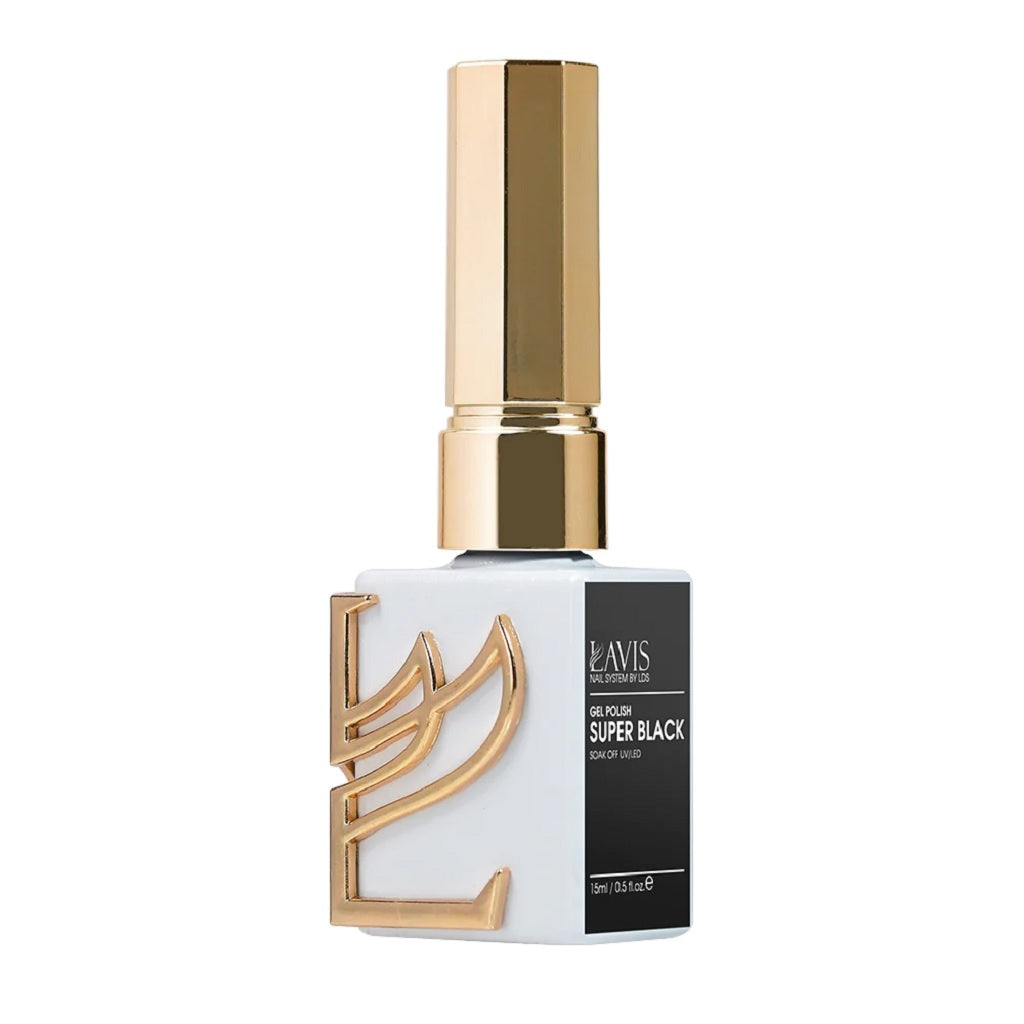
This attractive bottle contains an exceptionally intense black polish. It’s richly pigmented and super smooth for a professional finish.
LAVIS 221 Cherry Tomato
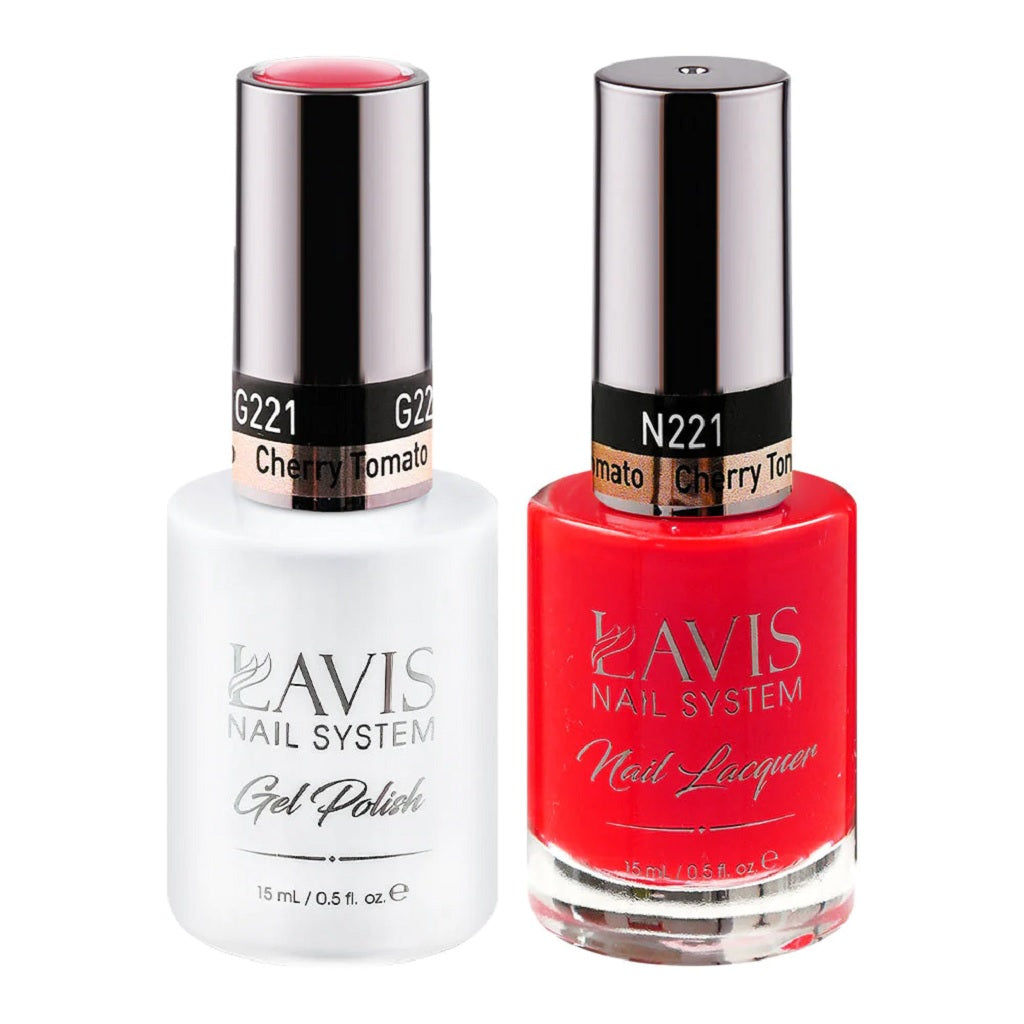
This shade is ideal for a scarlet center on your black aura nails. Or hold out for the secret ingredient described below.
LDS Metallic Line Art Gel Chrome Silver UV/LED
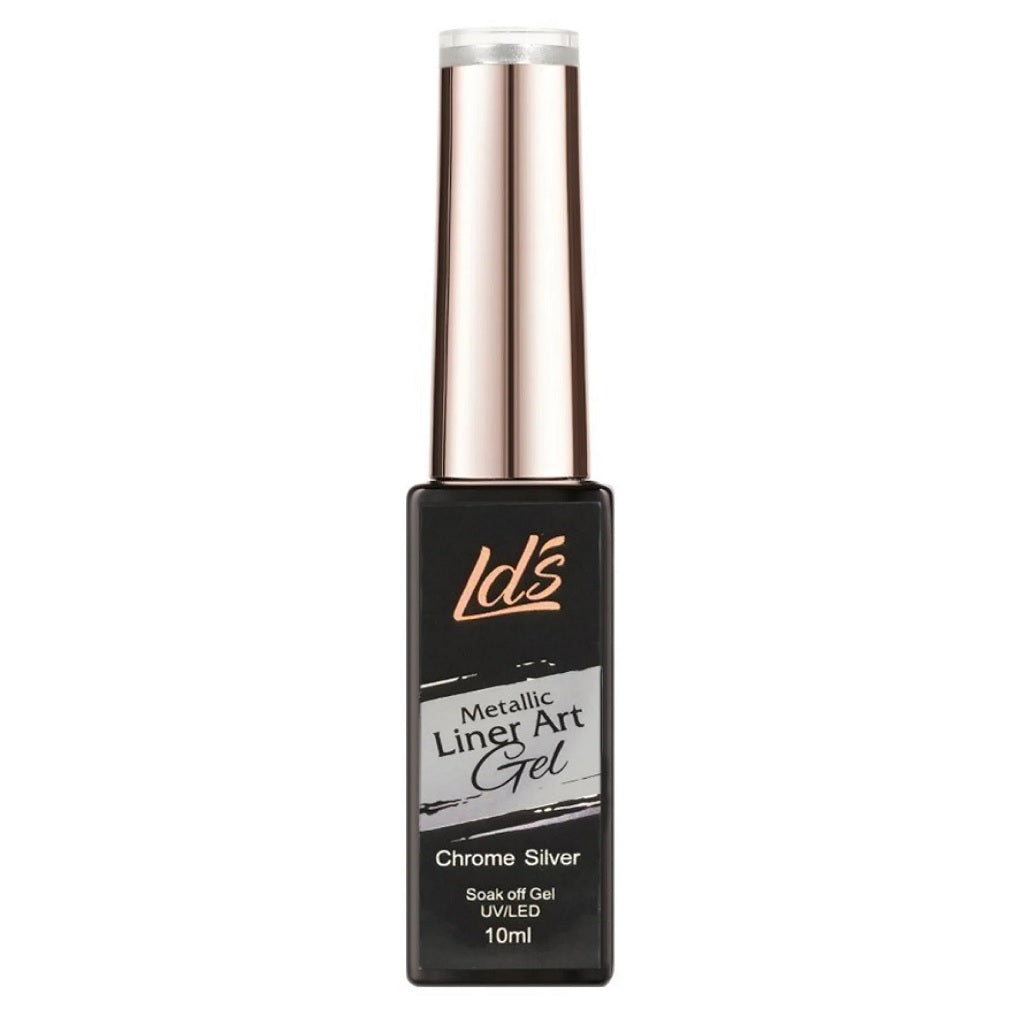
Professionals use Line art gel for intricate nail designs like the accents on Sydney Sweeney's nails. The highly-pigmented formula lasts for three weeks or more. Plus, it comes with an ultra-thin brush in the bottle.
The Secret Ingredient to Sydney Sweeney’s Black Aura Nails
Often, aura nails are airbrushed. That’s how the artists achieve the hazy concentric rings. But there’s another way to get the airbrushed look without polish.
Use ruby red eye shadow for the center of your black aura nails.
Yes, you read that correctly. Instead of polish, we heard that Zola Ganzorigt used makeup for the stunning pop of color in the middle!
How to Do Black Aura Nails at Home
Shape the Nails
Nail prep is crucial to a gorgeous manicure. Begin by removing the old polish. Then trim and file the nails. Zola Ganzorigt recommends the almond shape as it’s pretty, resistant to breakage, and comfortable to wear. It’s also ideal for the oval aura shape.
The dark aura manicure she created for Sydney Sweeney features medium-length almond nails.
Tame the Cuticles
Soak your hands in warm water for a few minutes to soften the cuticles. Otherwise, apply cuticle remover cream. Then use an orange stick or cuticle pusher to push back the cuticles. Only trim them if there is more than 1mm of excess skin. Remember to rinse off the remover.
Buff and Cleanse
Once the nails are shaped and the cuticles tamed, lightly buff the surface to remove the shine. Then cleanse them with a lint-free nail wipe and alcohol or acetone. Please don't skip this step; it removes debris and oil so that the polish adheres correctly.
Base Coat
Brush on a thin layer of base coat and cure it in the nail lamp. Otherwise, let it air-dry if you’re using lacquers instead of gels.
Try a combination base coat/ridge filler if your nails are ridged.
Apply the Black Polish
Paint your nails black on one hand only first. For gels, cure them for a few seconds less than the recommended time so that the polish is slightly tacky. For lacquer, let the polish air-dry for a minute or two.
Create the Red Center
Getting the airbrushed look is tricky. Dab the red polish or eye shadow in the center of the nail while the polish is a little sticky. Be gentle with light pressure to avoid smudges. Concentrate a heavy dose of color in the middle. Make sure that the black polish completely disappears there. This may take a few layers.
Make Softer Concentric Oval Rings Around the Center
Place a lesser amount of polish or eye shadow in an oval ring moving outward from the center. Dab the edges with a sponge to mimic an airbrushed application. Alternatively, switch to a deeper red shade to make blending easier.
This Alternate Method May Be Easier (Especially for Lacquer)
Do the opposite instead of brushing on a black base and adding red. Paint the base red, then use a brush or sponge to feather black polish around the edges. Leave an oval space in the center as the red highlight.
Top Coat and Accents
Apply one layer of top coat and cure it. Then attach or design the star-shaped metal accents on the pinky nails. Finish with another layer of top coat for a gorgeous glossy shine. Now repeat all the steps on the other hand.
Hydrate the Cuticles for a Salon Finish
Zola Ganzorigt once complained that her pet peeve is dehydrated skin around the nails. Dry cuticles can ruin the appearance of a beautiful manicure. She recommends using cuticle oil after every manicure and as often as possible.
Conclusion
It takes patience to create black aura nails like Sydney Sweeney has. However, this is one manicure you'll want to show everyone! We hope we've helped you achieve precisely the look you want!
While you're here, visit our new arrivals page to see other exciting trends in the nail world. Remember to take advantage of our deals and enjoy free delivery on orders over $100!