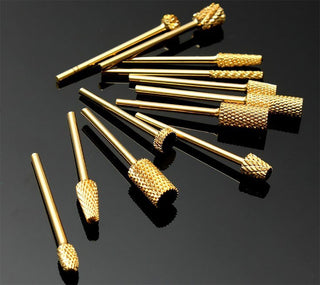
A nail drill is one of the best manicure tools to have. But not all drills are the same. If you’re wondering how to change a nail drill bit, you’re in the right place. We’ll explain different ways to remove and replace bits depending on the type of nail drill you have.
Let’s start with one of our most popular professional nail drills.
LAVIS Nail Drill
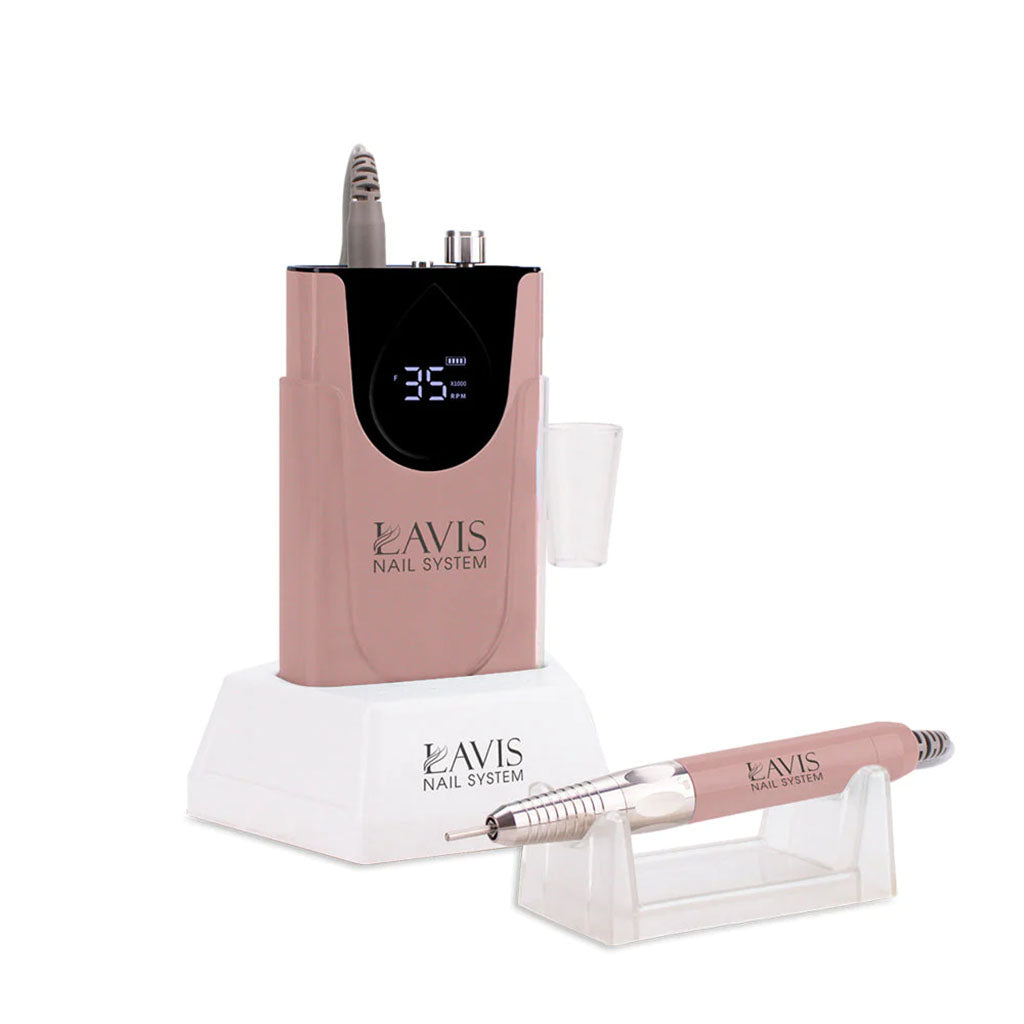
This compact, portable nail drill has a wand attachment and that’s where the bit goes.
If you like the looks of this drill, you're not alone. It has a brushless motor to keep it vibration-free and extra quiet. This kind of motor has a long life and it's very energy-efficient. It's why you can get up to 10 hours of battery life per charge.
Moreover, it has variable speed control up to a maximum of 35,000 RPM. The display shows the speed and the battery status. Then there’s also a smart play/pause button to let you pick up where you left off.
Lastly, the sturdy aluminum casing is acetone-resistant and protected against UV light. Pick from 7 different colors like black, rose gold, and more.
Happily, you can use the drill anywhere in the world because it charges on universal voltage.
How to Change the Bit on This Nail Drill
Look closely at the wand and you’ll see symbols for lock and unlock printed on the handle. If you twist the metal part above that to the left, the wand unlocks so that you can change the drill bit. Then twist it to the right to lock in the new bit.
This type of interface is common among nail drills with a forward/reverse switch. It keeps the bit from coming loose the matter which direction you run the drill. Plus, it makes bit changes very quick and easy.
How to Remove a Bit from Other Types of Nail Drills
There’s another kind of drill where you’ll need to press a button to unlock the tip and pull out the bit. Here’s an example:
Portable Cordless Nail Drill
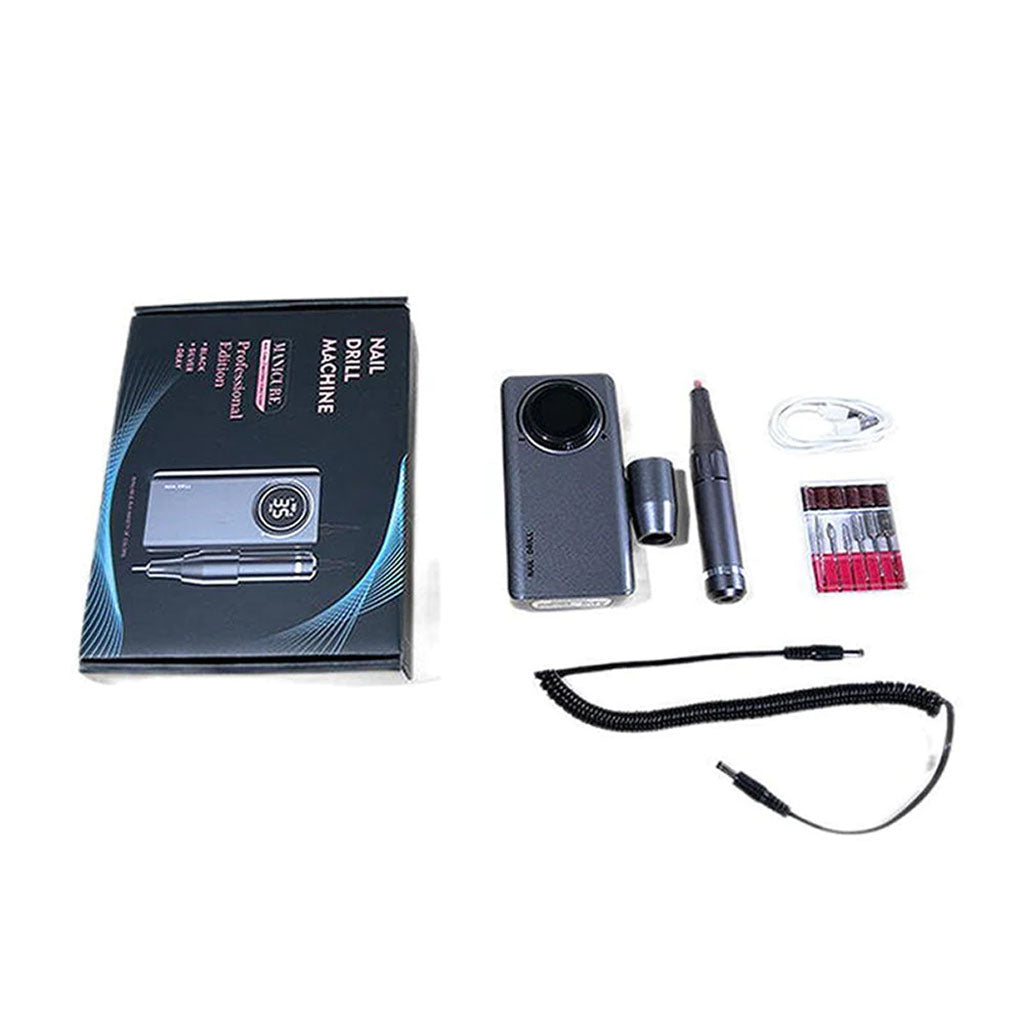
Whether you’re a beginner or on a budget, this portable drill checks all the boxes. It’s plenty powerful for all the necessary tasks of removing gels, shaping nails, and cleaning cuticles.
What’s more, the battery inside can double as a power bank in a pinch. Just plug your USB cable into the OUT port and top up your phone.
There’s another type of nail drill you should see. Then you’ll be familiar with how to change bits on any nail drills you pick up.
Portable Cordless Electric Nail Drill All-in-One
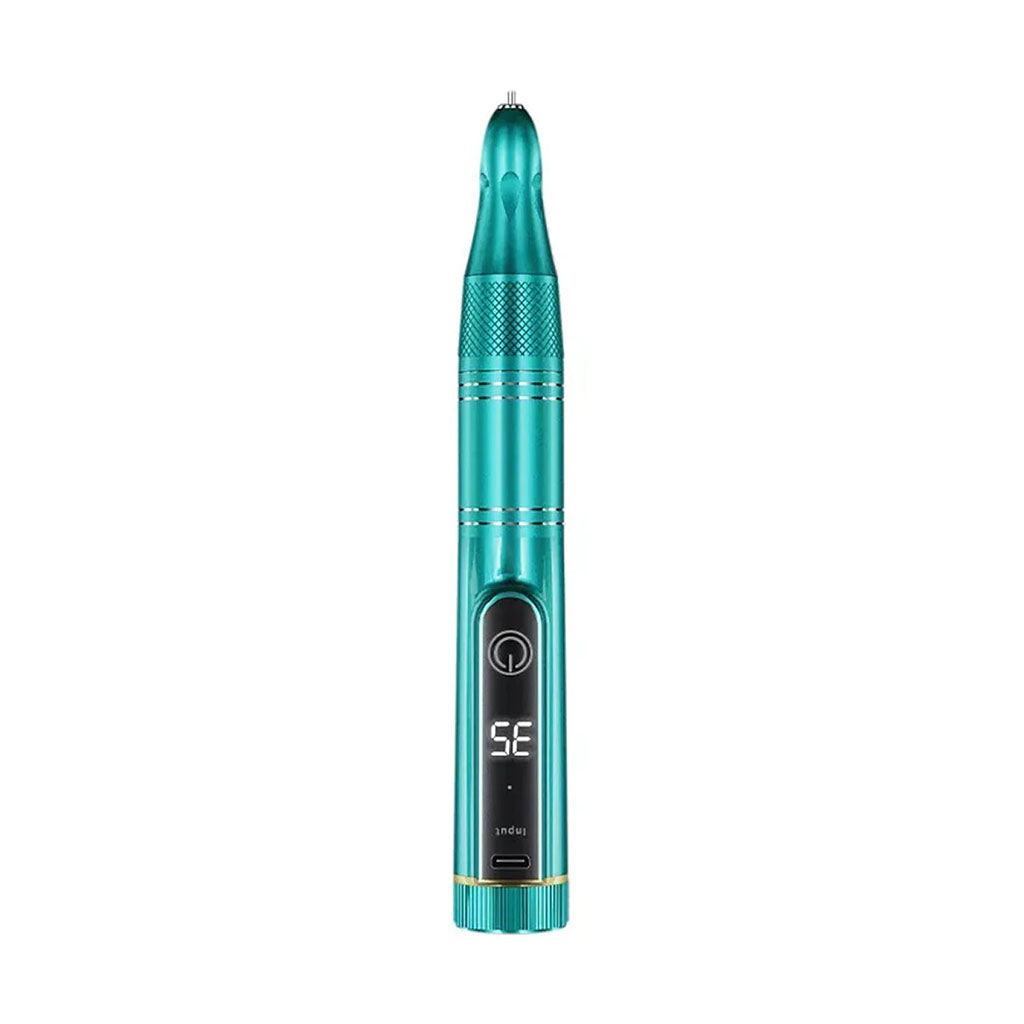
This ultra-compact nail drill does quick bit changes. Make sure the power is off and pull out the bit. It’s just that easy!
Nail Drill Bits Explained for Beginners
Now that you've seen how to change bits on different kinds of nail drills, here's a little more detail about the bits themselves.
The typical size for a nail drill is 3/32. If you plan to use a 1/8 bit, make sure that your drill can handle it.
There are 7 main types of nail drill bit shapes. These include:
- Barrel
- 5 in 1 (a good all-purpose bit)
- Typhoon
- Tornado
- Cone
- Mandrel (for sanding bands)
- L smooth top
Here's an example of the 5 in 1 bit that can remove powder dip nails, acrylics, and gels:
Drill Bit 5in1 Silver Medium
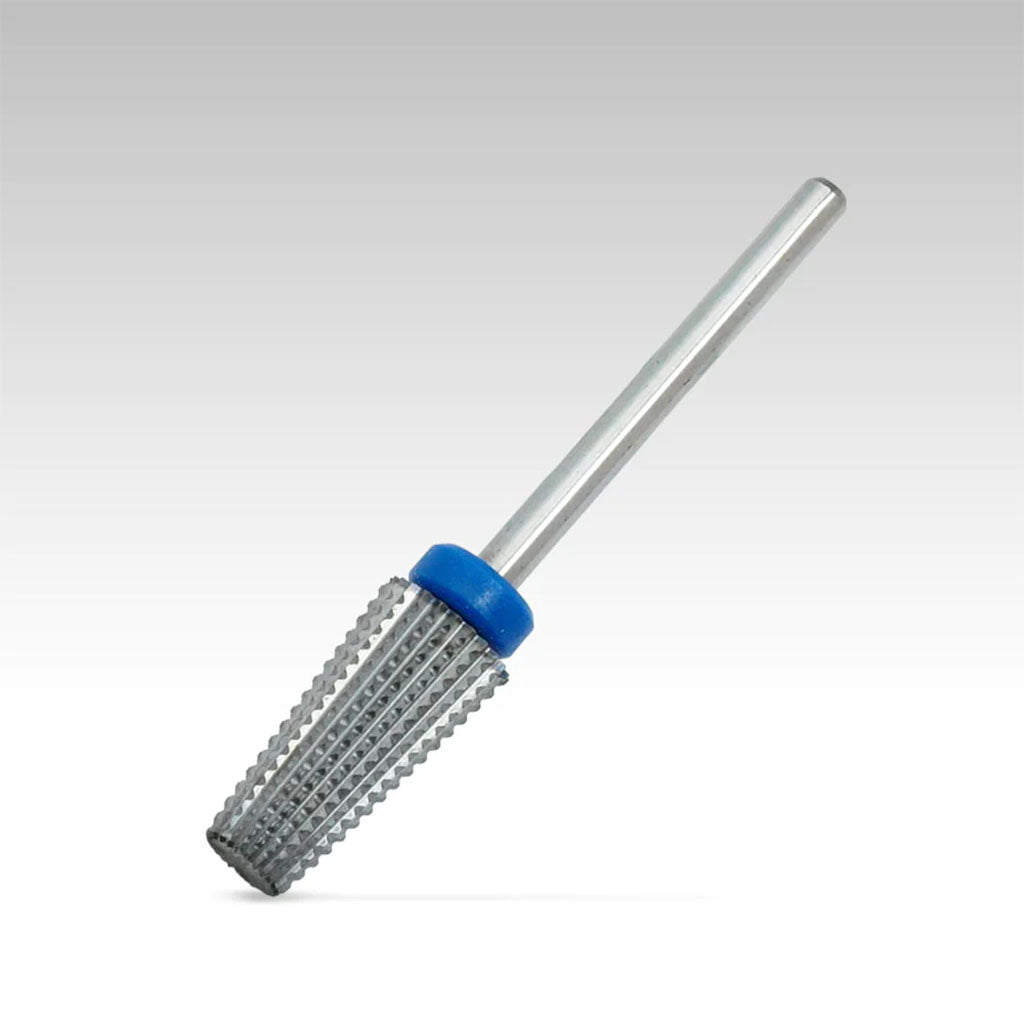
This durable bit will last for months of service if you take care of it. Notice that it’s labeled as “medium.” That’s grit, as in fine, medium, and coarse.
Not only will you need to decide what shape of bit to use, but also how rough the texture is. Check out our assortment of the best nail drill bits to learn more.
Lastly, bits use different coatings and are made of various materials. As you can see below, some are diamond-coated. The diamond powder makes them especially effective.
7pcs Nail Drill Bits with Storage Case
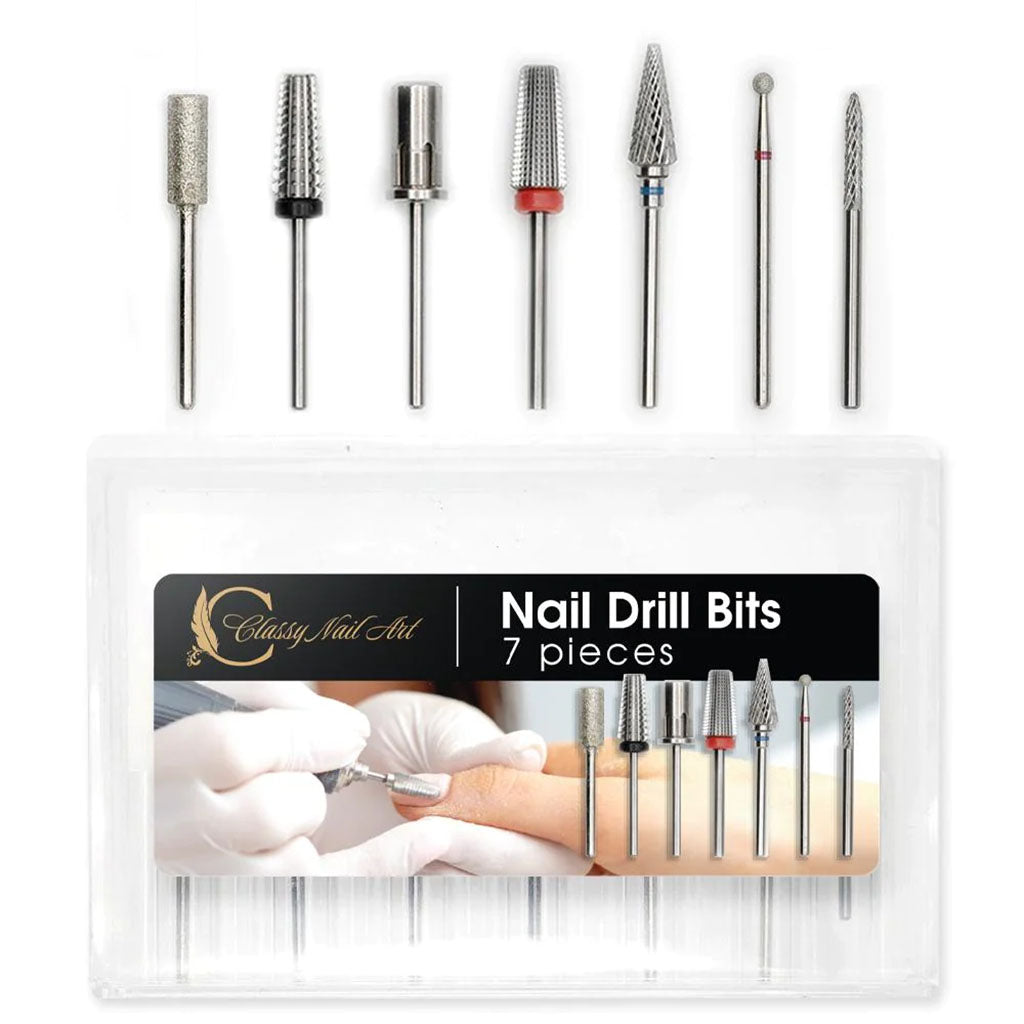
If you’re not sure where to start, this kit contains the bits you need to do a manicure. There’s a mandrel for sanding bands, a 5 in 1, a barrel tip, a cone, and more for shaping, cleaning, and so on.
How to Take Care of Nail Drill Bits
When you’re ready to clean up, use a dust brush tool to remove debris from the bits. Then put them to soak in acetone to remove polish residue. But don’t let them sit too long before you wipe them and put them in a disinfectant container.
Once they’ve soaked as long as they need to, make sure they are completely dry before storing them. It may seem like a lot of work, but bits can last a long time if you take care of them.
How Long Do Nail Drill Bits Last?
Sanding bands should be discarded after each client. But if you’re only working on yourself, you can reuse them. There’s just no way to disinfect them like you can other drill bits.
However, drill bits are made to withstand hundreds of uses. That can be months of daily manicures!
How do you know when it’s time to replace nail drill bits? If they look damaged, like with chips missing, or visibly dull, it’s time for a new set. Or if they don’t perform adequately, swap them for new bits.
Can Using a Nail Drill Damage Your Nails?
Yes, a nail drill can damage your nails and skin. Like any tool, it needs to be used correctly.
Always inspect the drill bits before using them and discard ones that are worn down or damaged.
If you’ve not used a drill to take care of your nails before, start slow and use gentle pressure. Even professionals take it easy when they switch machines until they’re used to the new tool. It’s always best to remove little bits at a time because you can’t put the natural nail back once it’s gone.
Move the drill in one direction instead of back and forth. Watch the angle of contact with the surface. And take advantage of the forward/reverse switch (if your drill offers it) when you change hands.
Lastly, take good care of your nails in between manicures by applying hand cream and cuticle oil and using protein treatments as needed.
Conclusion
Now you know how to change bits on a nail drill! Visit our collection of salon-quality nail drills and bits to get what you need today.

