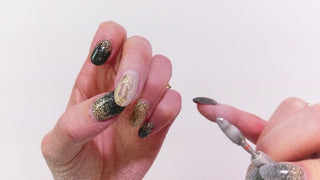
Are you wondering how to remove hard gel nails? Your best bet is to go to a salon and have them removed professionally. But it may not always be possible to do that, so let’s talk about how to take hard gel off nails.
Supplies Needed for Hard Gel Removal
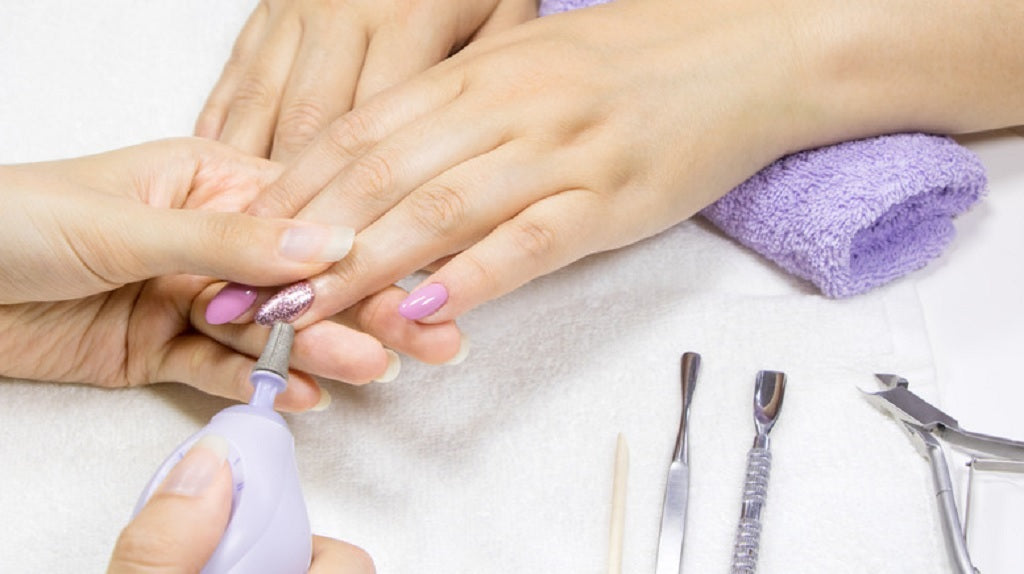
You’re in luck if it’s a soak-off gel. But most hard gels are acetone-resistant. The molecules are packed tightly together and won’t soak up the acetone. Instead, you’ll need to file off or grind down the overlays or extensions.
These are the tools you’ll need:
- 80-grit coarse nail file or
- nail drill or e-file with an appropriate bit (more on that in a moment)
- acetone
- cuticle pusher or orange stick
Optional accessories for a professional finish:
- foil and cotton balls for soaking with acetone and wrapping the nails
- 180-grit file or buffing block
- cuticle oil
Be prepared to spend some time working on this project. Don’t do it if you’re in a rush because you might damage your nails by accident.
How to Remove Hard Gel Nails
The job starts with filing down through the hard gel. If you’re doing this by hand, it’s going to take a long time with a manual nail file.
Step One: File
If you use a nail drill with the right bit and speed setting, it’s going to go faster but still take a while. The problem is removing most but not all of the hard gel without damaging the natural nail or the skin around it.
If you're using a coarse grit hand file, do cross-hatch strokes down only to where you can see the color flaking off. It’s better to remove too little and have to repeat than to damage the nail underneath.
Otherwise, if you’re using a nail drill, we have some recommendations. A professional drill with next to no vibration and a lightweight wand is much easier for beginners to control. Here’s a good example:
Lavis Nail Drill
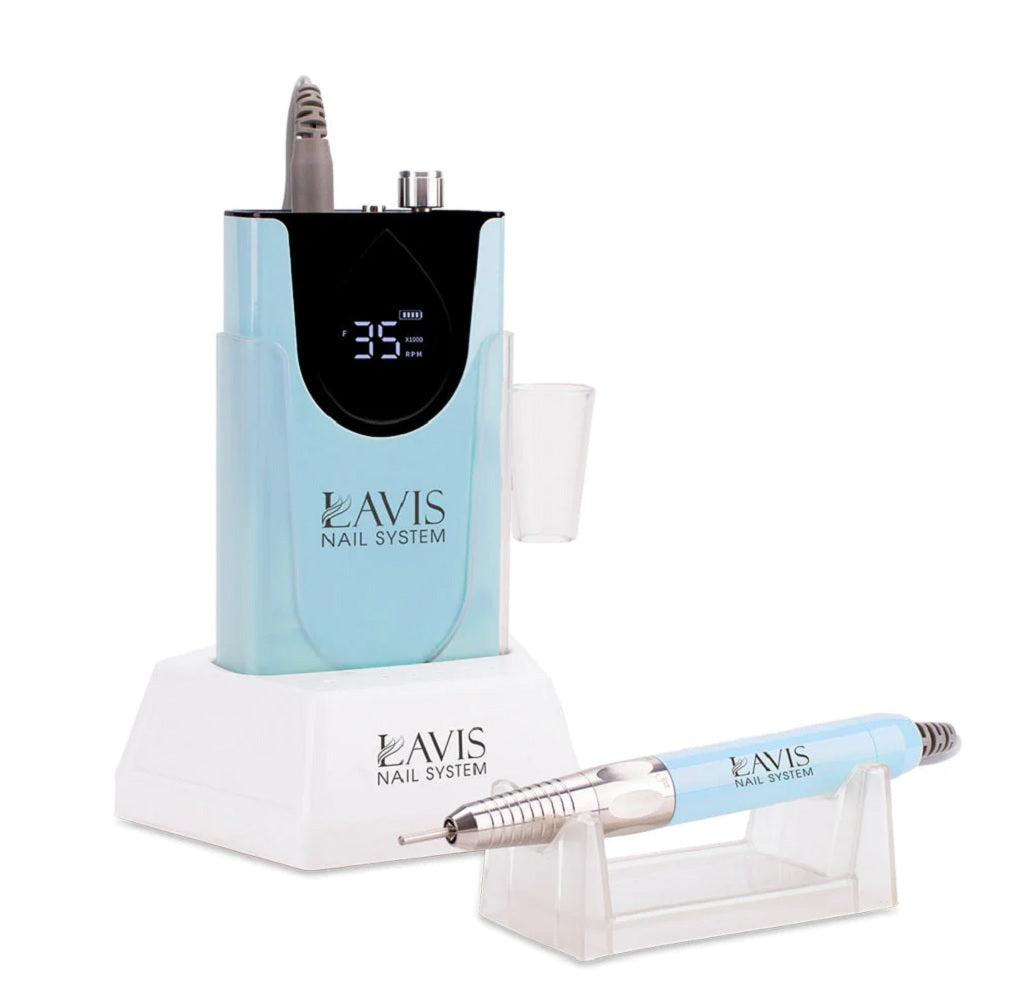
We love this compact nail drill because it’s powerful, quiet, and easy to use. It runs up to 10 hours per charge. One glance at the digital display reveals the status.
The forward/reverse switch lets you use it with either hand. Moreover, the variable speed control and smart pause button streamline the job. In this case, 20,000 RPM is the sweet spot for grinding down the hard gel.
Choose from 7 different colors, all of which are acetone and UV-resistant. Have a closer look at the drill in this brief video.
While we’re at it, we also like to suggest a safety bit for removing hard gel. It’s designed to be user-friendly and effective.
#29 Safety Bit Gold XC

The cone-shaped bit protects the skin and cuticles from accidents. Meanwhile, the extra-coarse texture makes quick work of filing down hard gel.
If you're pleased with the way the filing removed the hard gel, feel free to stop right there. It's not uncommon to leave a thin layer to reinforce the natural nail. What's more, it's probably safer if you're not experienced in hard gel removal.
Step 2: Soak
When most of the hard gel is gone, you may be able to soak off the rest with acetone. Protect your skin against dryness by applying cuticle oil or hand cream around the nails first.
Instead of dipping the fingers in acetone, it’s more efficient to wrap the nails with saturated cotton pads wrapped in aluminum foil. (You might find it easier to use a product like CND FOIL REMOVER WRAPS.)
Wait 15 minutes before peeking. If the acetone has done its job, the gel will look like it’s lifting. It might take another 5 minutes or so.
Step 3: Scrape
When the hard gel has softened, use an orange stick to push and scrape it off the nail. Buff and shape the nails when you’re done.
Step 4: Strengthen
If you’re satisfied with the results, wash your hands and moisturize them. Be sure to apply cuticle oil.
If the natural nails look dry or feel fragile, brush on a nail strengthener or nail hardener.
Now is also a good time to do a new manicure if you wish.
For Those Who Want to Know More about Hard Gels
If you’d like to reapply hard gel on your nails, there are many different products to choose from. IBD makes different types of hard gel. Some are for overlays and others are for extensions. Here’s one example:
IBD Hard Gel - Natural II
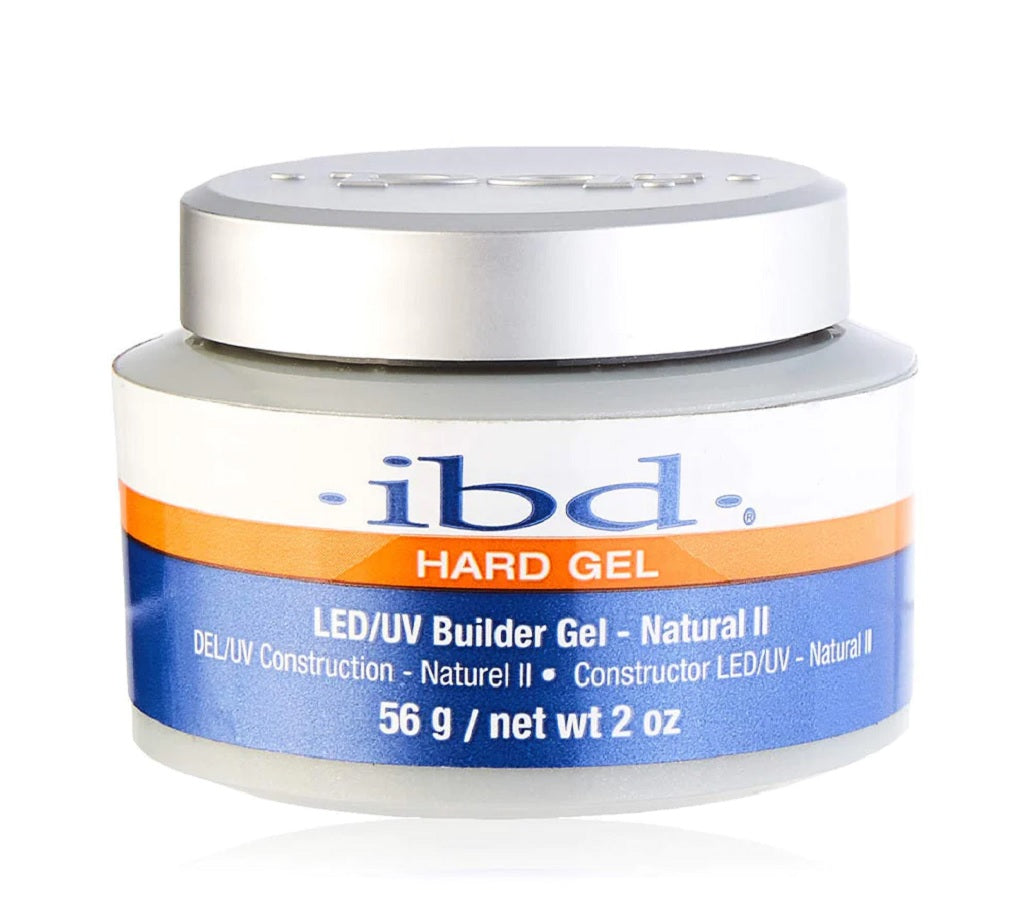
This odorless gel is easy to work with and self-levels like a dream. Furthermore, the formula is free of toxins like toluene and formaldehyde.
It only takes 60 seconds under an LED nail lamp to cure (or 3 minutes with traditional a UV lamp).
When it’s time for removal, you can soak it off with acetone in about 10 minutes.
Lavis Nail System also has an easy-to-use builder gel. It applies like gel polish and even comes with a brush in the bottle.
Lavis Builder Gel - Bare Necessities Collection
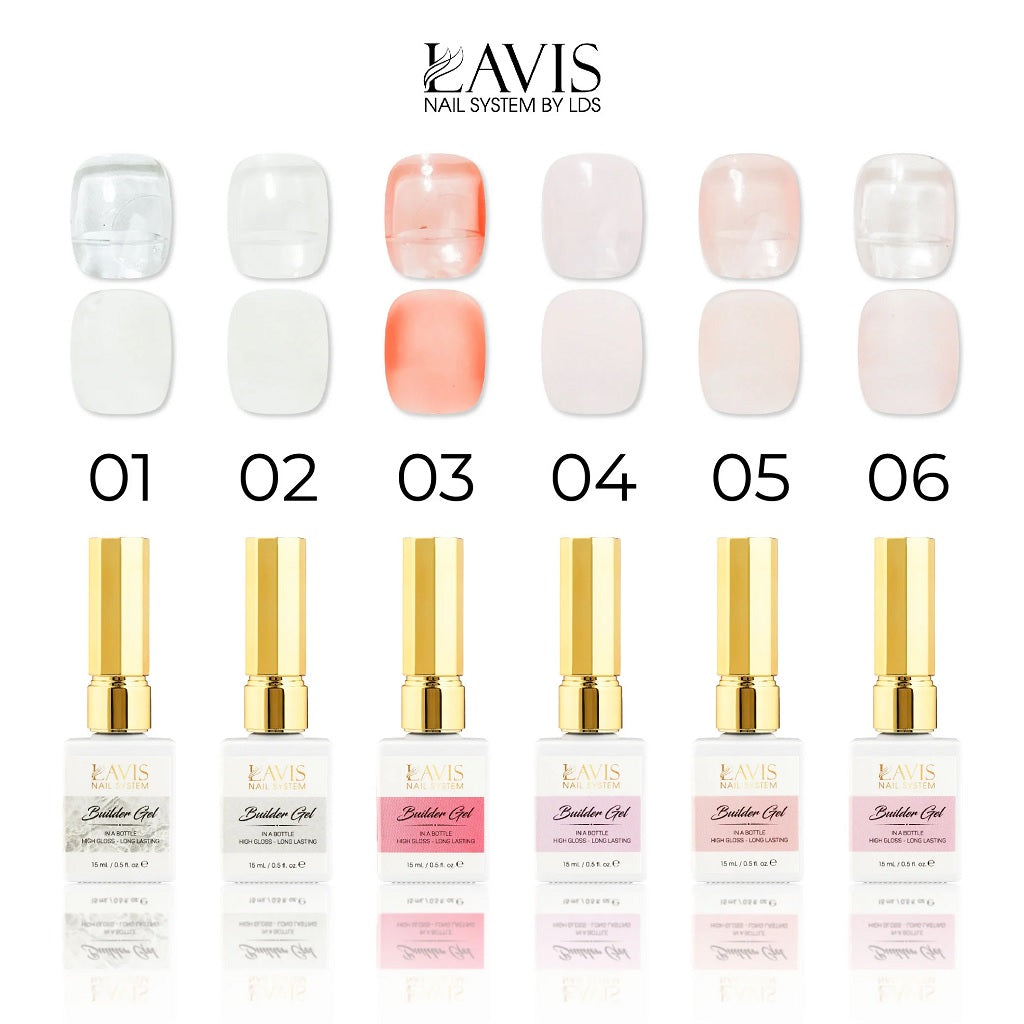
Odorless, flexible, and glossy, this builder gel is downright fun to use. It stays beautiful for up to 3 weeks and is easy to remove, too. Designed for professionals on a tight schedule, it cures in only 60 seconds. However, it’s also excellent for beginners doing overlays and nail art.
Would you like to reinforce your nails without using hard gel? Then try this strengthening polish.
LDS Gel Strengthener
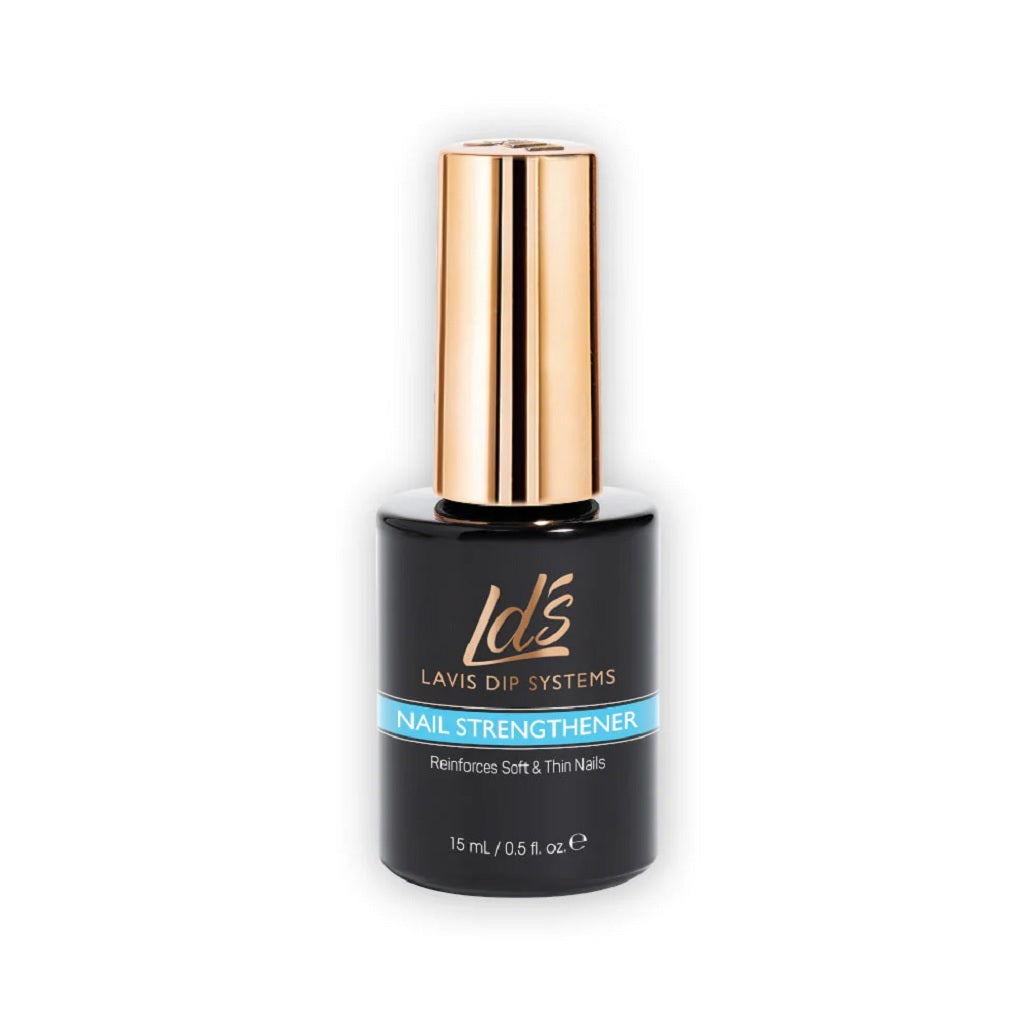
This polish is compatible with all brands of soak-off gels. Brush it on after you've applied a base coat or colored polish, then cure it. It fortifies thin and weak nails, plus it acts as a primer for the next layer of polish on top.
Conclusion
Long story short: unless you have experience, it’s best to have a professional remove hard gel nails for you. Nevertheless, it’s possible to take off hard gel at home. Be patient and go slow as you file to avoid damaging the natural nails. When you’re finished, reward yourself with new polish from our new arrivals page!

