
Did you know that zebras have black skin with white stripes? The striped pattern may help them stay cooler in the heat. What's more, it keeps them from getting bitten by flies. The bugs hate landing on the stripey surface!
We can't promise that zebra print nails will bring you the same benefits, but they are definitely attractive! Plus, this is a fun and easy nail trend to replicate. Let's talk about how to do zebra print on nails.
Supplies Needed for Zebra Stripes on Nails
In reality, zebras have black skin with stripes of white fur. It's easiest to copy this pattern if you're using gel polish. You'll need the following:
- Gel base coat.
- Black polish.
- White polish.
- A thin nail art brush.
- A glossy or matte top coat depending on the finish you desire.
- A nail lamp.
We suggest LDS gel color and nail lacquer for your zebra nails. For example, Black List and French White are the perfect shades for a classic zebra print design. The gel color is designed for pros but easy for beginners to use. Not only is it odorless, but the richly-pigmented formula provides good coverage without wrinkling and won't damage the nails. It lasts up to 14 days. Meanwhile, the nail lacquer rapidly air dries to a high gloss shine that resists chipping for up to a week.
In fact, you might enjoy doing zebra print nails with nail lacquer. It can be faster and more economical if you're experimenting. Instead of starting with a black base, it’s best to begin with white. You’ll need to work quickly to avoid smudging the colors, and remember to let each layer dry completely before painting on top.
- White lacquer.
- Black lacquer.
- A thin brush.
- Fast-drying top coat (optional, but it extends the manicures lifetime by a few days).
How to Do Zebra Print on Nails
Once your supplies are in hand, prepare your nails for the polish. Trim, shape, and buff them to remove the shine. Remove debris and oil with a nail wipe or rubbing alcohol and a lint-free cloth. (Cotton balls sometimes leave little fuzzies behind.)
For Gels
Then, if you're doing a gel manicure, apply the base and cure it with the nail lamp. Brush on one or two coats of black polish and cure them.
Only then, pick up the white polish and a thin brush to do the stripes. Decide whether you prefer a vertical or horizontal pattern. If you’re not sure, test it on a piece of paper.
Paint a skinny V that doesn’t quite reach all the way across the nail. Go to the other side and repeat the V. Then fill in the gaps with a few more lines. Cure the white polish and apply a top coat.
If you look at zebras in nature, some have thicker stripes and some thinner. Some have more, and some have fewer. Therefore, you have a lot of artistic leeway! Moreover, slightly wavy lines look more realistic than straight stripes.
For Regular Polish or Lacquer
Brush on the white base and let it dry completely. This may take up to 5 to 7 minutes. (It’s best to be patient because the black polish may cause the white to dissolve if it’s not completely dry.)
After that, choose between vertical or horizontal stripes. Begin by painting a skinny V that almost reaches the other side of the nail. Create a mirror image on the other side. Fill in the blank spots with a few more wavy lines. Then, apply a quick dry top coat for a professional finish.
That’s how to do a classic zebra print, but there are so many other ways to personalize your manicure.
Metallic
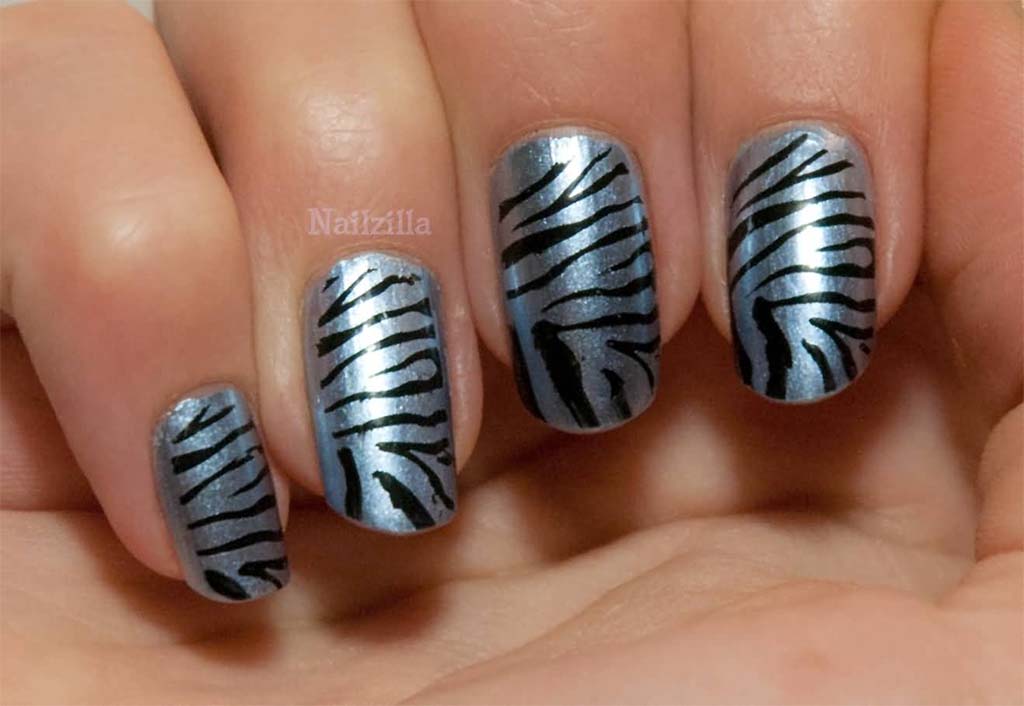
We love these metallic blue nails with zebra stripes. This look is straightforward to re-create with Gelixir’s Metallic Ocean. Choose either lacquer or gel, and have fun!
Holographic Zebra Nails
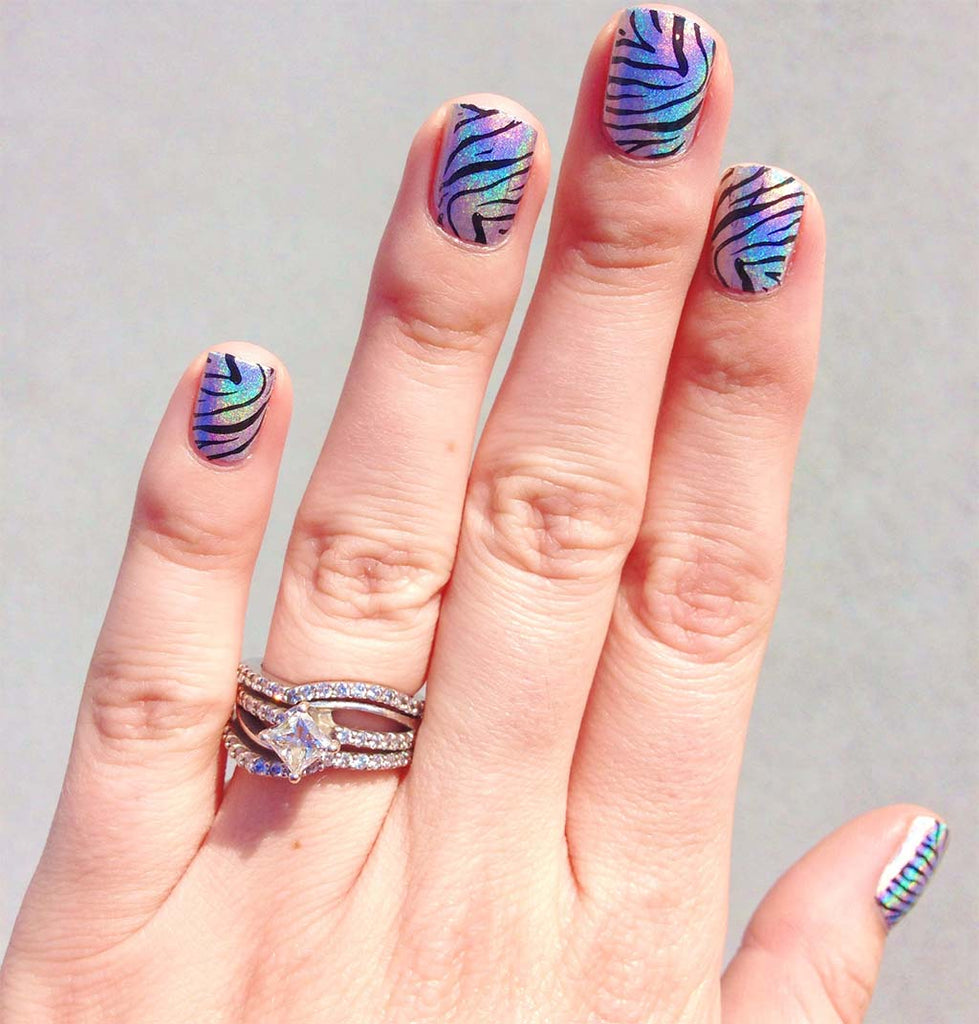
We're also dazzled by zebra print on holographic nails. This gel manicure uses a product like a laser holographic chrome powder for the distinctive, glittery base. It also includes teal polish on the other nails, but you can replace that with any shade you prefer.
Rainbow Zebra Nails
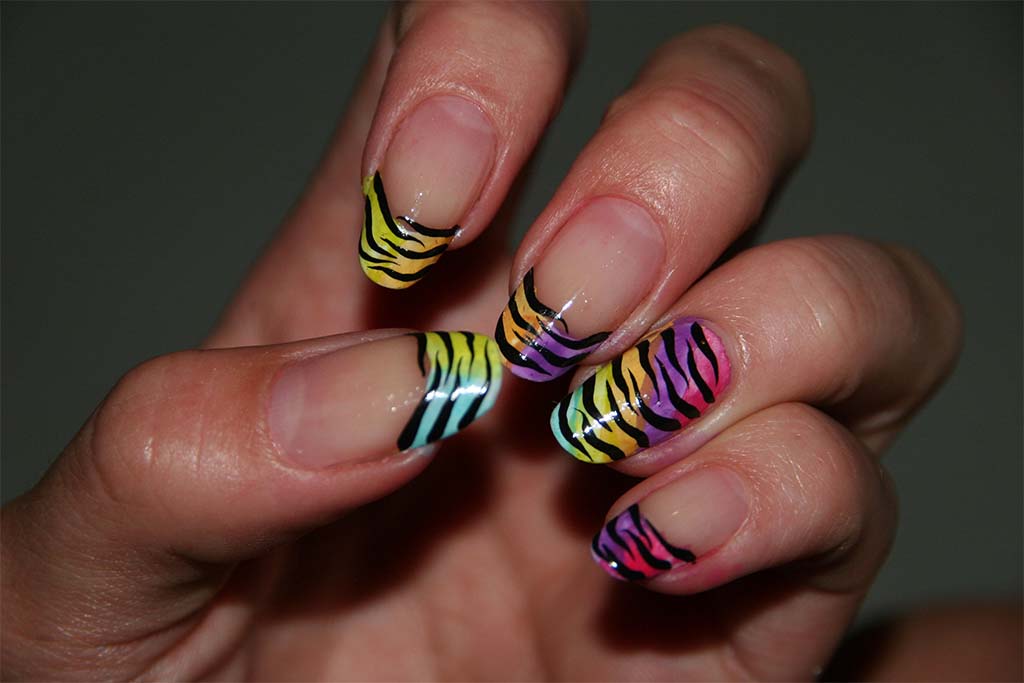
Why not indulge in a rainbow of colors? Every nail can be a different shade, especially if you use the Lavis Opal collection gels with an enchanting pearlescent finish.
It's straightforward to do rainbow nails like these when you use gels. There's no risk that the shades will smudge or blur. Instead, the vibrant colors exist harmoniously side by side.
Striped French Tips
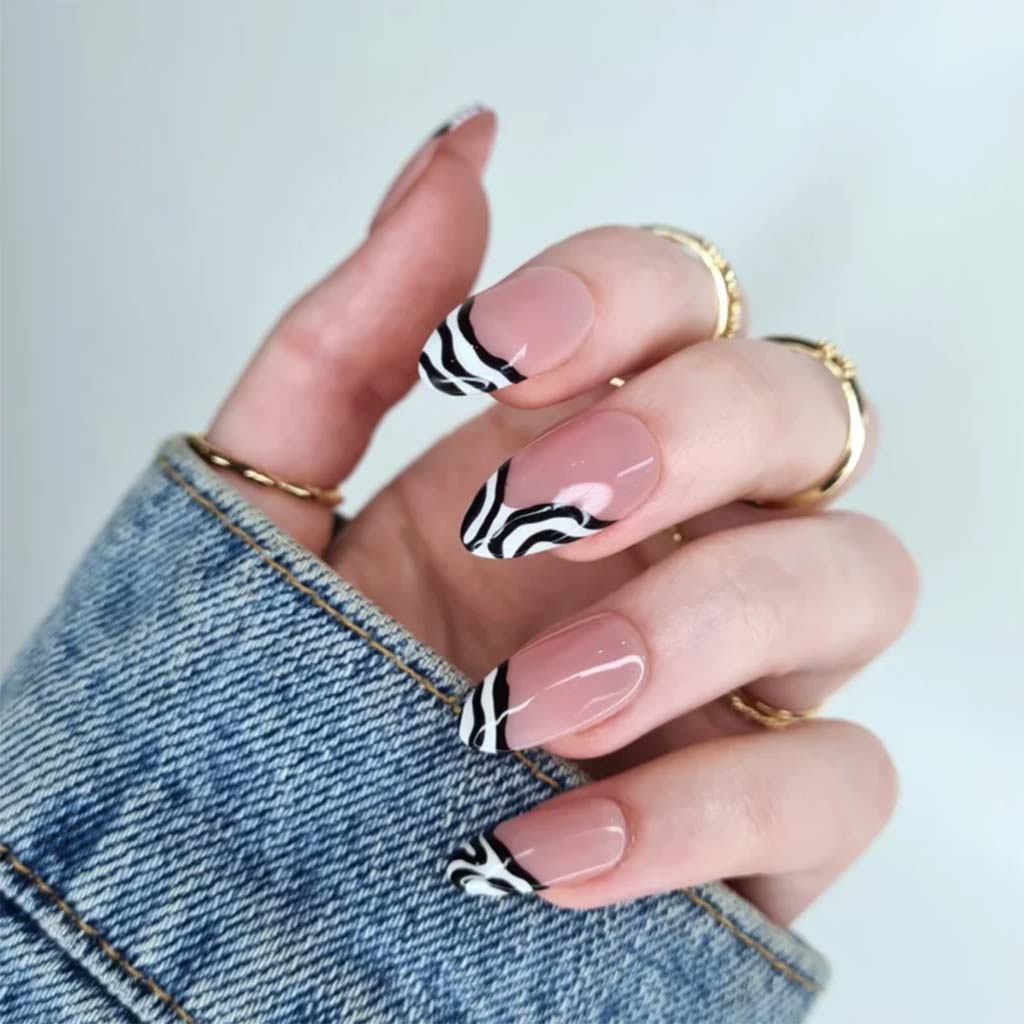
Liven up your French manicure with zebra stripes! Even better, lengthen your nails first.
Lavis almond-shaped tips are translucent and lightweight. They come in various sizes to fit every nail and can be trimmed if desired. They come ready to use with no need for filing or shaping. Moreover, they are also compatible with acrylics and dip powder nails.
Monochrome Zebra Nails
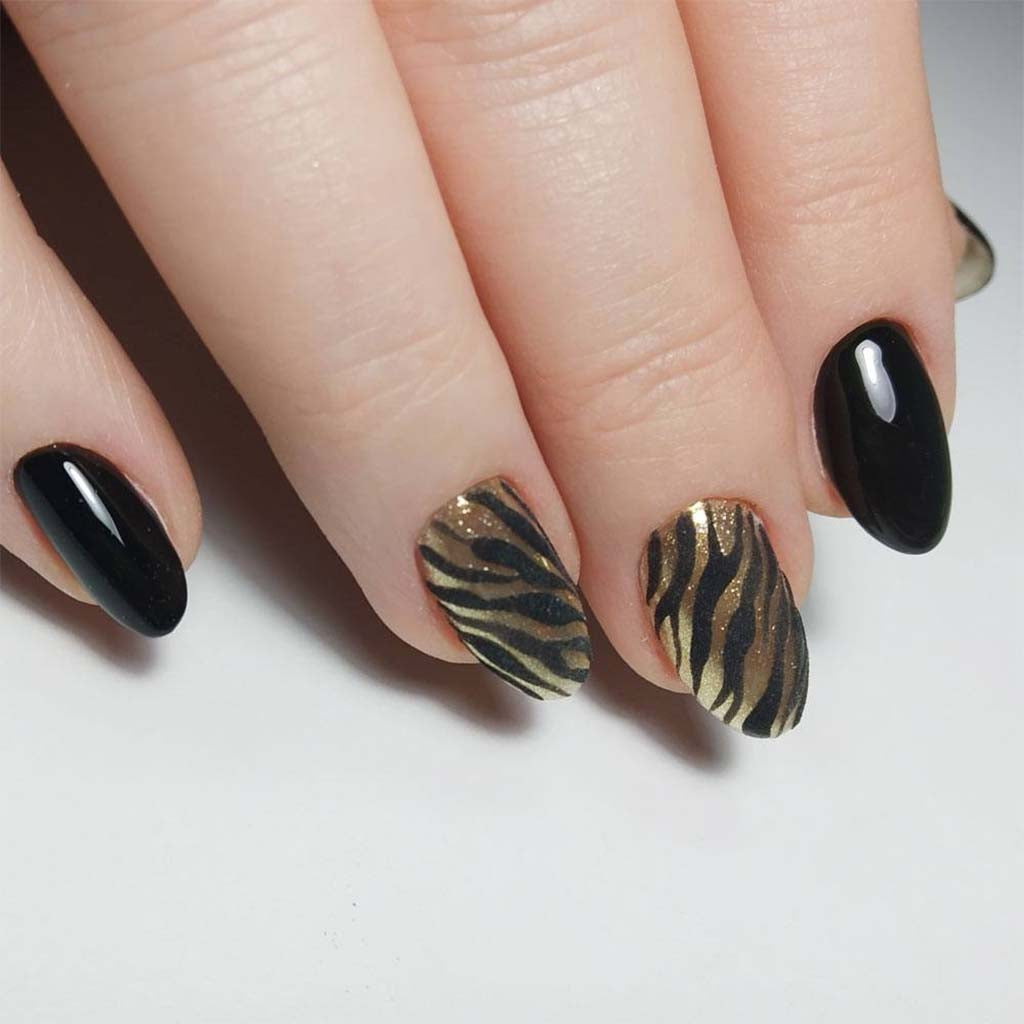
Black nails are sexy, especially with discreet zebra print on them. How to re-create this look? You'll need black gel polish, a matte top coat, and a glossy top coat.
Apply the black over the base coat and cure it. Then use the glossy top gel to make the stripes. Who would've guessed that achieving such an elegant finish is so simple?
Once your zebra print nails are complete, treat yourself to cuticle oil before you take photos. It will give the manicure a professional finish and nourish your skin and nails. A daily dose will keep your fingertips looking gorgeous. And if you’ve been struggling with dry cuticles, try nail slugging before bed.
Conclusion
We hope you found these tips helpful for creating zebra print nail art. This is one nail art design that can be just as sophisticated or wild as you desire!
We’d love to help you get all the supplies you need at the best prices possible. Please stop by our deals to see what's on sale right now. Remember, we offer complimentary gifts and free shipping on orders over $100!