Checkered nail designs keep coming back for more! We’re here to inspire you with checkered nail ideas to spark your creativity. There are so many possibilities just waiting to debut on your next manicure. We have expert tips to help you master this style and suggestions for the tools you need for flawless results. So, grab your favorite polish colors and check this off the to-do list!
Checkered Nail Designs
Pink and Red Checkered Tips
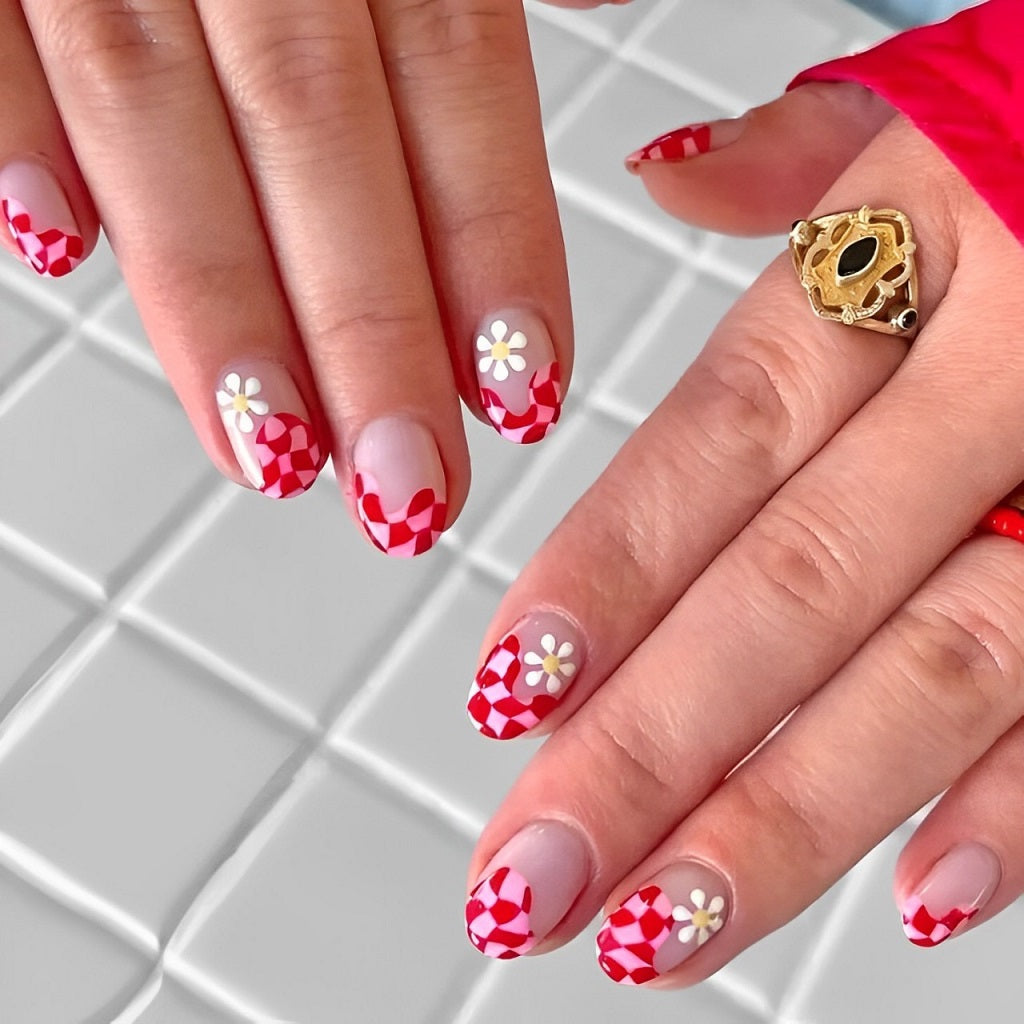
These pink and red wonders look like waving flags instead of a structured checkerboard. The warped style is perfect for the rounded tips. Aren't those cute little flower accents just perfect for spring and summer?
Tic Tac Toe Checkered Wraps
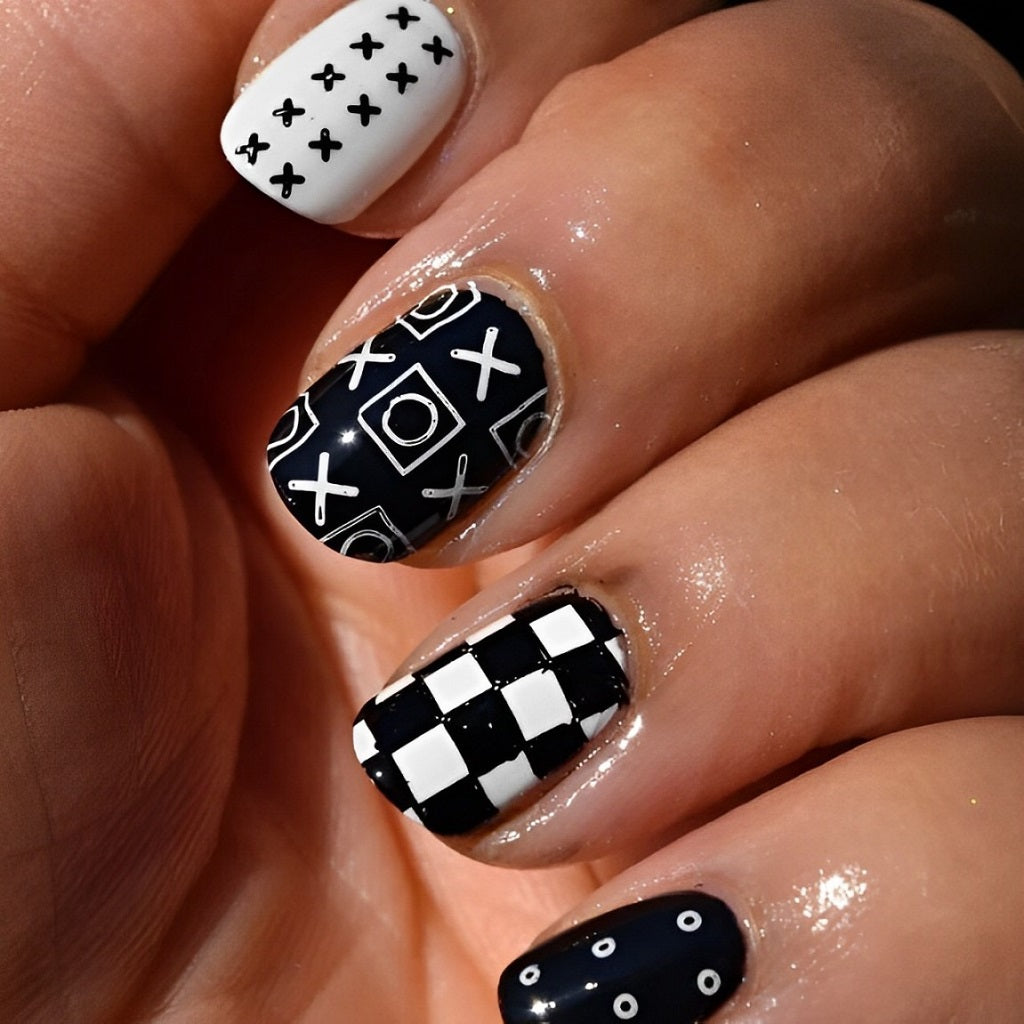
Make it easy on yourself and try checkered nail wraps, stickers, or stencils. All you need to apply them are your manicure tools, base coat, and top coat. After you trim and shape your nails, wipe them clean of debris and oil with rubbing alcohol. Brush on the base coat and let it dry. Use tweezers to place the wrap or sticker and smooth out any bubbles. Trim the edges if needed. Then apply the top coat and enjoy!
Moreover, you can make your own personalized checkered wraps with nail polish. It takes patience but might feel easier than painting your nails directly. You'll need a nonstick surface like vegetable paper and at least two nail lacquer colors. Paint the design as if it were on your nail, but make it slightly bigger. Allow it to dry until you can lift the edge and transfer it to your fingernail. Press it into place with a pencil eraser or silicone tool. Use a nail brush dipped in polish remover to clean up the overlapping edges. Once everything is dry, put on the top coat.
Checkered Accent Nails

Let's be honest, hand-painting a checkered pattern is not easy. It requires perseverance to make sure the colors don't mix and smudge and that the lines are straight. If you're just starting out with checkered nails, try them as an accent on only a couple of nails.
LAVIS Gel Polish Super Black

LAVIS Gel Polish Super White
Pastel Checkerboard
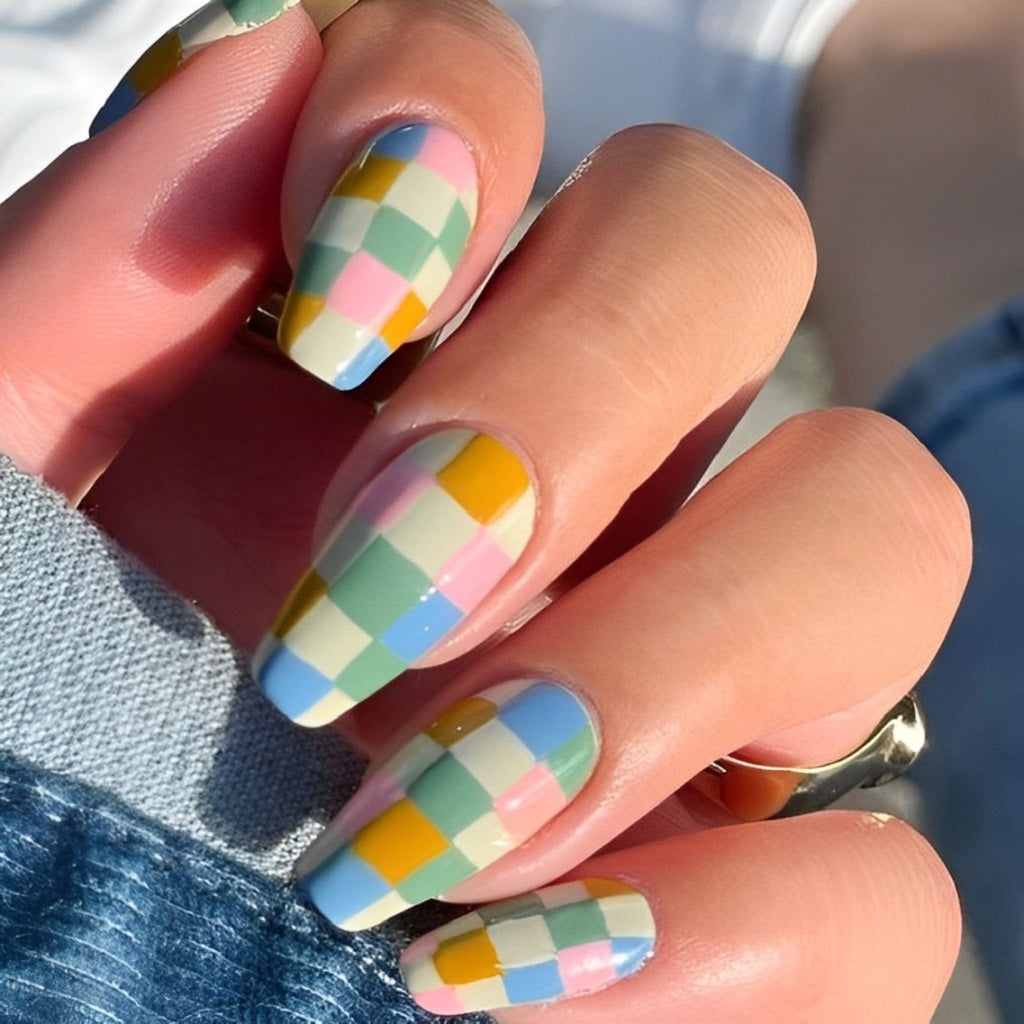
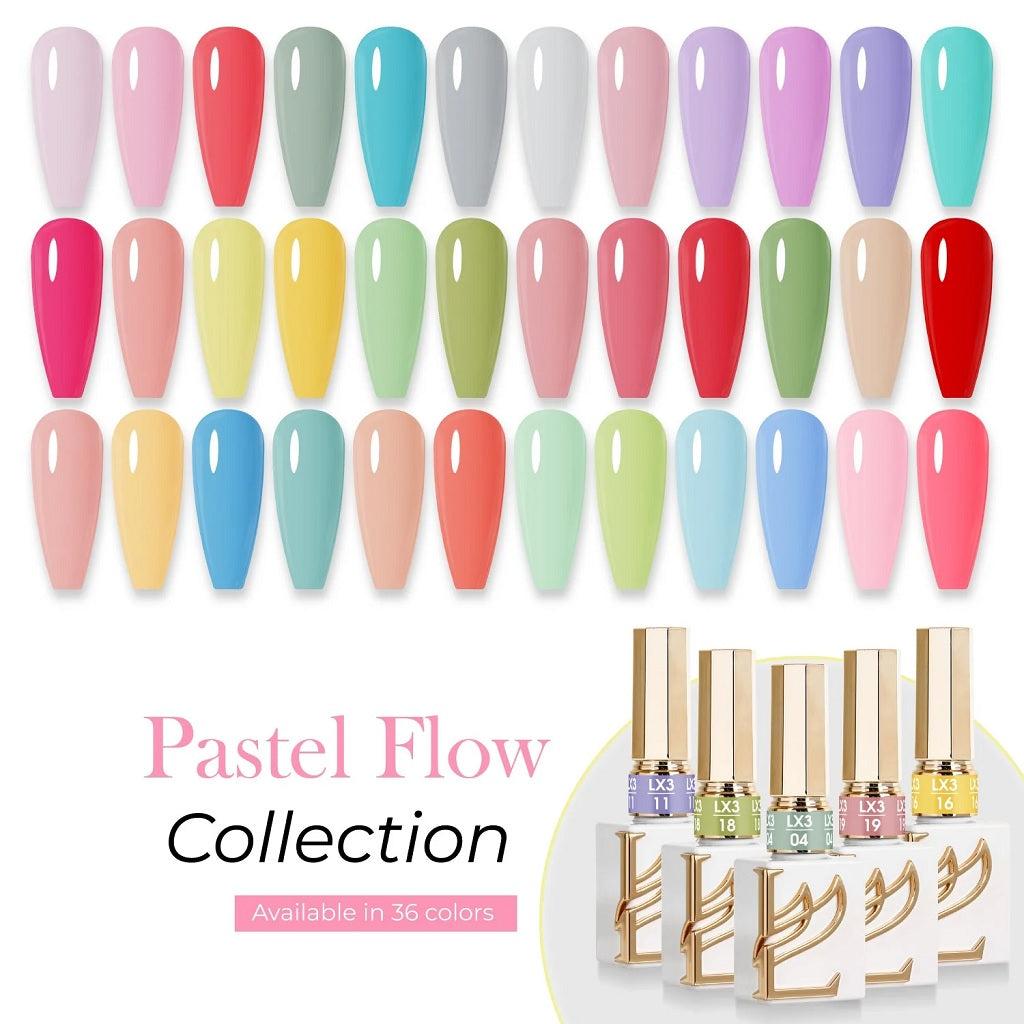
Enjoy springtime vibes with pastel checks. If you love soft hues like these, check out the gorgeous Lavis Pastel Flow Collection of gel polishes. A multi-colored checkered design like this is much easier with gels than lacquer because you can cure quickly between colors.
LAVIS LX3 - Gel Polish - Pastel Flow Collection
Checkered Patterns in Fashion
Look, and you'll see checkered patterns everywhere. It's not just NASCAR and the Grand Prix, chess and checkerboards. It’s also gingham tablecloths, buffalo check flannel shirts, and tartans from Scotland. Did you know Louis Vuitton did an entire springtime show in checkerboard patterns? Many other exclusive brands have used checkered variations with warped squares.
Monochrome Matte and Glossy Checks
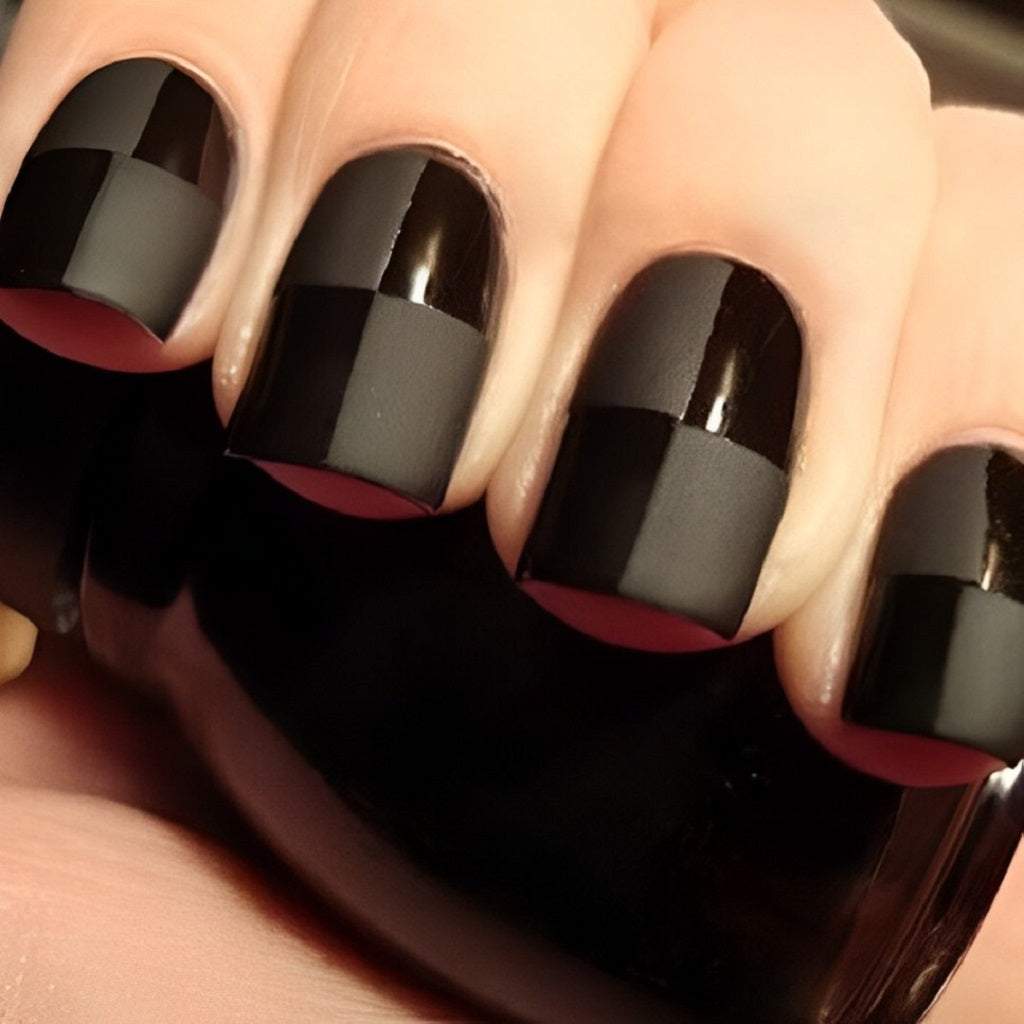
Try a monochrome effect with matte and glossy checks of the same color.
LAVIS Gel Polish Matte Top
Negative Space

Create the illusion that your checkered pattern was once part of a bigger picture. This negative space design allows the mind to imagine the possibilities.
Mix and Match Nails
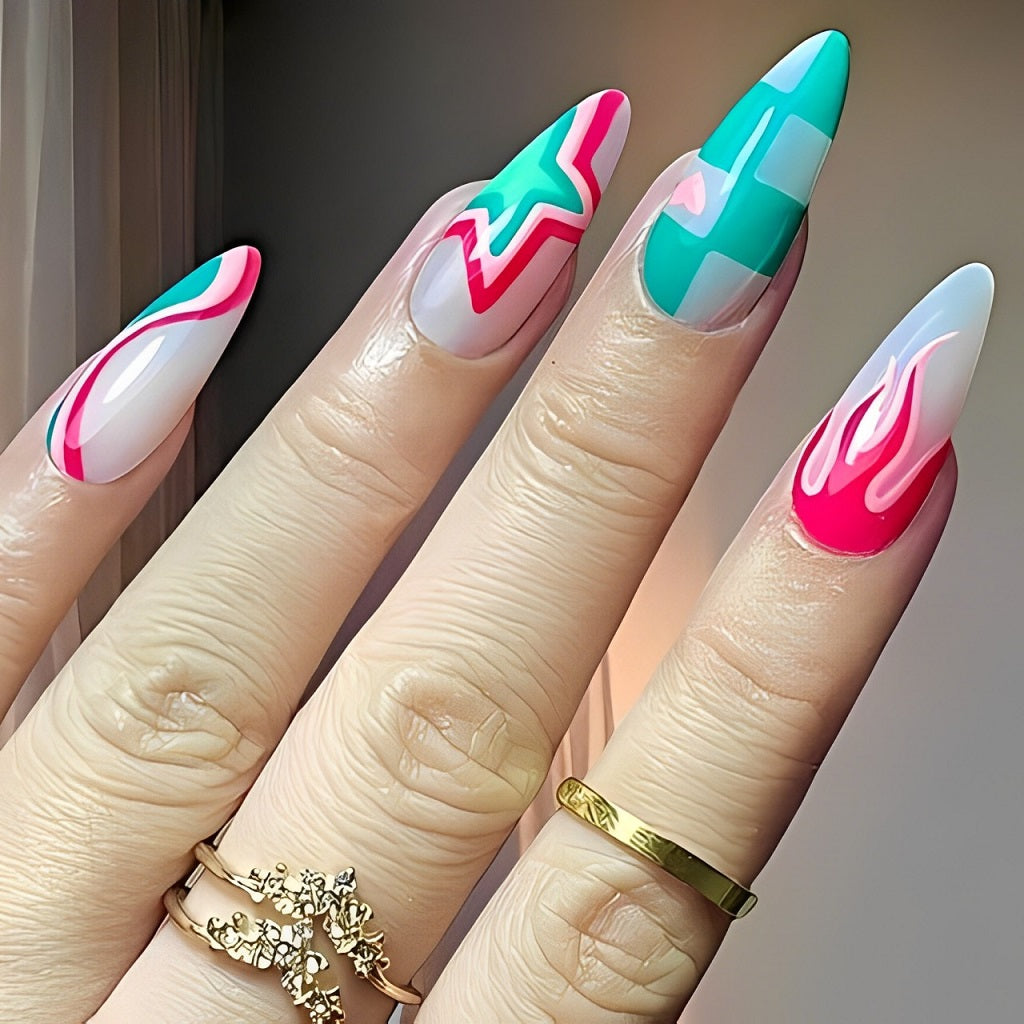
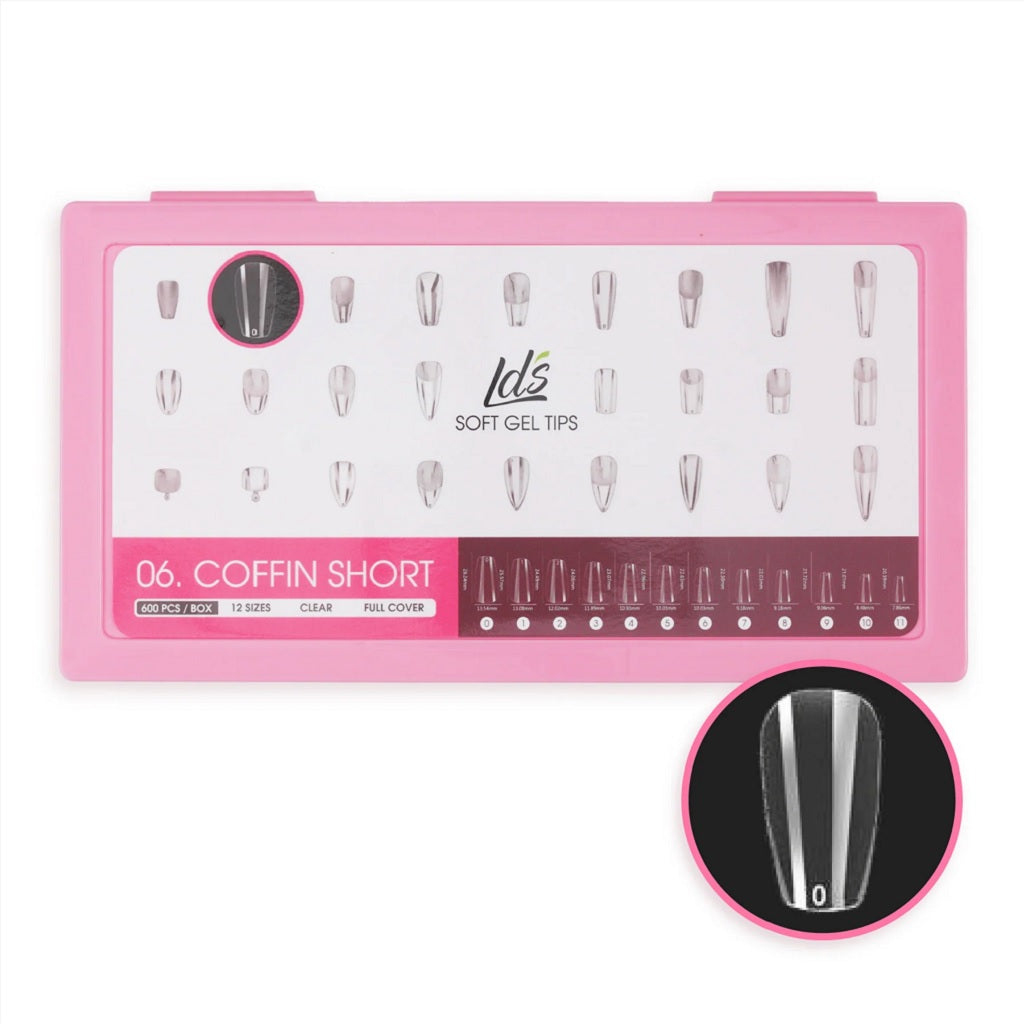
The checkered part of your nail design doesn't have to dominate the rest. Mismatched or mix-and-match nails have been trending lately. This tricolor design is on a milky white base, keeping it perfectly on point. You’ll love soft gel tips if you need a larger canvas for sophisticated designs.
Lavis Soft Gel
Neutral Checks
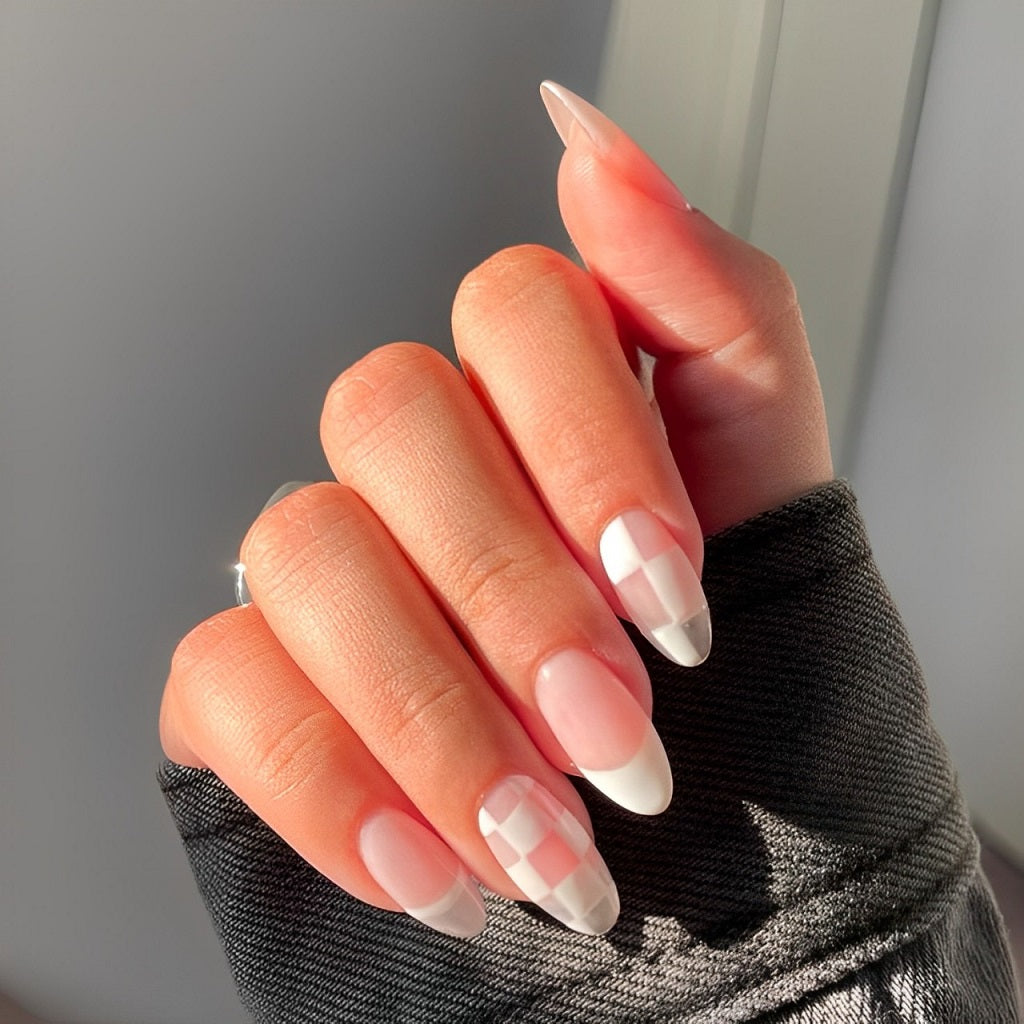
This subtle design is a fun twist on the timeless French manicure. No need to be splashy—these nails will definitely get second glances.
Mondrian Pattern Modern Art Nails
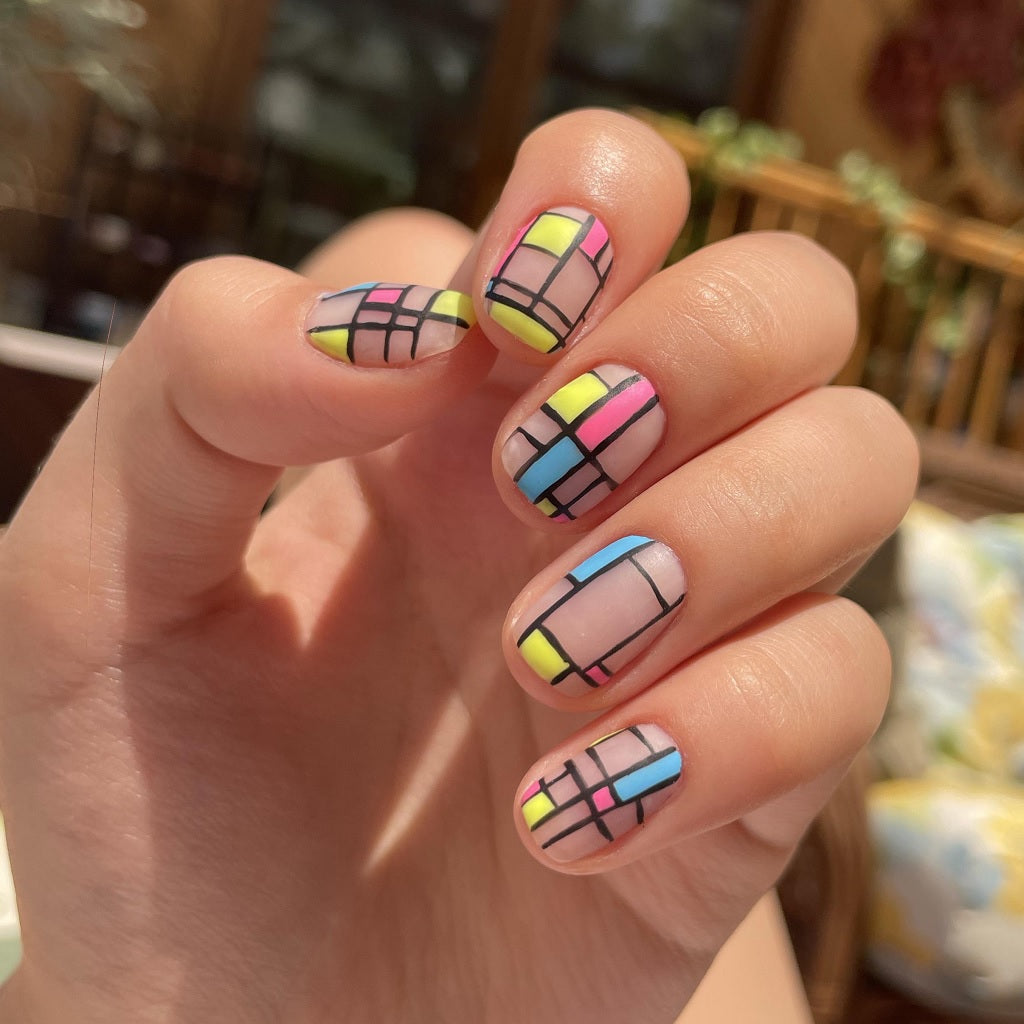
A proper checkered pattern has the same-sized blocks. But we just had to bend the rules slightly to show you this beautiful imitation Mondrian.
Checkered Swirls

Since we've made one exception, why not make another. Your checks could be swirls!
What other checkered nail designs will you come up with?
Tips for the Perfect Checkered Nails
Besides the essential manicure equipment, here are tools to help you achieve a flawless checkered nail manicure:
- A thin nail art brush compatible with the type of polish you’ll use
- Or line art gel that comes with a precision brush in the bottle
- Alternatively, a dotting pen or toothpick
- Nail striping tape or a Post-It for straight lines
- A stencil is also handy
Once you prep your nails, here’s how to achieve checkered nail bliss.
The number one tip is patience. Use thin layers and ensure that each color dries before adding another. The easiest way around this restraint is to use gel polish that you can cure in a nail lamp. Otherwise, consider using quick-drying drops with lacquer.
Next, be kind to yourself. Not everyone has a steady hand. Drawing on the curved nail surface is not easy. Use whatever tools are necessary to help you get the results you desire. This may include nail striping tape, a Post-It, a stencil, or forgoing hand-painting altogether and using stickers. Why don’t we recommend regular tape if you don't have nail striping tape? It's because of the residue that regular tape leaves behind. Plus, it will likely lift the polish. As always, make sure everything is completely dry.
Try drawing dots before you do a checkerboard design. Use a toothpick or dotting pen to create the design outline, then connect the dots.
Keep a skinny nail brush handy to dip in nail polish remover for cleanup.
Here’s one last tip you might not have thought of. If you’re doing intricate designs, you might enjoy using acrylic paint instead of nail polish. It dries slowly, so you have more time to work on your design. You can mix custom colors in a snap. Furthermore, it’s water-soluble and super easy to clean up if you make a mistake. Just seal your design with a top coat to prevent it from washing off.
Conclusion
Now, you’re ready to do checkered nails! What colors and patterns will you play with first?
Check our sales for discounts on your favorite shades, then get free shipping on orders over $100!

